How to do Potato Prints DIYs an easy tutorial

This must be one of the easiest crafts ever invented, yet prints make such a statement however they are used. This technique is so simple yet so versatile. In this post, I will show you how to do Potato Prints DIYs.

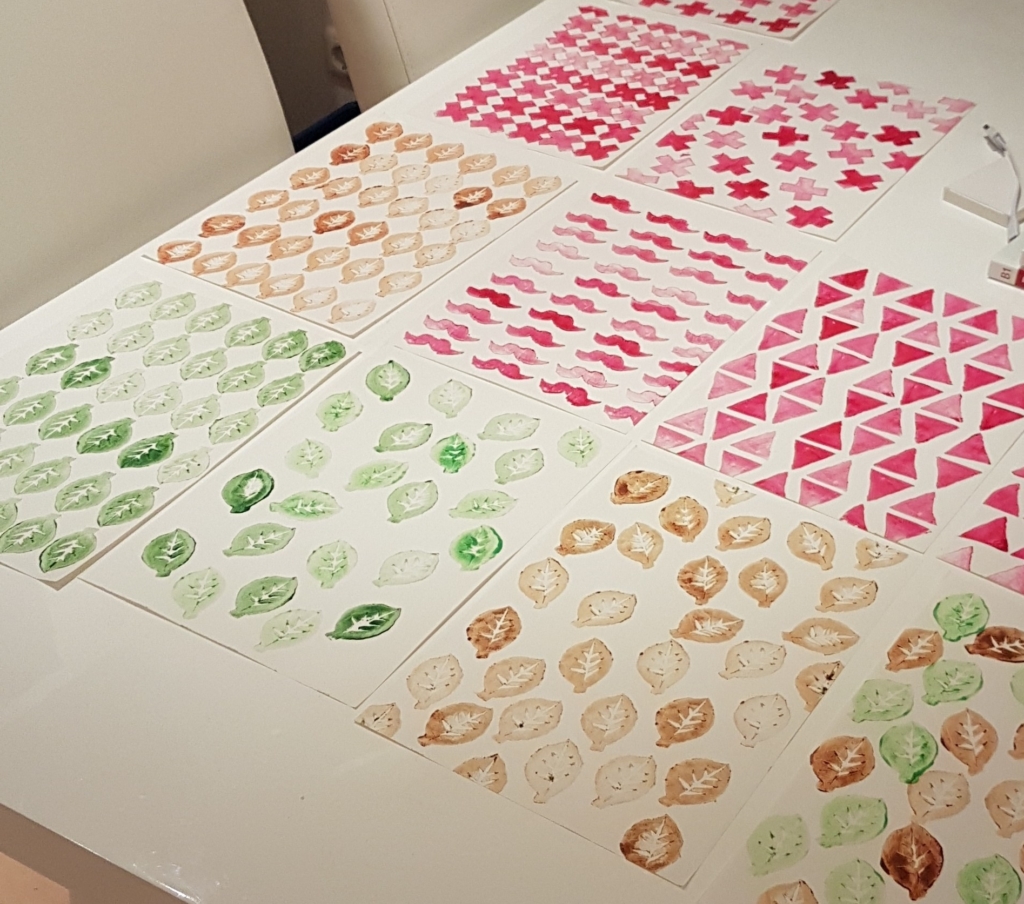
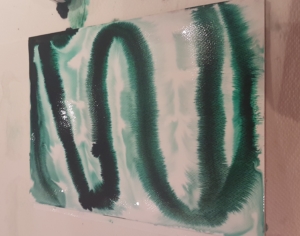
Get endless design options with potato prints diys

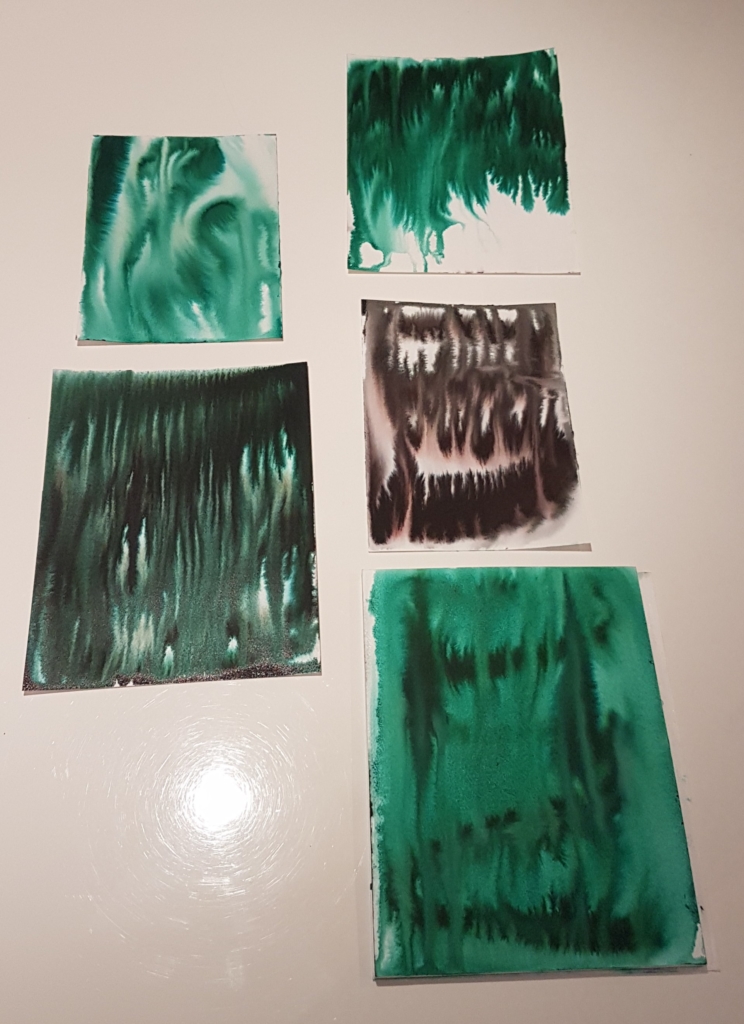
I  feel like I almost don’t have to write instructions for this craft. However, I want to mention a couple of unlimited options for designs and materials that are possible to use here. You can use a variety of different kinds of colors and materials. For paper and cardboard prints, water-based colors will work perfectly fine. For these prints, I used acrylic paint and paper.

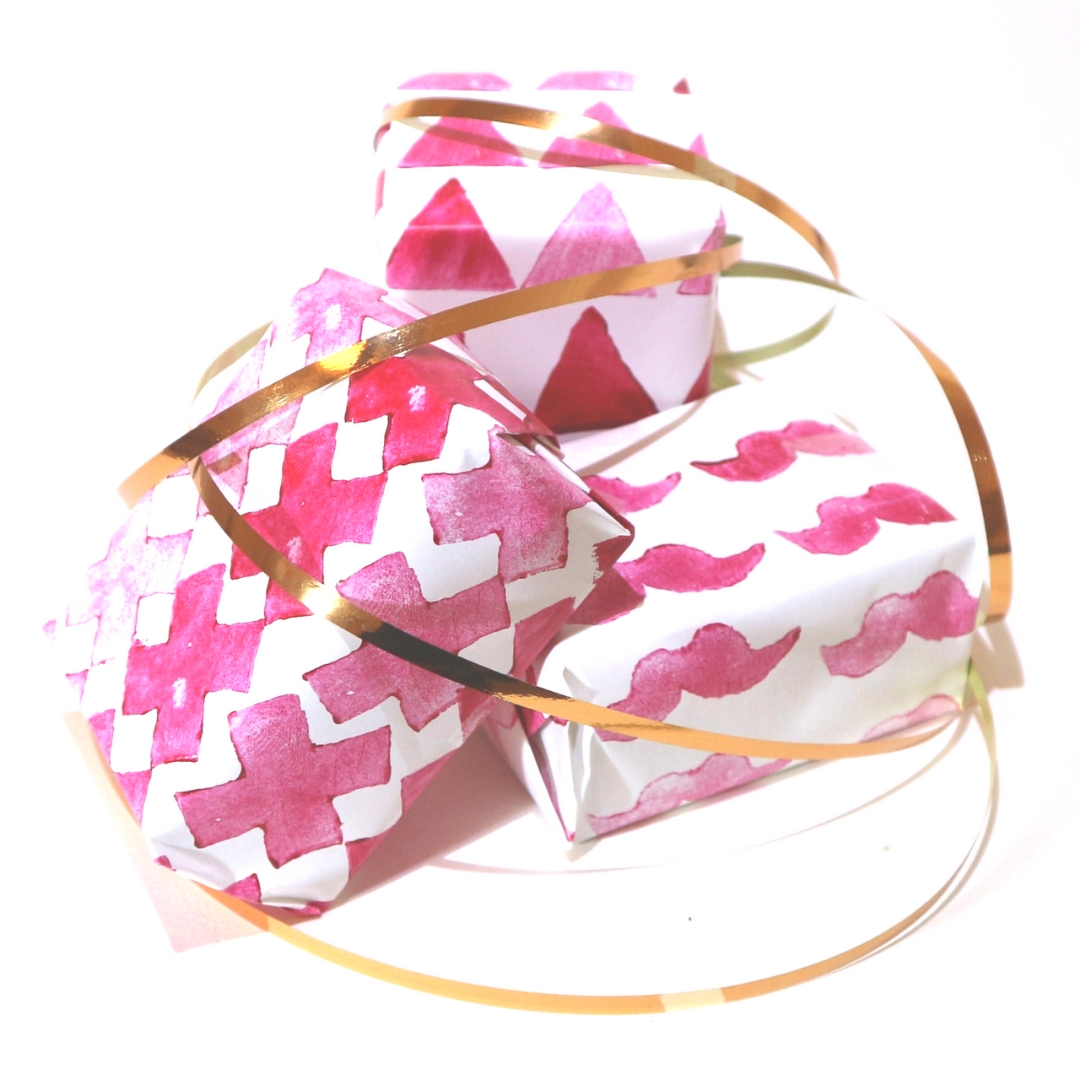
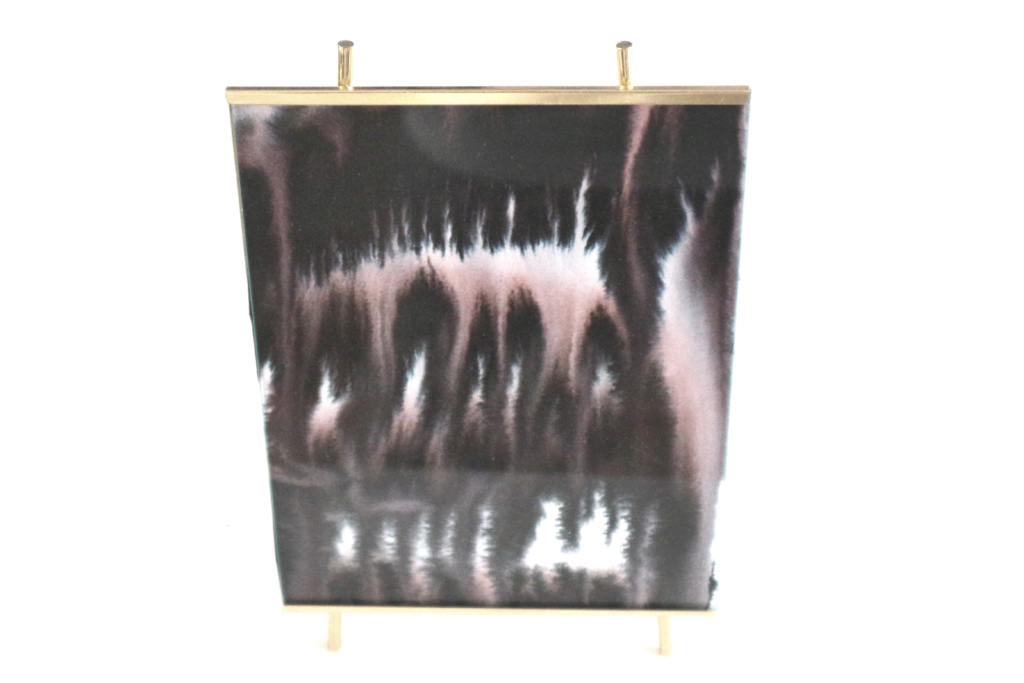
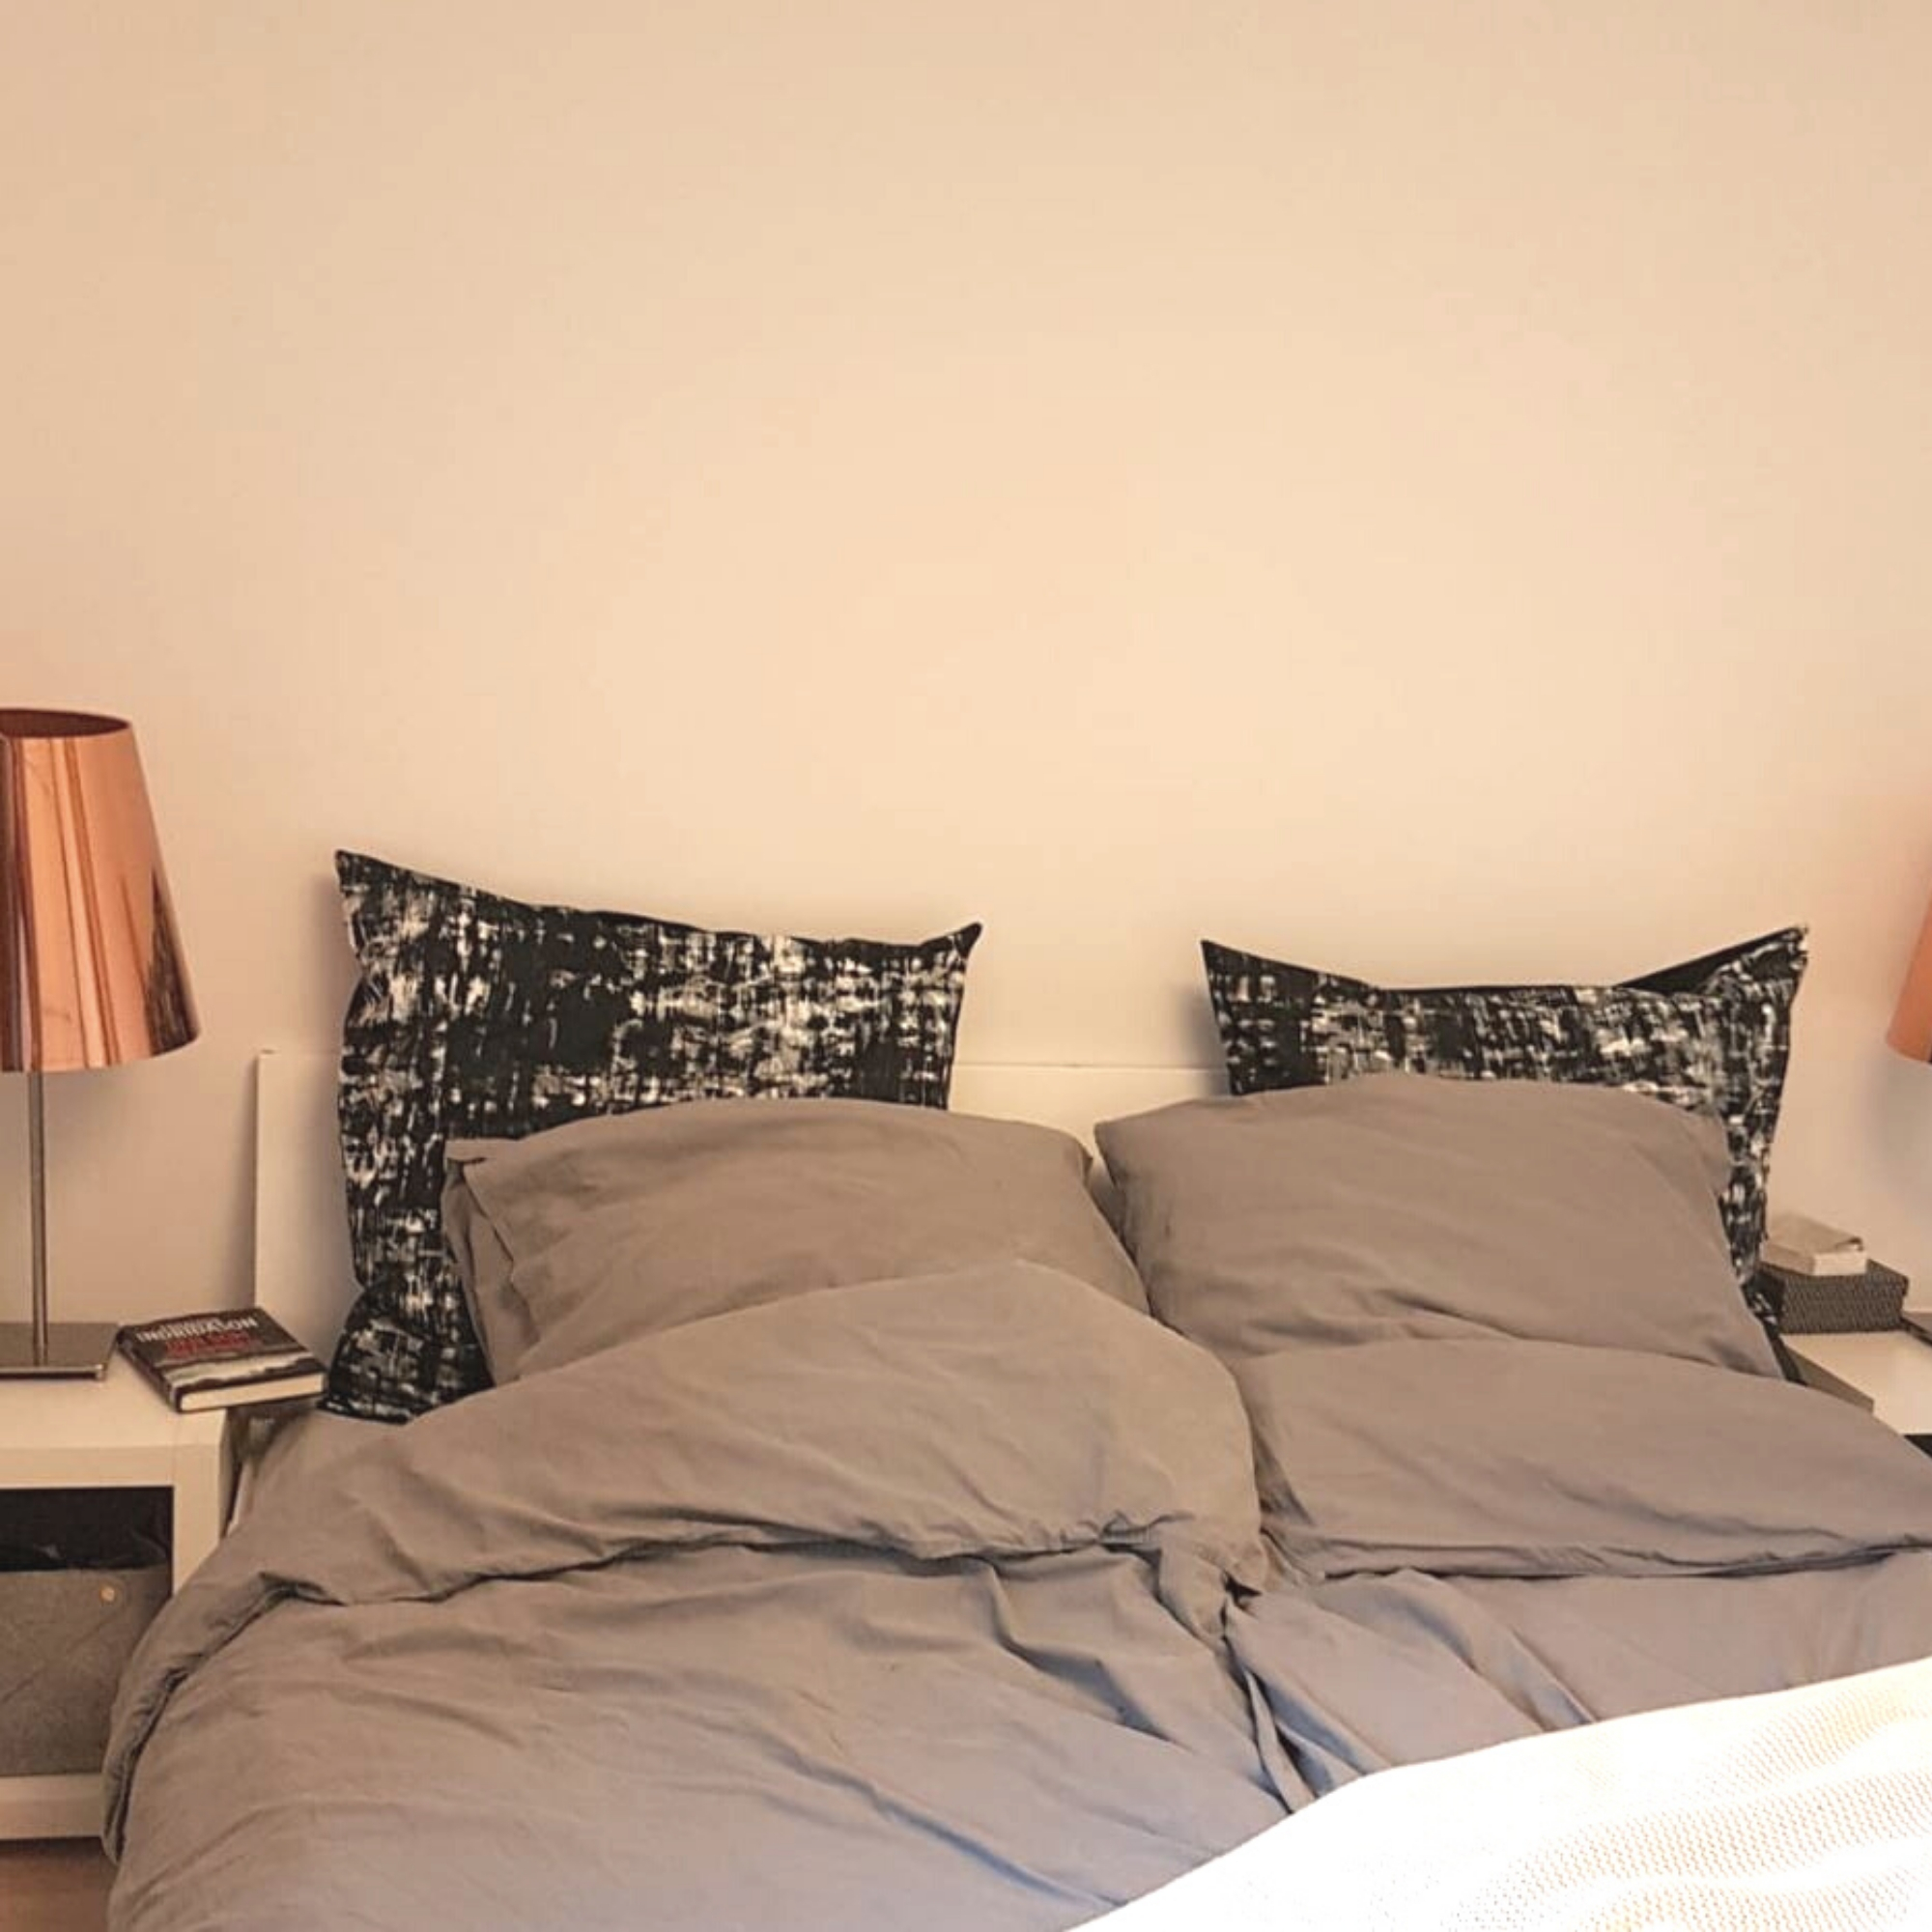
A useful tip is that you can also use acrylic paint to print on fabric, however, you must seal the paint by ironing it under a piece of baking paper.  Let me know in the comments below if this is something you would like to see! These prints can be used for a number of things, only to mention a few: Warping paper or gift boxes, artwork, and pillowcases. The options are really unlimited and that is why I love this method. 

Tools:

  • Knife

Supplies:

  • Paint
  • Paper of Fabric
  • Potatoes

Instructions:

1. Divide a potato in half.
2. Carve out your desired print shape using a knife. My recommendation is to keep to simple shapes without a lot of detail, less is more. 
3. Apply an even layer of paint to the potato and start creating your print. For some designs, I apply new paint between every print, other times I print a couple of times until the paint is completely gone. 

Reflections:

Potato printing might almost be too easy to really be called a craft, I think it is actually a life hack. I am also a big fan of for graphical prints of any kind which makes this even more appealing to me. Every time I want to make something personalized this is one of the first ideas to pop up. I have used this method to create, gift-bags, tote-bags and much more. For a time I just used my favorite prints as artwork.

Potato_Print_Decor
Potato print paper.

I would love to know if you like this craft as much as I do!

If you liked this post consider becoming an email insider, so you don’t miss out on any more awesome content like this. If you want more fun and useful DIY tutorials, head straight over to the blog!

How to do Sugar Painting an easy tutorial

Making your own art really ads personality to your space. I like to mix different kinds of art to create an exciting setting throughout my apartment. Although abstract art is not in everyone’s taste this technique really is perfect for that purpose.

Let’s get right to it!

Notes:

For this craft, you want to use aquarelle or watercolor paper. You need a paper with a structure that is able to withstand a lot of water without wrinkling. It can take up to 78 hours for the paintings to dry completely and under this time it will be difficult to move the paintings. Lastly and as always, remember to protect your space.

Tools:
  • Paintbrushes
Supplies:
  • Watercolor or Aquarel Color
  • Aquarel Paper
  • Paintbrush
  • Sugar
  • Casserole

Instructions:

1. Mix 2 parts water with 1 part sugar in a casserole.

2. Heat the mix on the oven until all the sugar has melted.

3. Use a clean paintbrush to brush a thin layer of the mix until the paper is completely covered.

4. I used liquid aquarelle colors and painted an s-shape on the paper.

5. To make the running effect I simply tilted the paper.

6. Let dry completely.

Reflections:

This is really a “10 out of 10 I will do it again” kind of craft and next time I will definitely try other colors and shapes. This is so much fun and I think it is a perfect craft to do with kids.

I have recently seen a lot of posters with a kind of smokey and running effect that really inspires me. I really love art and I am always looking for easy ways to create new art for my home, and this is one of my favorite crafts that I learned back in school. Making your own art is a very affordable and easy way to tie the interior together. I used these particular colors because they go well together with the rest of my interior.

Sugar_Painting_Home_Decor
Sugar Paint Art Work.

If you want more ideas for art for your home check out my other DIY posts here!

Please join my newsletter to get updated when I create new content lite this. You check also check out my art printable shop on Etsy the SelectedCraftsStore!

Easy candle recycling DIY

In this blog post, we will learn how to make an easy candle recycling DIY. There is nothing that can add a sense of luxury and coziness to any space like candles. Recycling old candles is a cheap and easy way to instantly upgrade a space. I love making my own candles and it is much easier then it seems.

You can find “DIY candle kits” online for around 50 euros for 5 candles. I think that is a crazy amount of money to pay for candles that you will be making yourself. If you do it my way, you will still be able to make 1 candle but for less than 1 euros/dollar. That is more like it!

I used the usual “dollar store candle big pack”, which normally includes around 30 tealight candles and can be found for around 2 euros. If you are anything like me you probably have a couple of these lying around already. However I have started to save my scrap block candles for future projects to reduce the waste even further.

For this DIY the containers I used were recycled metal cans. This is a good style for kitchen candles because it looks a bit industrial. I have seen beautiful candles made out of thrifted tin boxes, tumblers, and ice-cream bowls, so you can really get creative with candle making and find something perfect for you.

Tools:
  • Pliers  
Supplies:
  • Glas or metal containers
  • Old candles (Make sure to have a couple of tall candles you can recycle the wick from)
  • Wooden grill sticks
  • Tape
  • Essential oil or crayons (optional)
  • Metal or porcelain pot
  • Cooking pot
  • Fork or Spoon
Easy candle recycling DIY

Instructions:

Let’s DIY a candle or two!

Note: Always remember to protect your space. 

  1. Clean the candle containers carefully.
  2. Create a water bath by filling a cooking pot with water and gently lower another pot into the water. I recommend to only use medium heat to make sure the water bath doesn’t boil over.
  3. Put the tall candles in the water bath first, since they will take the longest to melt. When the candle wax has melted completely, use a fork or a spoon to remove old wicks from the wax. Retrieve the wicks from the tall candles. 
Easy candle recycling DIY

4. Use grill sticks to tie the wick for the candle, you want the wick to be as straight as possible and only as long as it needs to be to touch the bottom of the container. If the wick is longer it might get flammable and dangerous.

candle recycling DIY

5. Secure the grill stick with the wick to the container if needed, I used painters tape.

making candles

6. If you would like to add scent to your candles, do it before pouring it into the containers. The same goes for color if you want your candles to be a specific color you can simply melt add a crayon in a color you like to the wax.  

7. Carefully pour the melted wax into the containers, make sure to not burn yourself, I used oven mittens. 

making candles

8. Let the candles dry overnight before cutting the wick and removing the grill sticks.

making candles
Reflections:

This a very fun craft and it feels very nice to know you are doing something for the environment. It can get a bit messy when you are in the middle of making your candles but that’s part of the charm I think. I will definitely keep recycling my candles.

If you want more DIY like this just head over to my other blog posts here!
If you want to be updated when I post new blog posts like this one then please join my newsletter here!

Plastic Bottle Organizer

I love clear plastic organization and I really wanted to find out how to make one on my own. I could not find a tutorial on how to make one and finally decided to make one of my own. So let’s get started, here is how I made this Plastic Bottle Organizer!

Tools:

  • Saw or Carpenters Knife
  • Nonstick frying pan
  • Hot Glue Gun
  • Ruler
  • Marker

Supplies:

  • 3 Plastic bottles
  • Paint or Nailpolish

Tutorial:
1. Remove the labels and clean your plastic bottles properly.


2. Use a ruler and marker to mark where to cut the plastic bottles. You want a flat cylinder so make sure you cut only the middle part of the bottle.

3. Cut the bottle using a saw or carpenters knife depending on the thickness of the plastic.

Note: Be careful not to scratch the plastic while cutting out the cylinders.

4. Use a nonstick frying pan on low heat to create a smooth edge on the cylinder. Remember to only do this in a well-ventilated space and remember the plastic will get very hot while doing this. Start off on low heat and continue to carefully turn up the temperature if needed.

5. Paint the edges of the cylinders using nail polish or paint of your choice.

6. Clean the cylinders to remove access paint or fingerprints before gluing them together.

7. Glue together the 3 cylinders using a hot glue gun. Remember to align the cylinder in the front if there is a length difference on the cylinders. I just used eye measurement and only glued in three places, while pinching the plastic bottles together.

Now you have your very own plastic bottle organizer! I use mine to store smaller make-up items. Make sure to let me know in the comments if you decide on making one of these for your self.

You can check out my many other DIY tutorials over here!

If you can’t wait to find out when I upload new posts like this, consider joining my awesome community of followers!

Smart Ikea Pillowcase Hack

I always want my bedroom to look elegant and cohesive but I rarely want to spend the money. So I thought I would let you in on a life cheat code, my smart Ikea pillowcase hack. What if you find that perfect pattern you have been looking for in a fabric, but there’s not enough left? Simple solution, buy one pillowcase, and make two!

Tools:

  • Sewing machine
  • Seam ripper
  • Measuring tape

Supplies:

  • 1 Pillowcase
  • Needles
  • Thread
  • Fabric for the back piece
smart Ikea Pillowcase Hack
smart ikea pillowcase hack

This is a super easy hack to use whenever you find a lonely piece of bedding or textile you really like. This hack can also be a real money-saver. I really wanted the Ikea Skogrönn bed set since it has a lovely print however the duvet bed set costs around 50 euros. I found a leftover 80×80 cm pillowcase for 2 euros in the Ikea sale section, it had a broken zipper which I just removed. The black fabric is Ditte which is actually also from Ikea and is 4 euros per meter.

I think my pillowcases look better than the original, in total, I spend 10 euros, or saved 40 euros depending on how you look at it.

This is something I will defensively keep in mind in the future! 

If you liked my Ikea pillowcase hack make sure to check my other textile and fiber crafts over here! Don’t forget to join my awesome newsletter to get updates when I post more awesome content like this!

Restore Vaneer with this DIY Remedy

Do you also love the look of beautiful mid-century furniture covered in veneer wood? Me too! I restored this sewing table  I found in a yard sale by only using things I already had at home. In this blog post, I will show you how I Restore Vaneer with a DIY Remedy.

The furniture pieces in antiquity stores usually are in mint condition but have a price tag that does not agree with me.

What to look for in vaneer furniture

I think that old veneer pieces are often mistaken for “broken” when the truth is they are just dried out and dirty. We need to make sure that changes! Especially since these types of furniture really are small pieces of art.

If you are looking at an old veneer piece make sure they are no veneer parts missing completely. You can’t restore something that is not there. But don’t be discouraged, there is still be hope for furniture with broken veneer as well. Partially painted mid-century furniture is right on trend, so if the veneer is broken on your furniture then make sure to use this DIY remedy! 

Before and after
Restore Vaneer with this DIY Remedy

If you want to restore a veneer piece like this you will find instructions and supplies for my remedy listed below!

Tools:
  • Screwdriver
  • Iron
Supplies:
  • Cloth
  • Aluminum foil
  • Washing-up liquid
  • Coffee filters
  • Baking-soda
  • Lemon
  • Vinegar
  • Tea
  • Canola oil or Olive oil
Instructions:
1. Remove any hardware from your furniture.
Restore Vaneer with this DIY Remedy
2. Clean your furniture.

Use regular washing-up liquid and cloth, it is important to not use to much water since the wood and veneer can swell. So clean one part at a time and use a dry cloth to get rid of any excess water. Make sure all surfaces are completely dirt and dust-free.

Restore Vaneer with this DIY Remedy
3. Clean the hardware.

Which cleaning method you will use naturally depends on the material of the hardware. My sewing table has brass hardware which is very popular on mid-century furniture. The method listed below works especially good for copper and brass.

Restore Vaneer with this DIY Remedy
4. Clean copper or brass hardware:

1. Boil some water
2. Scrub your all hardware using a lemon cut in half. This step is optional but speeds up the process.
3. Put all hardware in a pot or bowl.
4. Put a piece of aluminum foil in the bottom. We are trying to start a small chemical reaction, so too much aluminum won’t work. Like some kind of reference, I would say two parts hardware and one part aluminum.
5. Sprinkle the hardware with baking soda. Remember that baking soda starts to bubble when you add water, so make sure to use a pot or bowl with high edges.
6. Pour over boiling water until it completely covers the hardware. If everything works correctly the hardware will start to release small bubbles. Leave it until the bubbles are gone.
7. Clean the hardware in hot water to remove all dirt, cold water will make it hard to remove the dirt.

5. Remove small scratches and marks.
  1.  Use coffee filters and your iron to remove small scratches and marks. You want to use the film on the inside of the coffee filter. Start ironing on low heat and gradually turn the heat up if needed. When the coffee filter sticks to the veneer by itself you have the right temperature. Naturally, be careful not to burn yourself or the furniture.
  2. Mix one part tea/vinegar and 2 parts oil, to create a DIY furniture polish. Depending on the shade of your veneer you want either use tea or vinegar to blend into the oil.

Note: If you are unsure of the shade, use tea first since vinegar really darkens the veneer. I used one mix with tea and one with vinegar since my table had two shades of veneer.

Restore Vaneer
Reflections:

This sewing table turned out better than I could have imaged when I bought this piece the veneer was in pretty bad shape it was dry and had a lot of scratches. After some homemade furniture remedy and restoration, I managed to get it back to its prime. It is, after all, a vintage piece so naturally, it still has some mini blemishes and scratches but they are hardly noticeable and I am very happy with the finished result.

Sewing Table

I hope you enjoyed this blog post, you can find my other project like this one right here!

Don’t forget to join my awesome newsletter to get updates when I post more awesome content like this!