
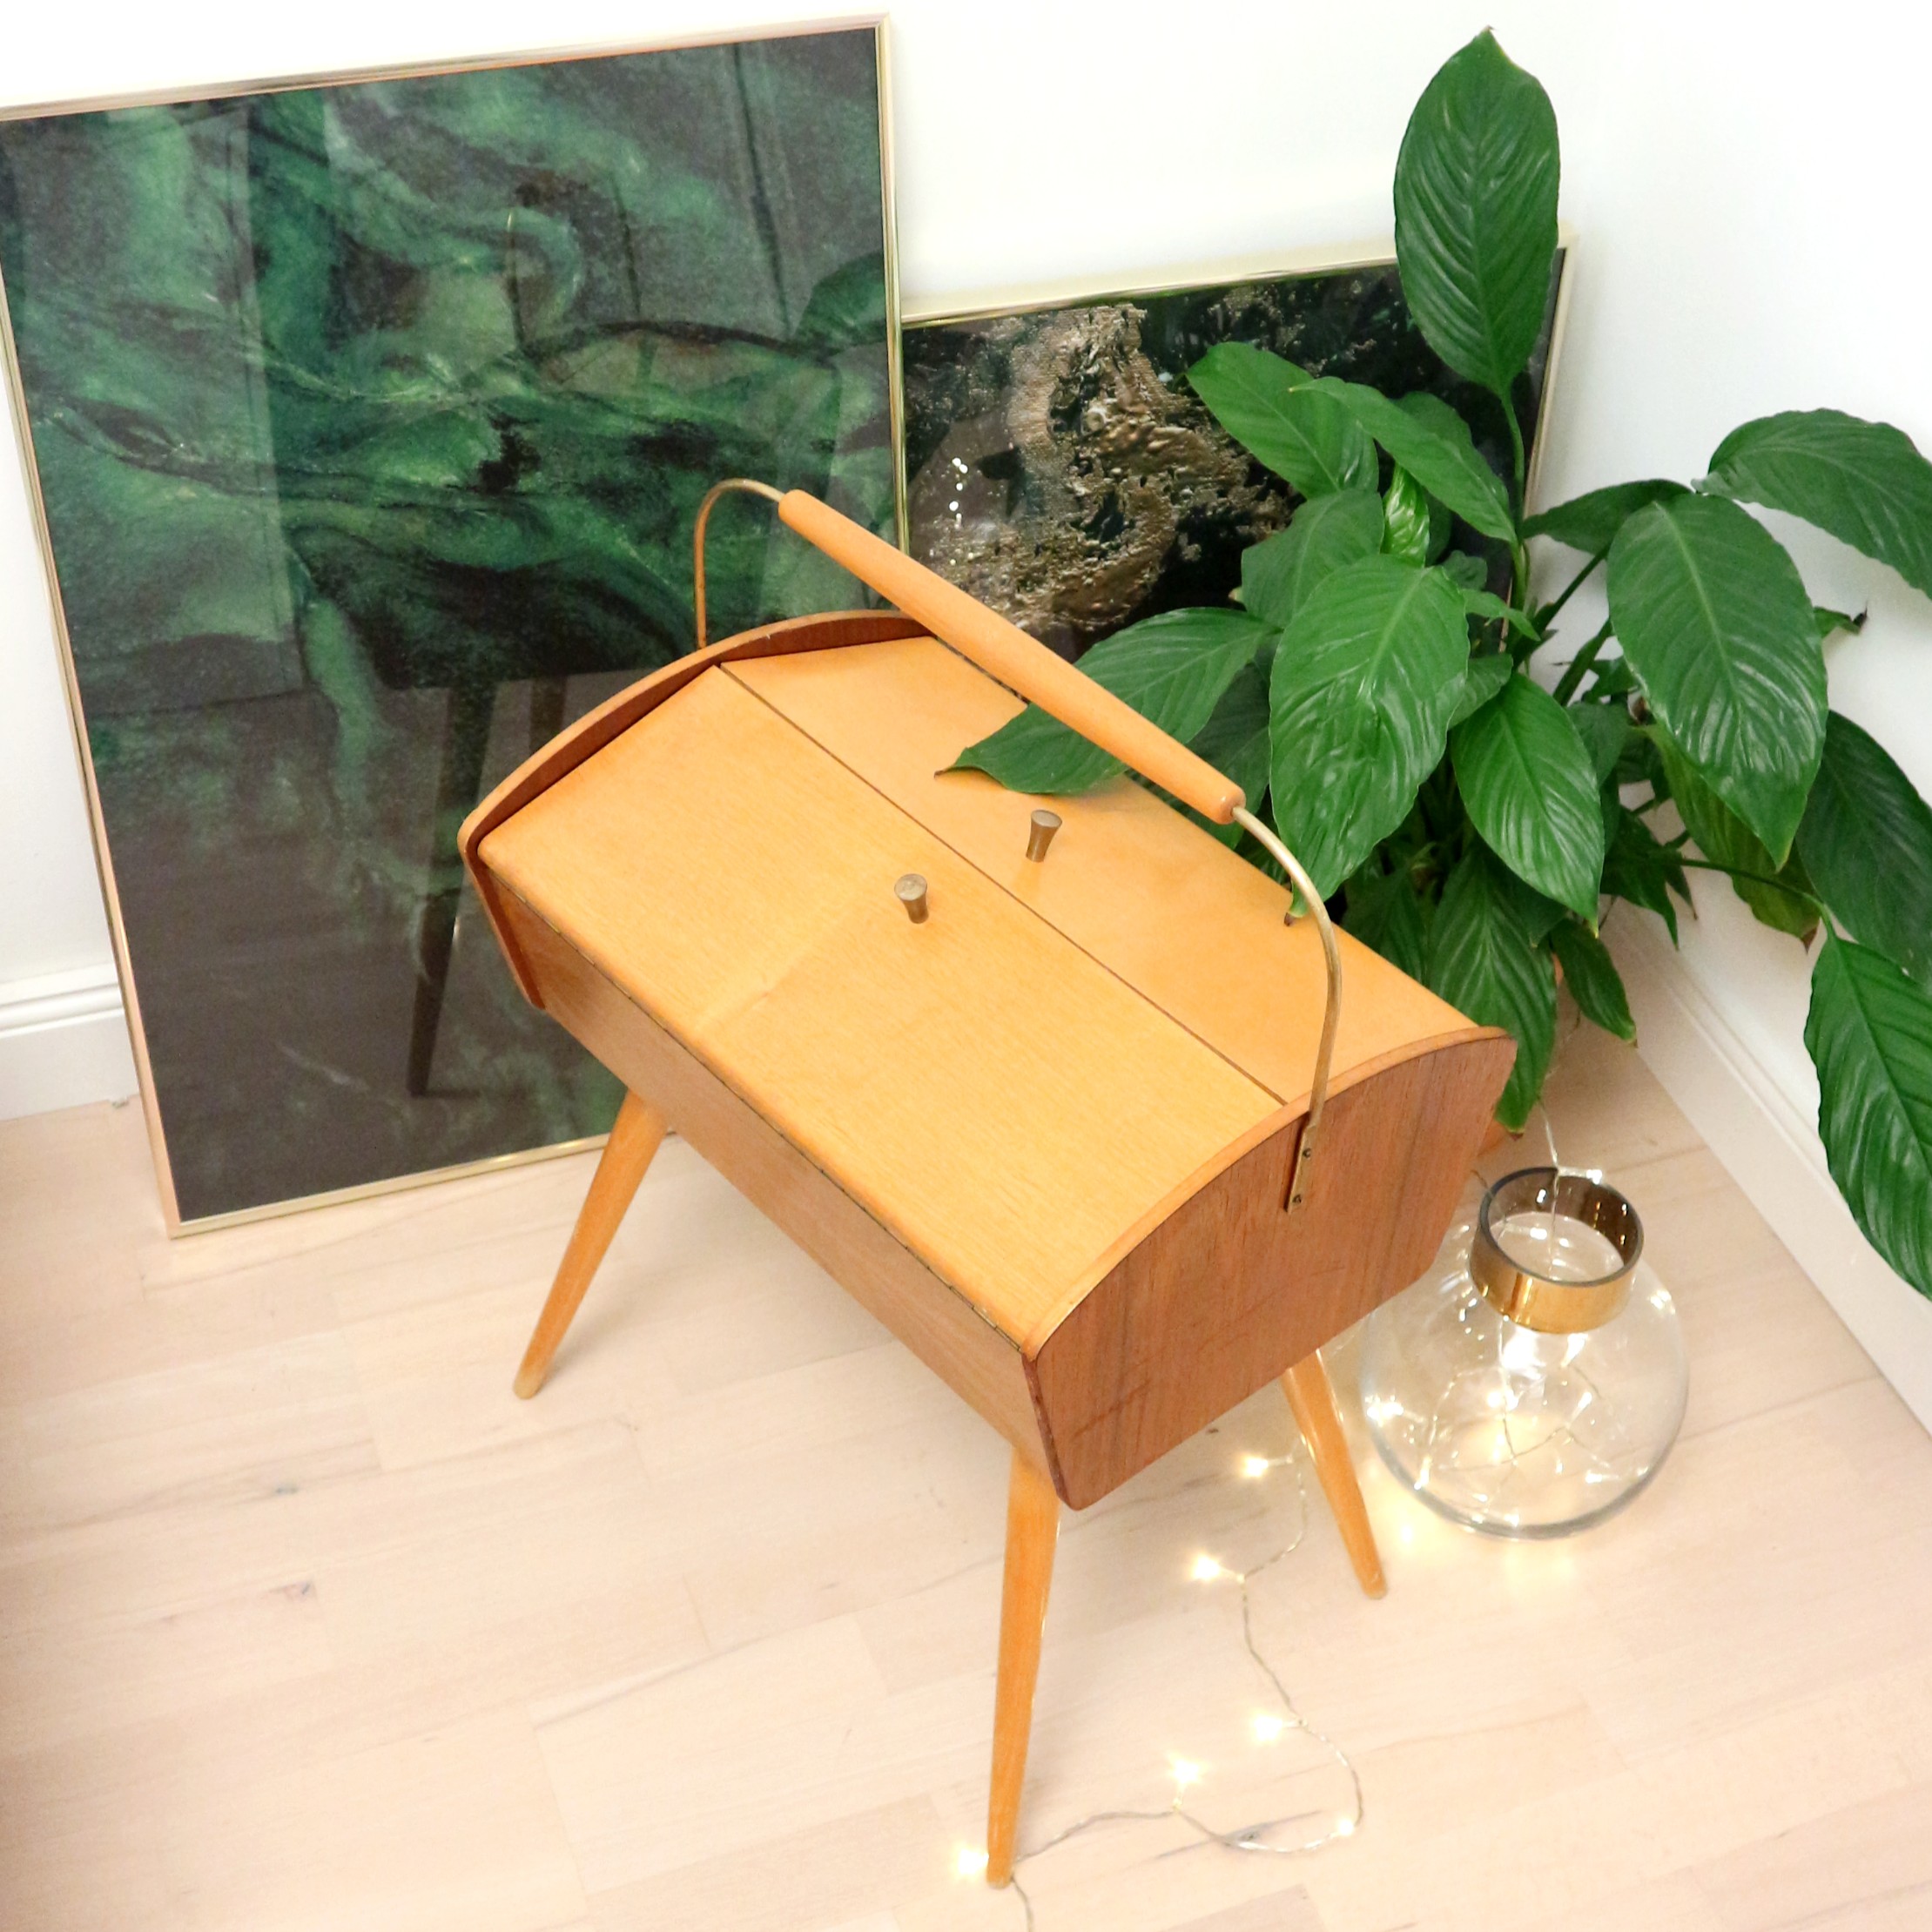
Do you also love the look of beautiful mid-century furniture covered in veneer wood? Me too! I restored this sewing table I found in a yard sale by only using things I already had at home. In this blog post, I will show you how I Restore Vaneer with a DIY Remedy.
The furniture pieces in antiquity stores usually are in mint condition but have a price tag that does not agree with me.
What to look for in vaneer furniture
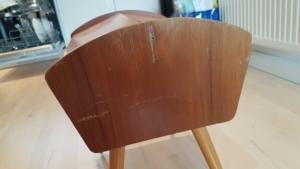
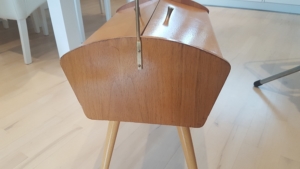
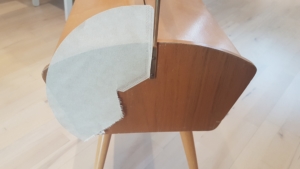
I think that old veneer pieces are often mistaken for “broken” when the truth is they are just dried out and dirty. We need to make sure that changes! Especially since these types of furniture really are small pieces of art.
If you are looking at an old veneer piece make sure they are no veneer parts missing completely. You can’t restore something that is not there. But don’t be discouraged, there is still be hope for furniture with broken veneer as well. Partially painted mid-century furniture is right on trend, so if the veneer is broken on your furniture then make sure to use this DIY remedy!
Before and after
If you want to restore a veneer piece like this you will find instructions and supplies for my remedy listed below!
Tools:
- Screwdriver
- Iron
Supplies:
- Cloth
- Aluminum foil
- Washing-up liquid
- Coffee filters
- Baking-soda
- Lemon
- Vinegar
- Tea
- Canola oil or Olive oil
Instructions:
1. Remove any hardware from your furniture.
2. Clean your furniture.
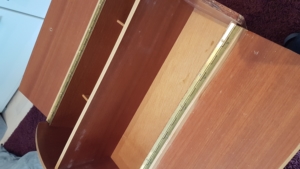
Use regular washing-up liquid and cloth, it is important to not use to much water since the wood and veneer can swell. So clean one part at a time and use a dry cloth to get rid of any excess water. Make sure all surfaces are completely dirt and dust-free.
3. Clean the hardware.
Which cleaning method you will use naturally depends on the material of the hardware. My sewing table has brass hardware which is very popular on mid-century furniture. The method listed below works especially good for copper and brass.
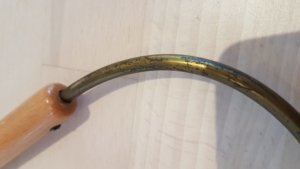

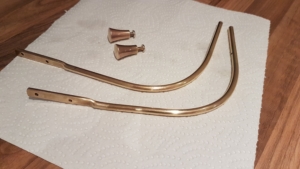
4. Clean copper or brass hardware:
1. Boil some water
2. Scrub your all hardware using a lemon cut in half. This step is optional but speeds up the process.
3. Put all hardware in a pot or bowl.
4. Put a piece of aluminum foil in the bottom. We are trying to start a small chemical reaction, so too much aluminum won’t work. Like some kind of reference, I would say two parts hardware and one part aluminum.
5. Sprinkle the hardware with baking soda. Remember that baking soda starts to bubble when you add water, so make sure to use a pot or bowl with high edges.
6. Pour over boiling water until it completely covers the hardware. If everything works correctly the hardware will start to release small bubbles. Leave it until the bubbles are gone.
7. Clean the hardware in hot water to remove all dirt, cold water will make it hard to remove the dirt.
5. Remove small scratches and marks.
- Use coffee filters and your iron to remove small scratches and marks. You want to use the film on the inside of the coffee filter. Start ironing on low heat and gradually turn the heat up if needed. When the coffee filter sticks to the veneer by itself you have the right temperature. Naturally, be careful not to burn yourself or the furniture.
- Mix one part tea/vinegar and 2 parts oil, to create a DIY furniture polish. Depending on the shade of your veneer you want either use tea or vinegar to blend into the oil.
Note: If you are unsure of the shade, use tea first since vinegar really darkens the veneer. I used one mix with tea and one with vinegar since my table had two shades of veneer.
Reflections:
This sewing table turned out better than I could have imaged when I bought this piece the veneer was in pretty bad shape it was dry and had a lot of scratches. After some homemade furniture remedy and restoration, I managed to get it back to its prime. It is, after all, a vintage piece so naturally, it still has some mini blemishes and scratches but they are hardly noticeable and I am very happy with the finished result.

I hope you enjoyed this blog post, you can find my other project like this one right here!
Don’t forget to join my awesome newsletter to get updates when I post more awesome content like this!

I have a coffee table from the 1970’s. it has glass inserts, which are fine. The veneer has buckled from moisture which is the problem. Should I try this “coffee filter-iron” method or should I peel off the old vaneer?
Can you say a bit more about the ironing phase? Thanks!