Looking for a simple but impact-full way to update your backyard? Then this is the perfect project for you. In this post, I will walk you through exactly what I used to make this concrete birdbath. I think this could definitely be used as a planter as well, but I wanted a birdbath so for me that was the original idea.
Supplies
- Fine-grain concrete mix
- Plastic bowl
- Plastic bucket
- Gloves
- Facemask
- Concrete blending bucket
- Duck Tape
- Medium-sized stones (optional)
Tools
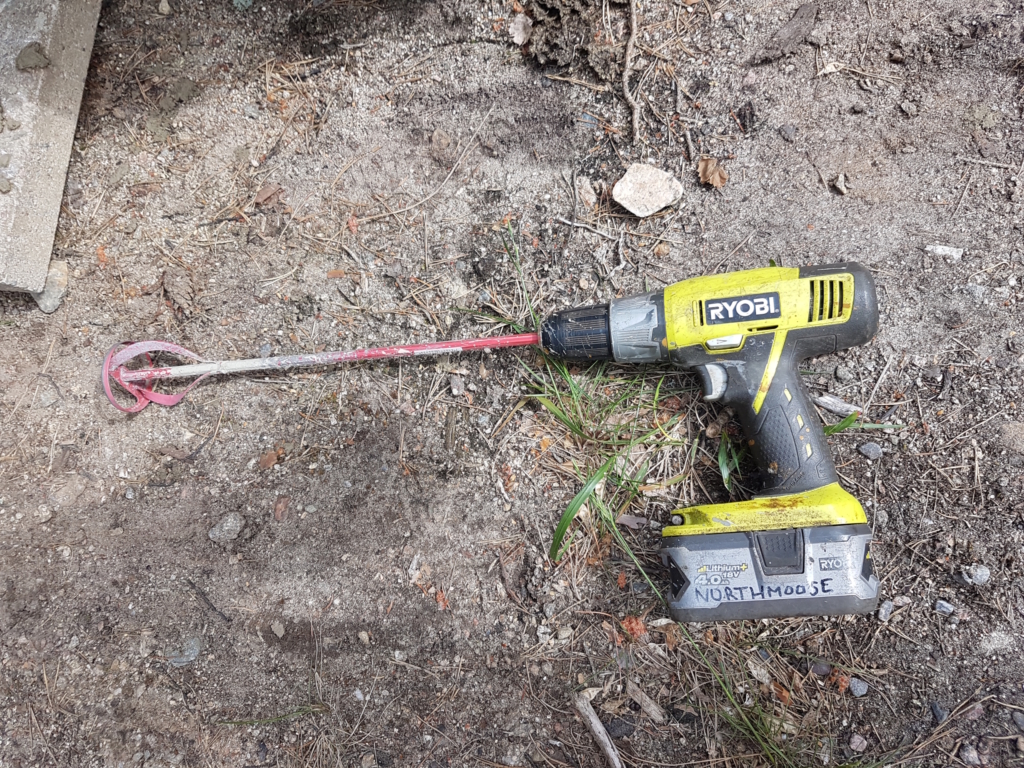
- Screwdriver
- Screwdriver concrete mixer extension
- Concrete trowel
Instructions
- Start by gathering all of your tools and supplies in one place so you have them at hand.
- Make sure to use gloves and a facemask, concrete dust is very bad for your lungs so you want to make sure to protect yourself.
- Place the plastic bowl that will serve as the mold for your birdbath, at a flat leveled surface. If possible to this outdoors and remember to protect your space.
- I blended the concrete mix with water according to the instruction on the bag. I started by using a trowel to start mixing it and make sure I get some water into the concrete mix. Once it was fairly mixed I used my screwdriver and screwdriver mixer extension to mix it for a couple of minutes to make sure I had an even concrete mixture. You can do this entirely by hand but concrete is quite tough to work with so I would really recommend using a screwdriver if possible.
- Once I had a fairly thick but even concrete mixture I added about 4 cm or 1,5 inch of concrete to the bottom of the plastic bowl using a concrete trowel.
- Then I placed my plastic bucket on top of the concrete, I wanted to create an exiting shape so I chose to put the bucket closer to one edge of the plastic bowl. If you prefer you can easily center the bucket as well. Make sure you leave enough room space between the bowl and the bucket to ensure the concrete won’t crack once it dries.
- Secure the bucket in place with duct tape, I made a cross with the duct tape and secured it to the bowl.
- If you want you can use a couple of stones to weigh down the bucket in order to secure it even more as it dries.
- Then I kept filling the space between the bowl and the bucket until I reached the top of the bowel.
- Then it is time to tap the bowl to make sure all air bubbles escape. I can honestly admit that I did not pay enough attention to this step. Because I used fine concrete I could have archived a much more even end result if I had spent some more time tapping out air bubbles directly after filling the bowl.
- I set the birdbath aside to dry for 6 days. But I watered the concrete daily to make sure it didn’t burn too quickly, if you don’t water the concrete it might crack.
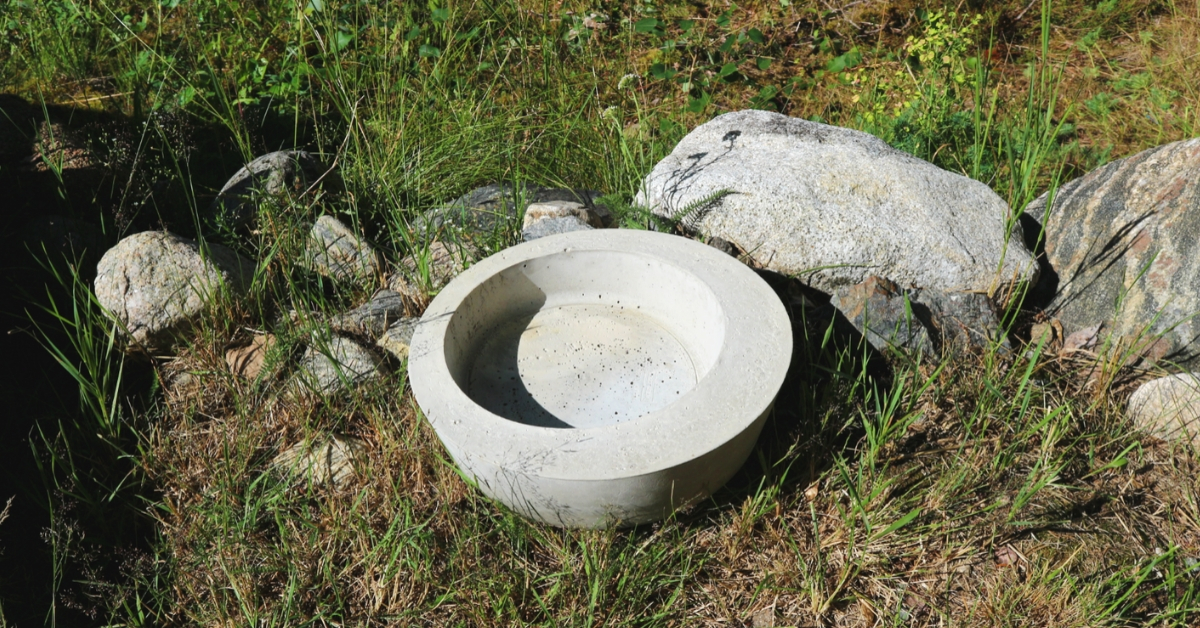
- After 6 days I gently removed the bucket, I also placed the bowl above the grass to make sure it wouldn’t be damaged once it popped out. I simply turned it upside down and started removing it from the bowl mold.


Voila now you have a concrete birdbath!
I am very happy with the way this turned! Next time I will make sure to tap out those air bubbles. There is always a learning curve for doing new things and I really love working with concrete. Going forward I hope I will be able to bring you more DIYs like this.
If you loved this DIY make sure to join the Selectedcrafts Tribe right here! Then you will receive gifts and inspiring content like this every now and then. If you can’t wait to check out more content like this make sure to head over to my blog.
