Looking for a super quick way to update your patio or balcony? In that case, this DIY is the right thing for you! Not only can this candleholder be made basically for free, but it is also very quick and simple to make. In this blog post, I will show you exactly how to make a jute candle holder. Let’s get right to it, here is what you will need!

Supplies
- Medium sized glass jar
- Jute rope
- Candle
Tools
- Scissors
Instructions
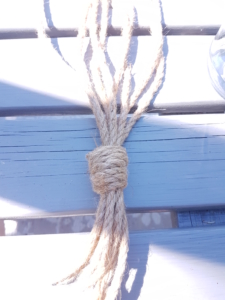
- Start by measuring out 8 pieces of jute rope, mine was around 60 cm / 24 inches.
- Line up all the rope pieces and make a firm single knot.
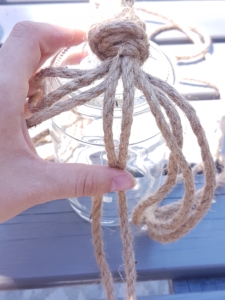
3. Place the knot above the center at the bottom of the glass jar. Measure our where the first row of knots should be. The first row should be pretty close to the bottom in order to hold the jar properly.
4. Pair two strands of rope and make 4 knots. This will create a basket that will serve as the base for your candle holder.
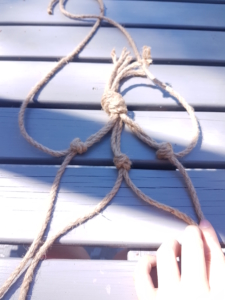
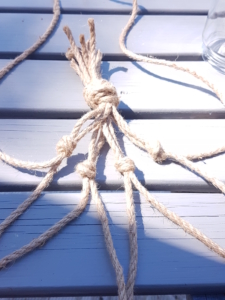
5. Measure our where you should place the next row of knots, tie 4 new knots by pairing one rope strand from each old knot with each other.
6. Taken all the rope pieces and make a single knot to tie the candleholder together, remember to leave enough room to fit the glass jar.
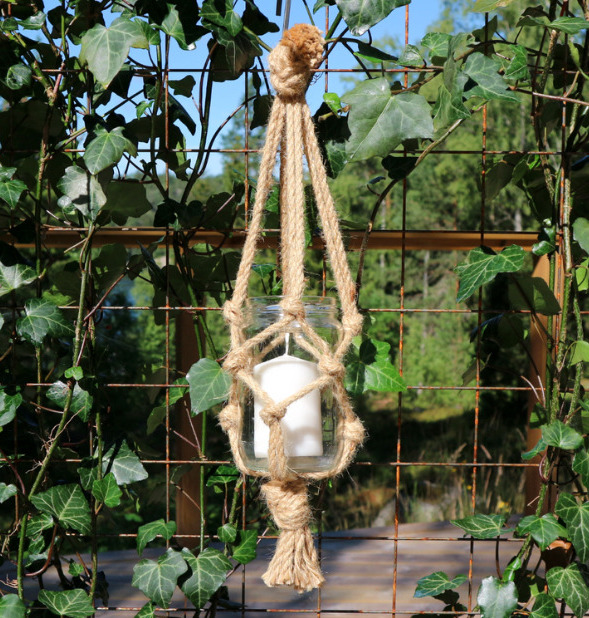
7. Place the glass jar in the rope basket.
8. Take your scissor and trim any access rope if needed.
Remember to never leave a burning candle unattended!
Ta-da! Now you have a brand new jute candle holder. This DIY really turned out way better than I expected, as soon as I have access to more glass jars I will make more of these. Sometimes the only thing you need in order to update a space is a small but impactful change. Lighting the candle in this candle holder is such a nice detail in the late evenings on the patio. I am considering to spraypaint the base of the jar since the candles sometimes make a mess once they melt. Another option if you want a trouble-free experience is to go for a battery-driven or solar light powered candle.
I really hope you enjoyed this tutorial, consider joining the Selectedcrafts tribe to get updates when I post new goodies like this.
If you enjoyed this post make sure to check out my other DIY tutorials over here!
Thank you for stopping by, you’re a superstar!
