I love clear plastic organization and I really wanted to find out how to make one on my own. I could not find a tutorial on how to make one and finally decided to make one of my own. So let’s get started, here is how I made this Plastic Bottle Organizer!
Tools:
- Saw or Carpenters Knife
- Nonstick frying pan
- Hot Glue Gun
- Ruler
- Marker
Supplies:
- 3 Plastic bottles
- Paint or Nailpolish
Tutorial:
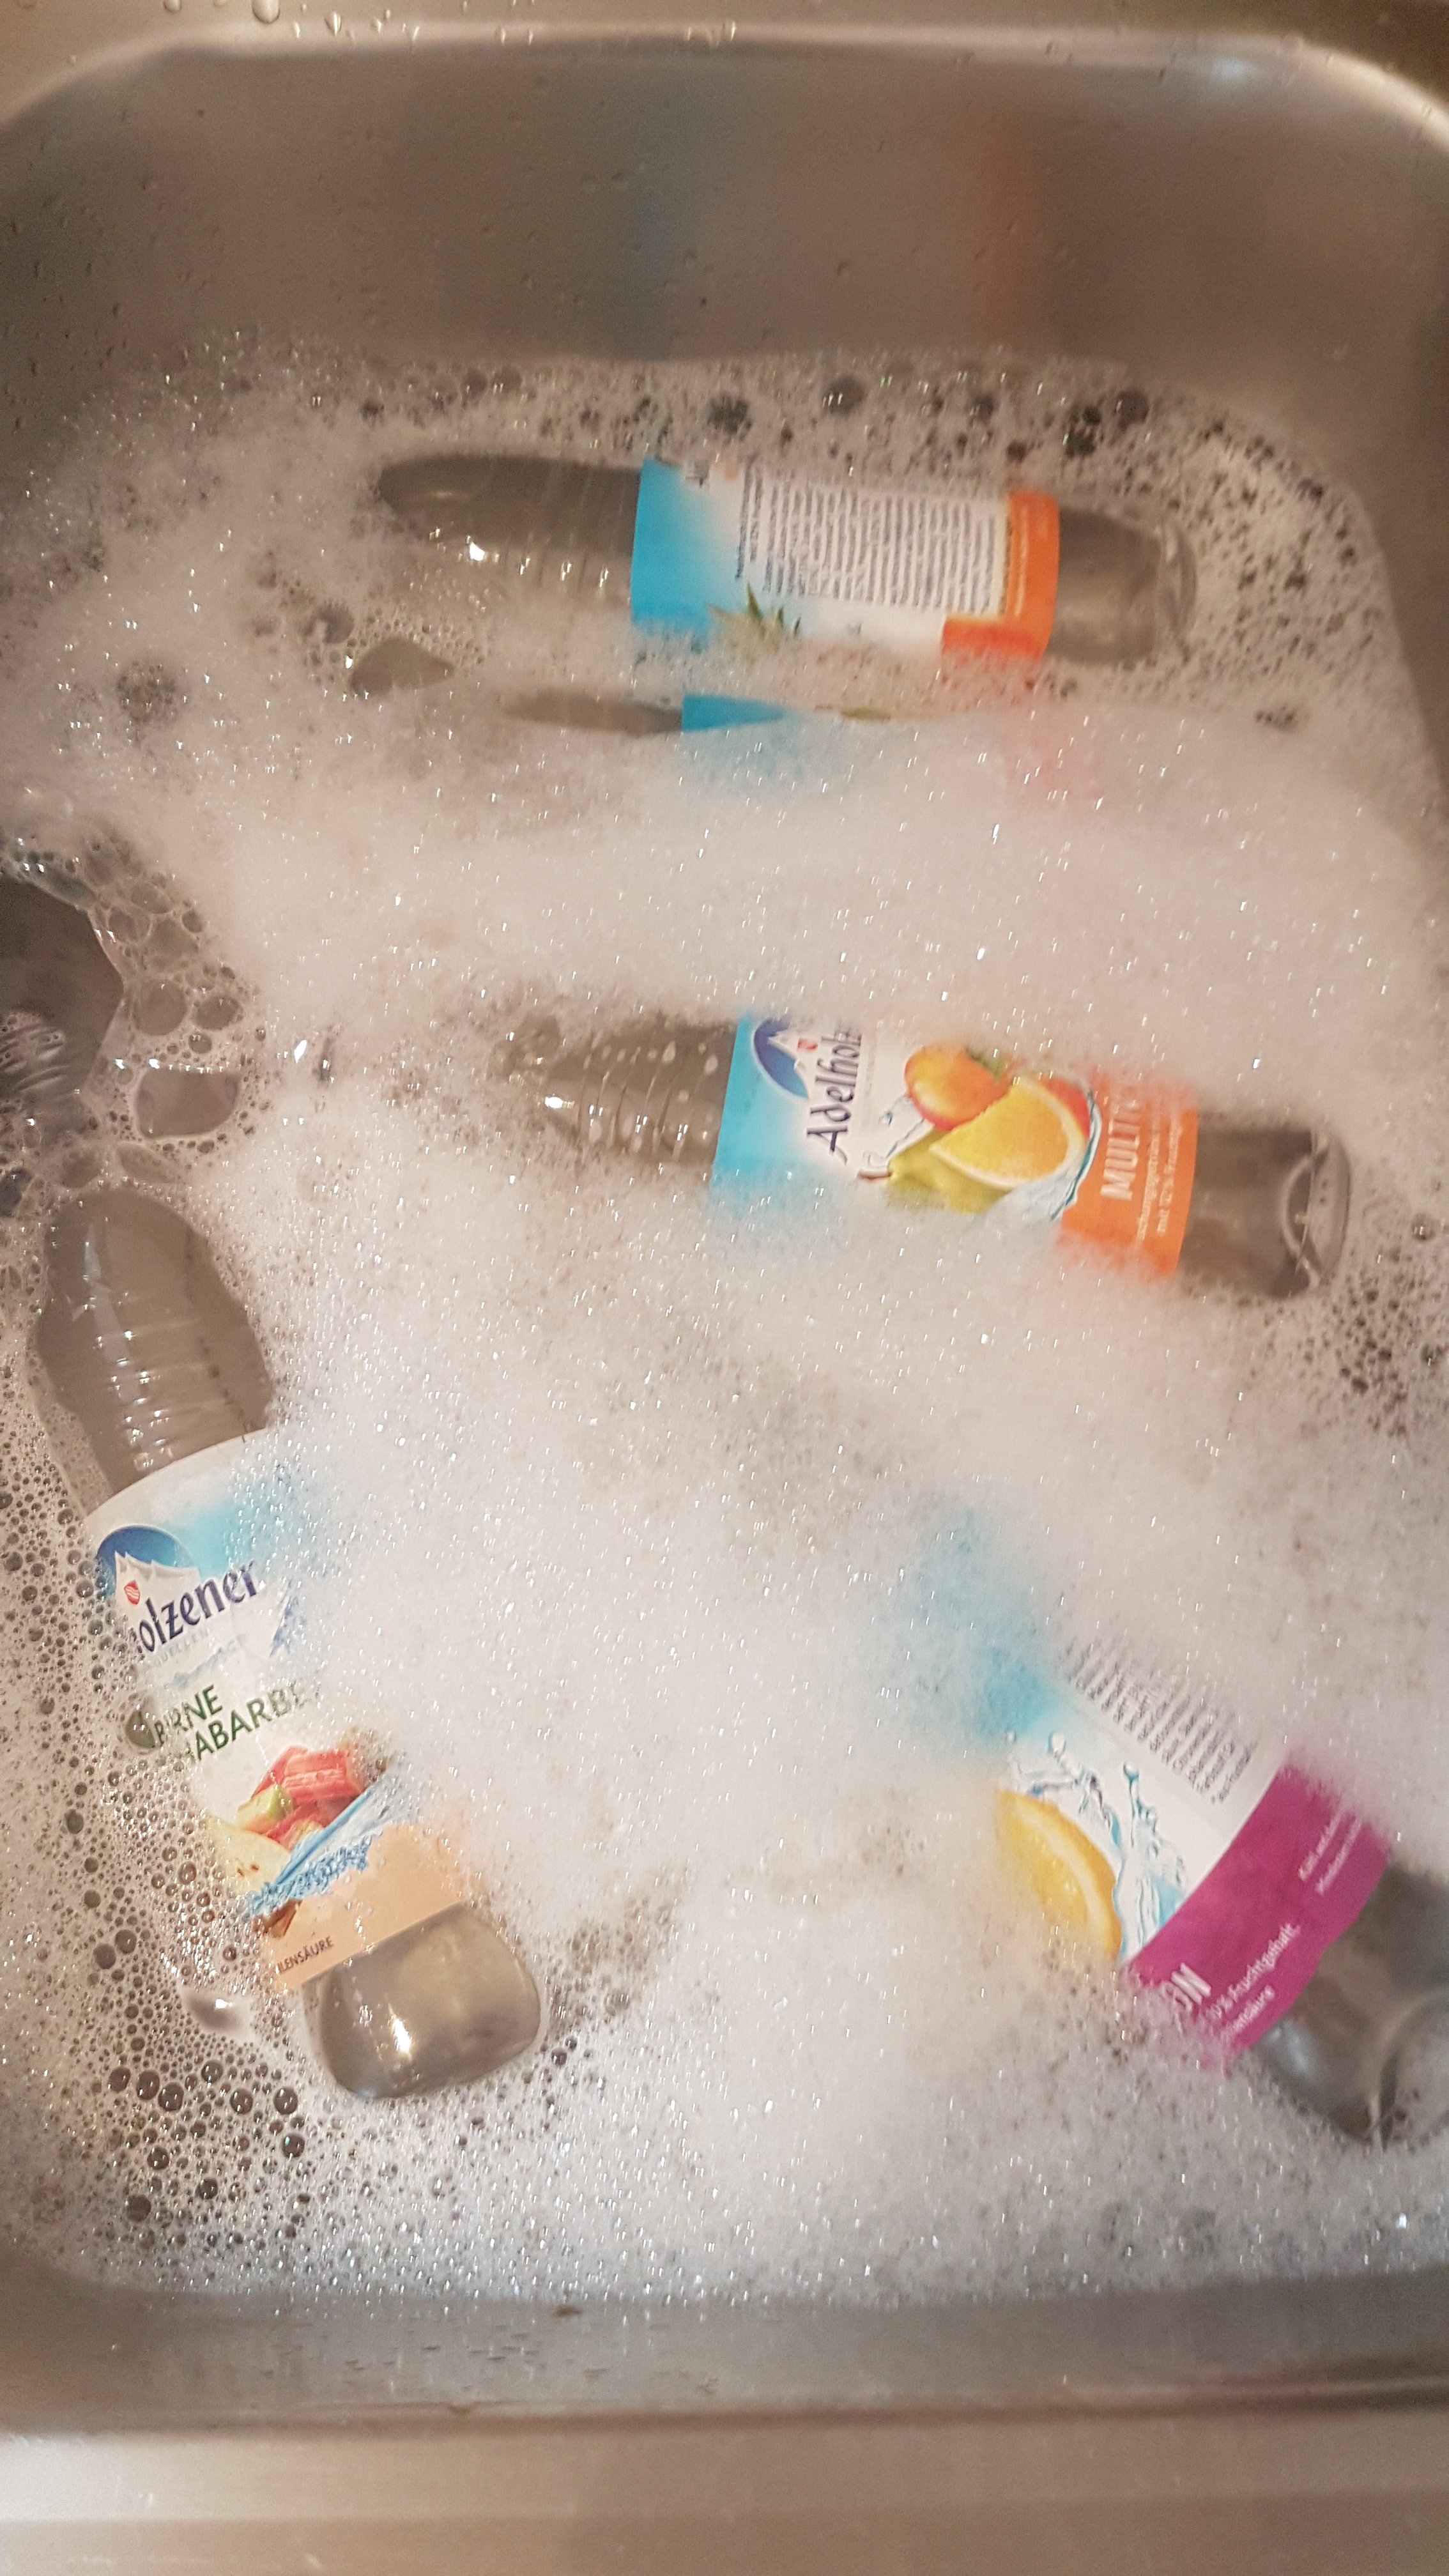
1. Remove the labels and clean your plastic bottles properly.
2. Use a ruler and marker to mark where to cut the plastic bottles. You want a flat cylinder so make sure you cut only the middle part of the bottle.
3. Cut the bottle using a saw or carpenters knife depending on the thickness of the plastic.
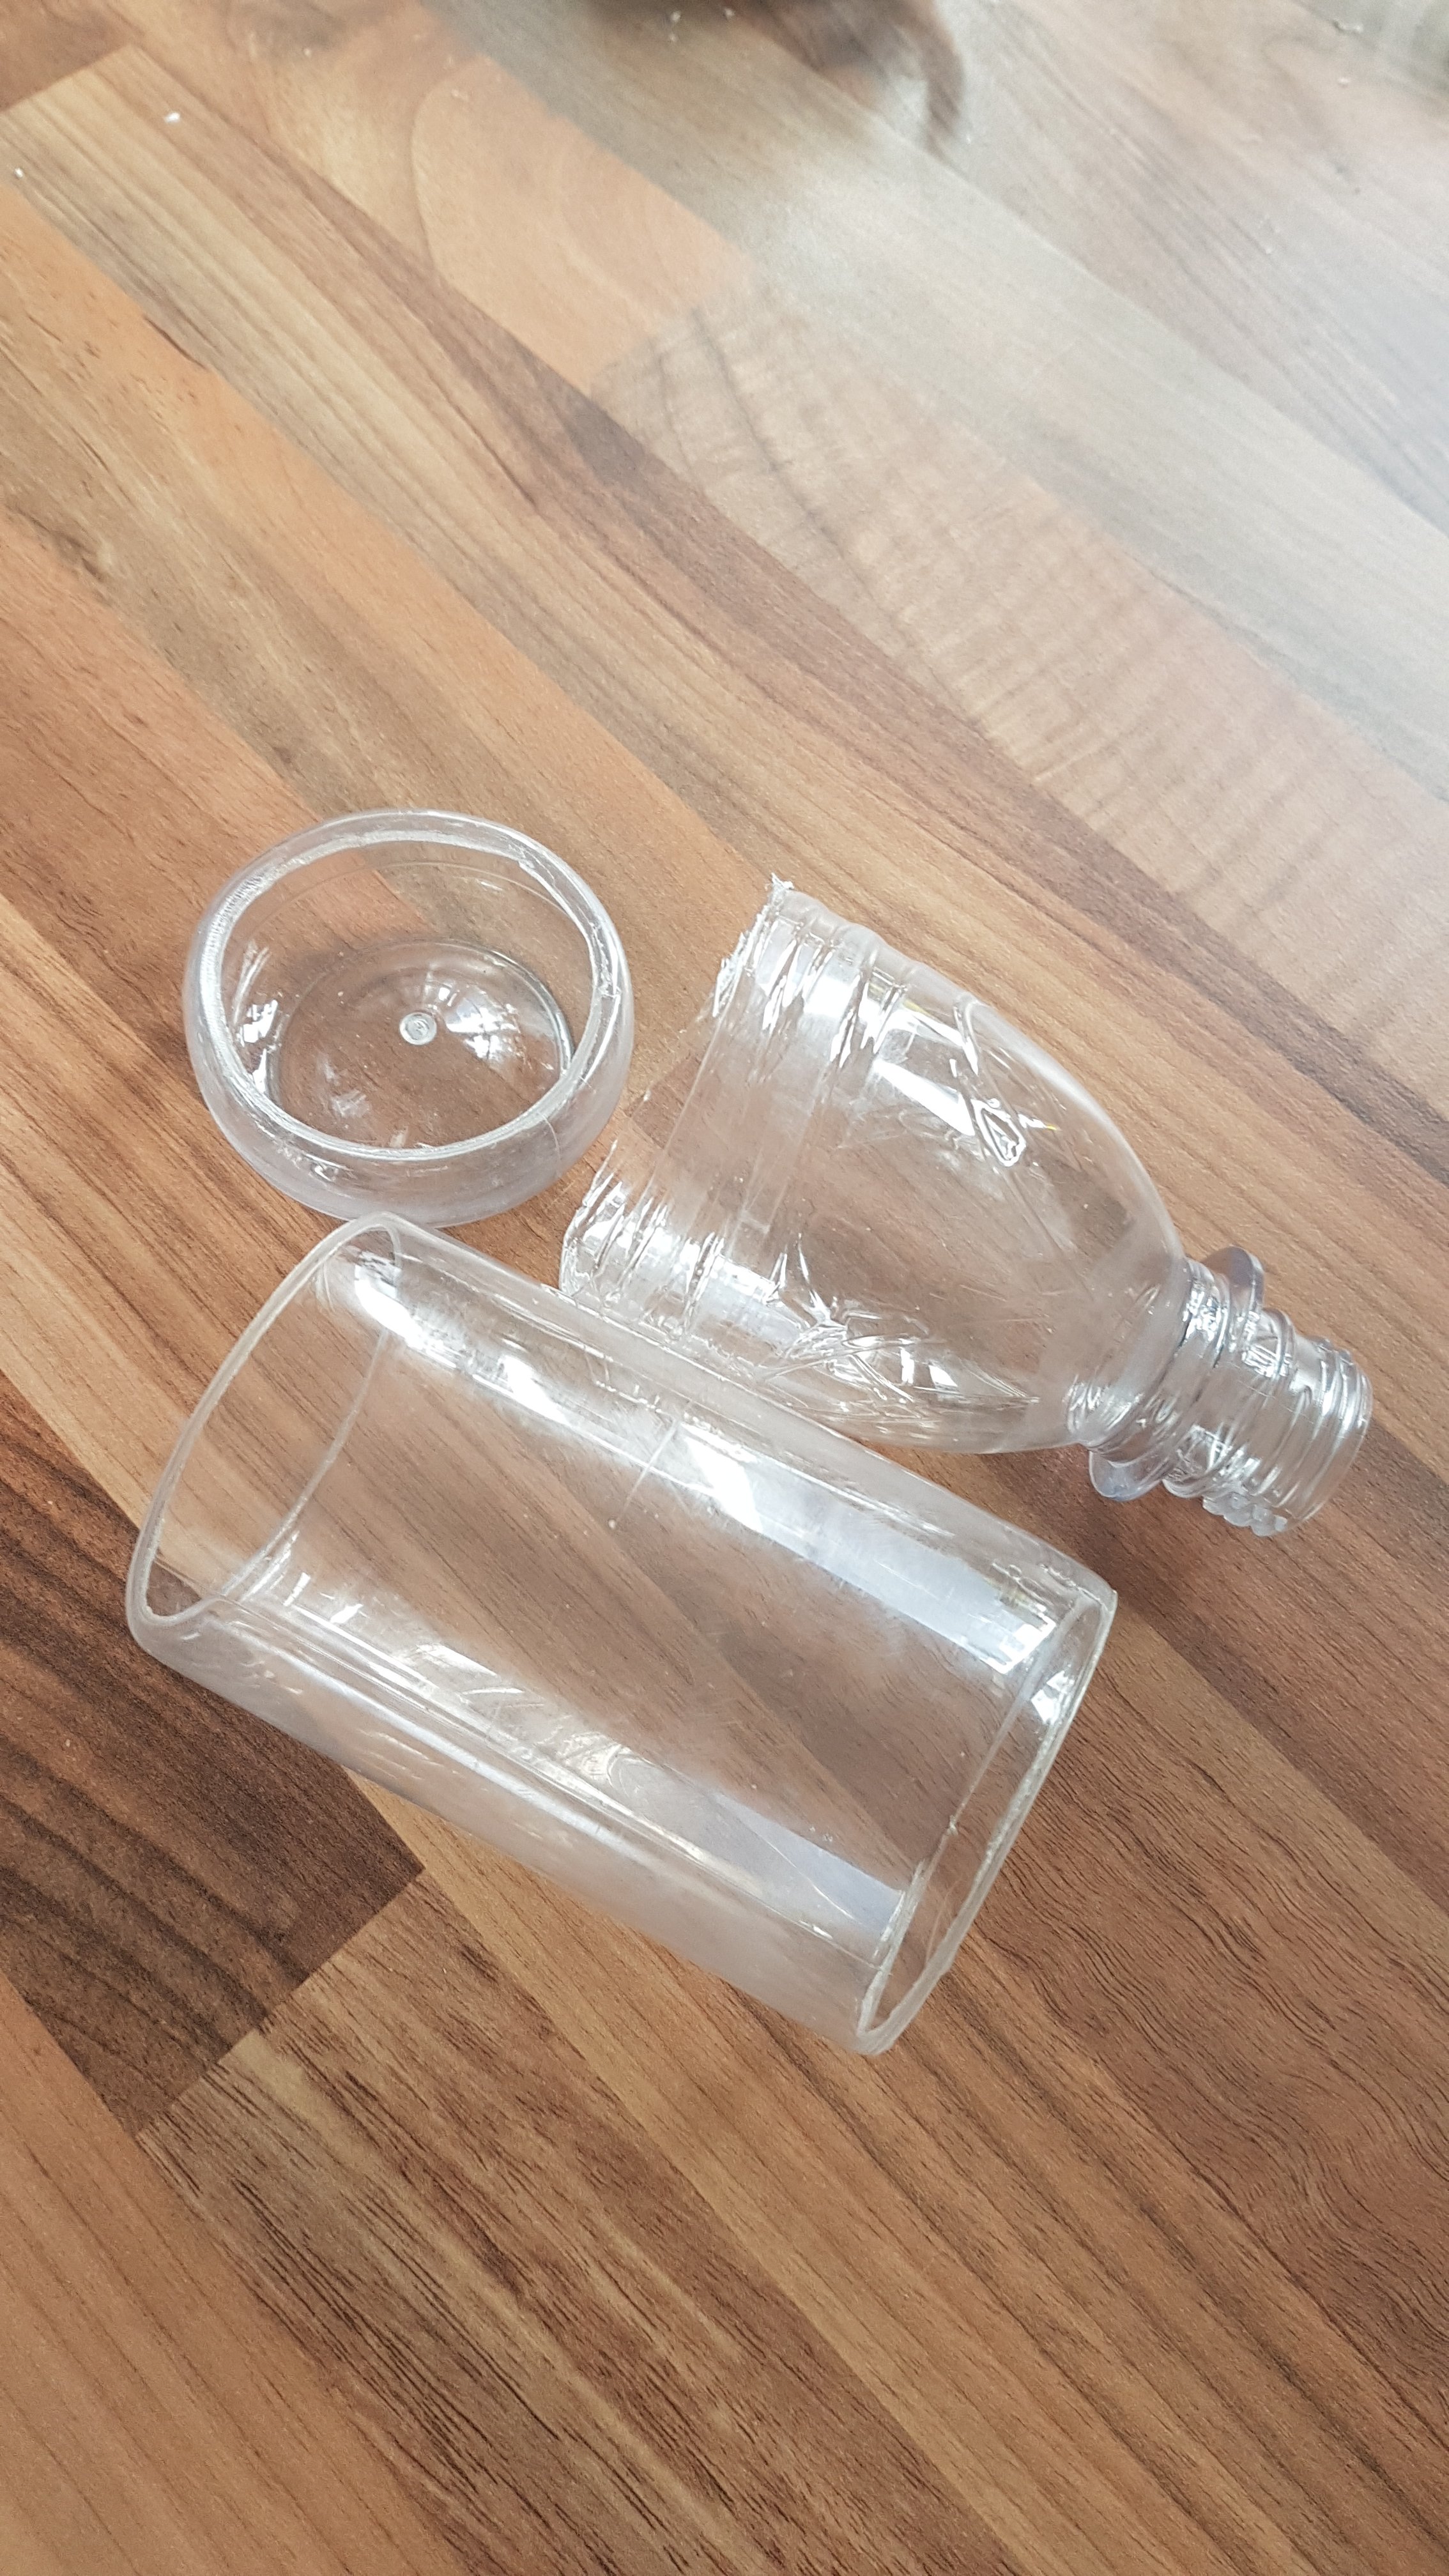
Note: Be careful not to scratch the plastic while cutting out the cylinders.
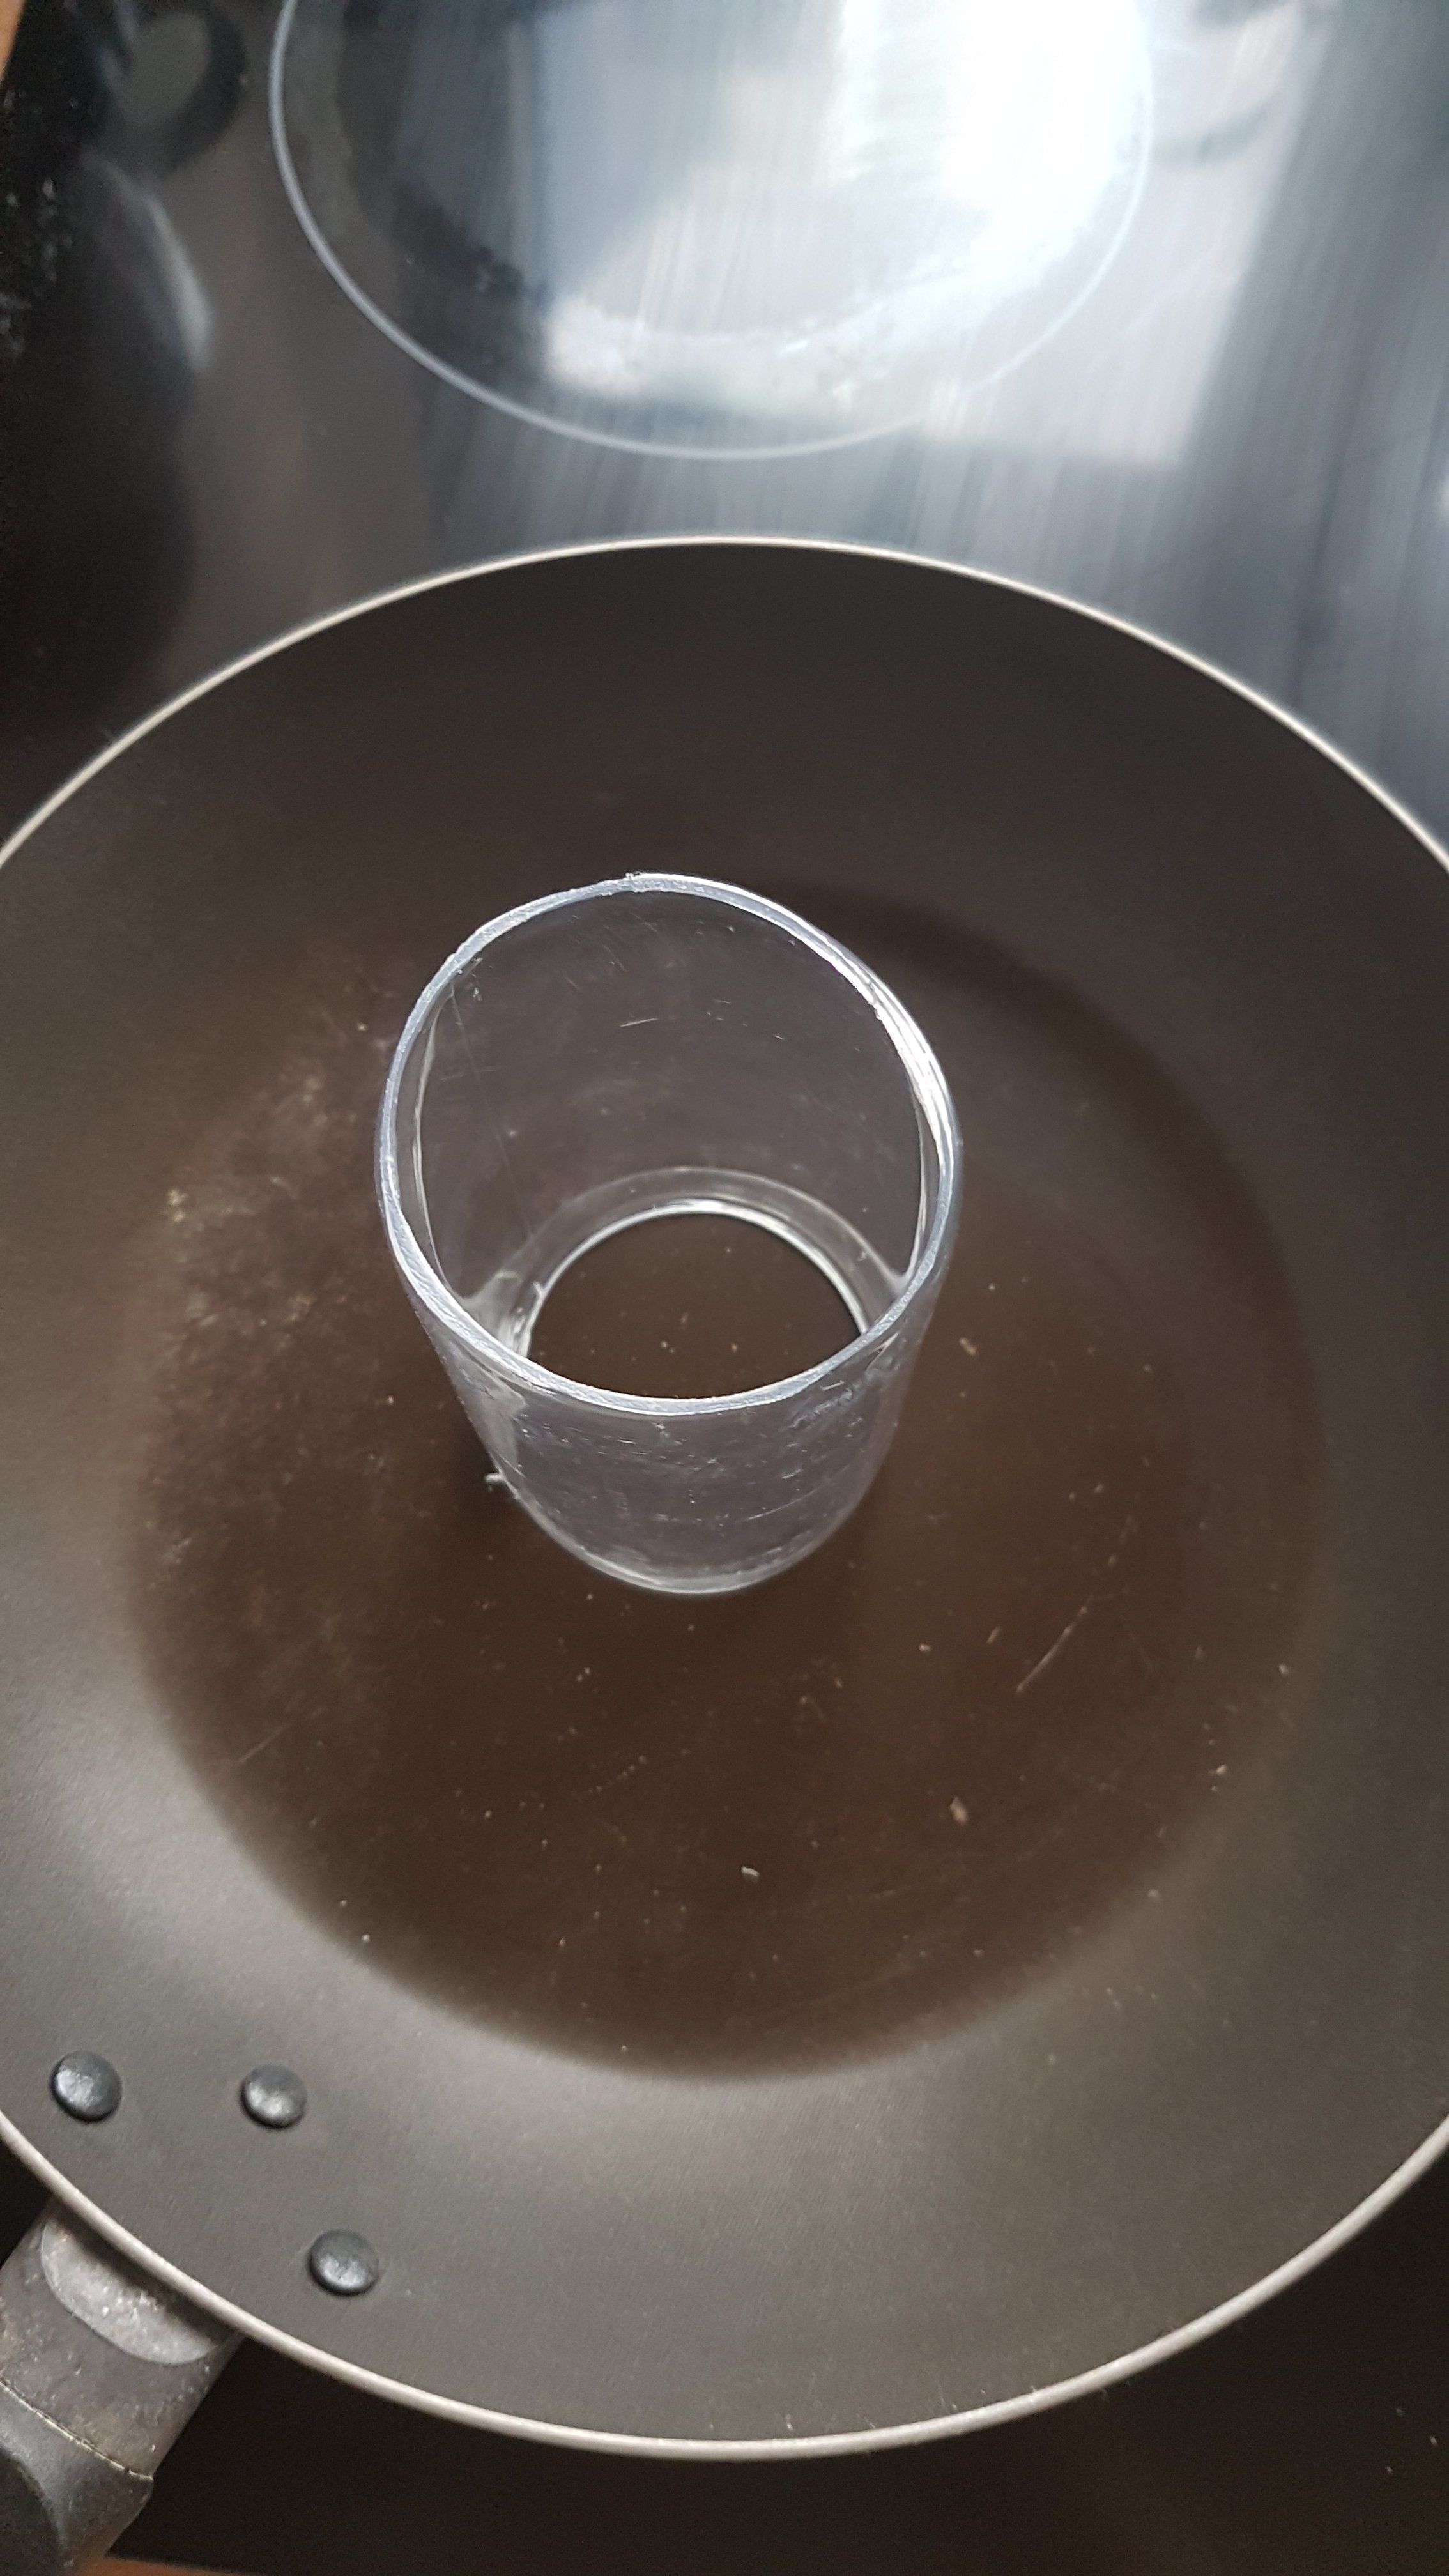
4. Use a nonstick frying pan on low heat to create a smooth edge on the cylinder. Remember to only do this in a well-ventilated space and remember the plastic will get very hot while doing this. Start off on low heat and continue to carefully turn up the temperature if needed.
5. Paint the edges of the cylinders using nail polish or paint of your choice.
6. Clean the cylinders to remove access paint or fingerprints before gluing them together.
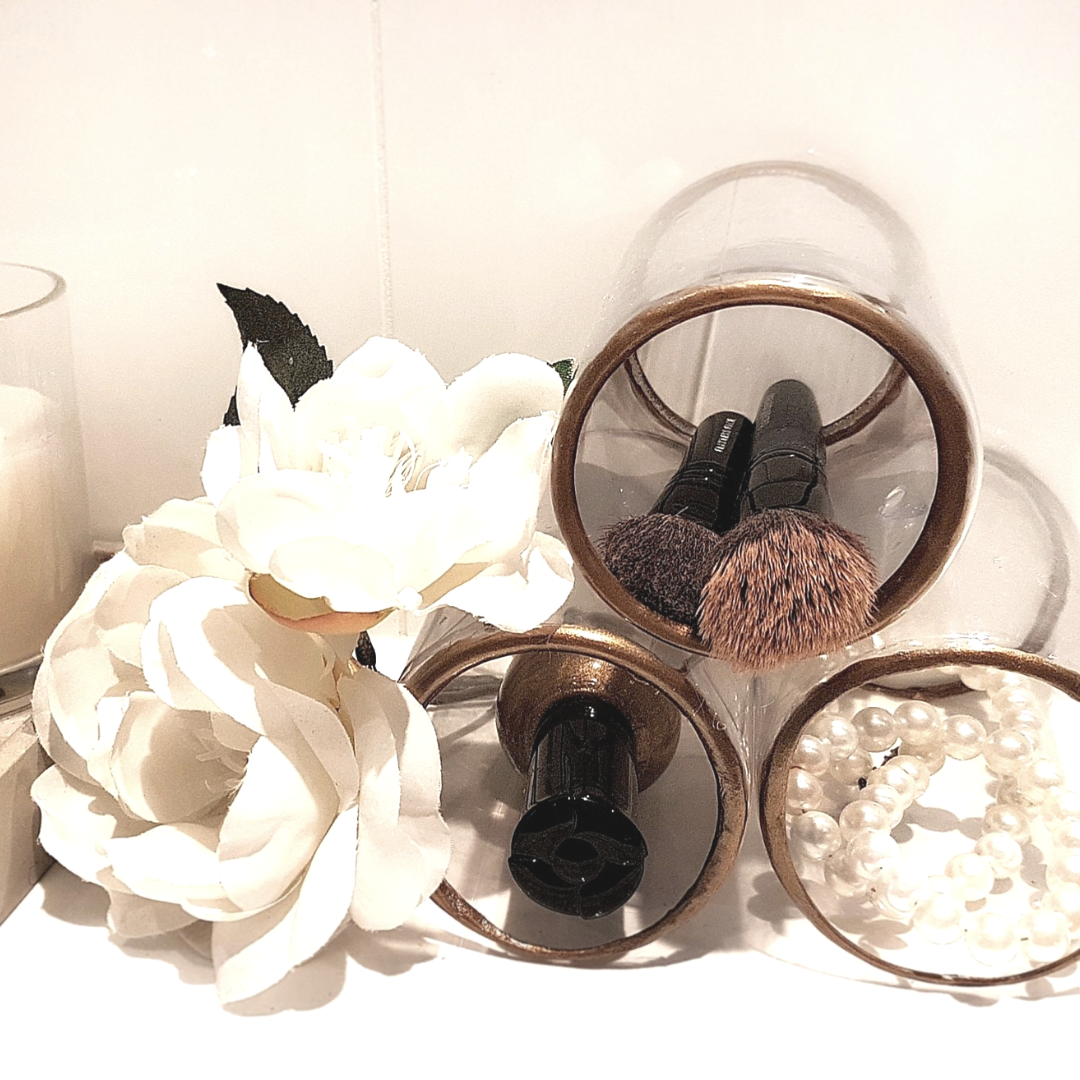
7. Glue together the 3 cylinders using a hot glue gun. Remember to align the cylinder in the front if there is a length difference on the cylinders. I just used eye measurement and only glued in three places, while pinching the plastic bottles together.
Now you have your very own plastic bottle organizer! I use mine to store smaller make-up items. Make sure to let me know in the comments if you decide on making one of these for your self.
You can check out my many other DIY tutorials over here!
If you can’t wait to find out when I upload new posts like this, consider joining my awesome community of followers!
