Elderflower Lemonade

Are you looking for a refreshing summer treat? Then this easy-to-make lemonade with less than a handful of ingredients is the thing for you! Let me tell you how I made this elderflower lemonade.

Note: Make 100% sure that the flowers you use for lemonade or have in your garden are actually true elderflowers. There are false elder varieties that are poisonous. The true elder has white flowers in wide flat clusters.

Elderflower Lemonade Cloth
Elderflower Lemonade Lemon

Ingredients:

  • 20 elderflower clusters
  • 1 liter of water
  • 1 lemon
  • 8 dl sugar

Instructions:

First I collected around 20 elderflower clusters in a basket. I left these flowers out, on a white table cloth, for about 40 minutes to make sure that any bugs or insects that accidentally may have ended up in the basket got a chance to crawl out. It’s important to use a white cloth or paper, supposedly that makes the bugs leave faster.

Then it’s time to put the elderflowers in a big pot. Make sure to remove any access stems from the flower clusters. You just want to use the flowers themselves.

Slice a lemon and put it in the pot. Then boil one liter of water and pour the water over the flowers and lemons. You want to make sure that everything sits underwater level. Put the pot away in a cool place or in the refrigerator and let sit for 24-48 hours. I waited for 48h and I strongly recommend it.

Use a cloth or metal strainer to filter out the lemonade. I used cloth since it removes all small debris from the lemonade. Then bring the lemonade to a boil and add 8 dl of sugar. Add additional sugar if you want a sweeter lemonade.

Bottle the lemonade and take it out on hot summer days. Mix in with cold water and ice!

You can find my other favorite recipes on the blog and make sure to join my newsletter for inspiration.

How to choose the right frame for your artwork

There are a lot of ways to frame your art. As a beginner art collector, it can be difficult to know what framing options you have. In this blog post, we will address this and have look at how to choose the right frame for your artwork.

You can find frames at your local art dealer, home decor shops, or online. Personally, I prefer to shop frames second hand. You could even DIY frames and make your own design. Hopefully, you can find a framing option that suits you. In this blog post, we look at how to choose the right frame type, style, size, and position.

Choose the correct frame type

When I talk about a frame type, I refer to the structure of the frame. There are endless options when choosing materials and styling for a frame but in general, there are few groups of frames.

  • Frames with a border and covered with glass
  • Frames without a border but covered with glass
  • Frames with two sides of glass, transparent frames.
  • Open frames without glass
  • Digital frame
  • Poster Hangers

Whichever frame type you choose you should always aim for the same thing, to frame your art for a lifetime. This can be tricky because not all types of art require the same kind of protection.

For example, the best way to protect drawings and watercolors is by framing them in a frame covered by glass or acrylic. This will protect it from wear and tear and prolong the lifespan of the artwork. Both glass and acrylic protect the art from dust and dirt, but some acrylic-covered frames also have built-in UV-protection.

Other kinds of art like oil and acrylic are usually sturdy and don’t require any extra protection. They can actually get damaged by being squeezed into a covered frame. These art types it is better off in an open frame that simply complements the art. Most paintings are painted on standard-sized canvases which makes it easy to find frames for them. Please keep in mind that oil and acrylic paintings require occasional maintenance. You should dust your paintings gently with a feather duster, never clean a painting. Never use cleaning products or damp cloths on your paintings.

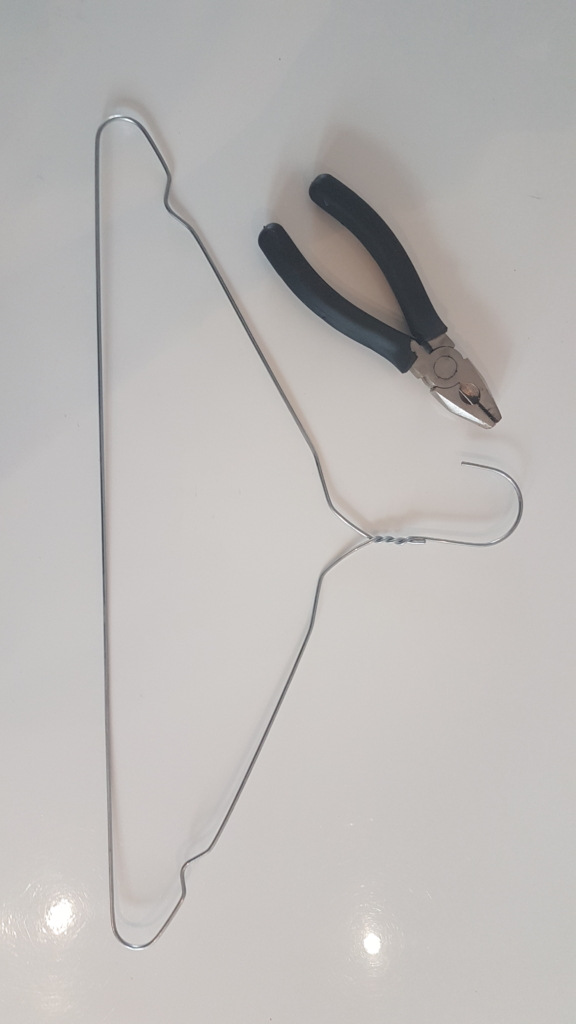
Frames can be costly, not everyone has the budget to invest in brand new frames for every artwork in their home. Luckily there are many other options to consider like buying frames second hand or DIY’ing your frames.

It is also very likely that you prefer to display your art in a certain way. Maybe that’s without a frame altogether. That is fine! As long as you remember that the way you frame your art affects the lifespan of your art.

Choosing a frame a style

There are not of different styles of frames, from covered in gold antiques to wood and metal. You can have frames that are just a transparent glass cover. Some frames have additional sculptural or decorative features and some are very minimal. Which style you go for is entirely based on your preferences. A ground rule is to choose a frame based on artwork, not the other way around. You want to find a frame that provides a decent amount of contrast, without overpowering or blending into the artwork. When settling for colors or materials for your frame, a piece of general advice is to choose something that ties the artwork to the rest of your home decor.

With that said, there is nothing that says that you can’t combine a certain motive or technique with a frame in clashing color or material. This usually only creates intrigue.

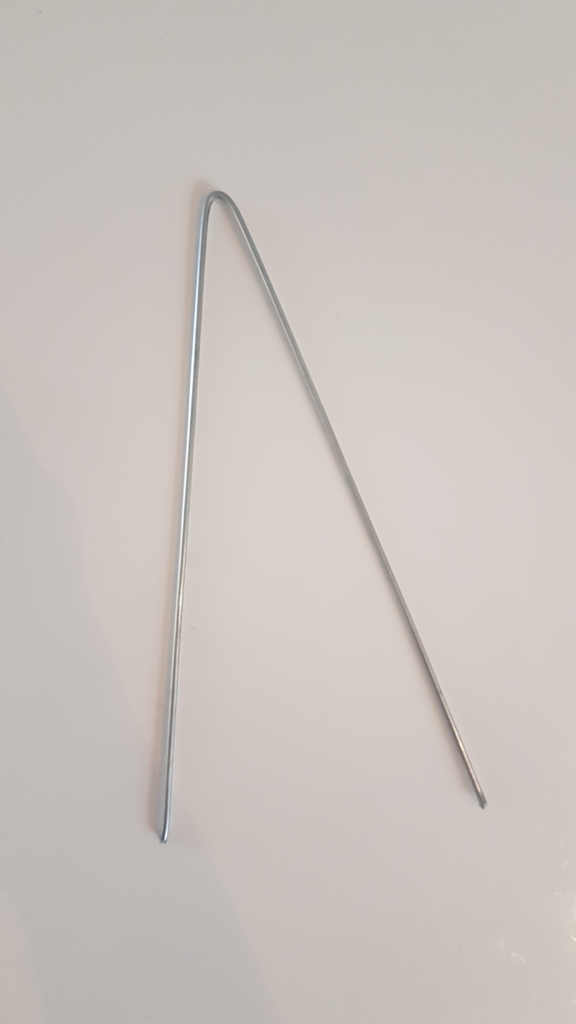
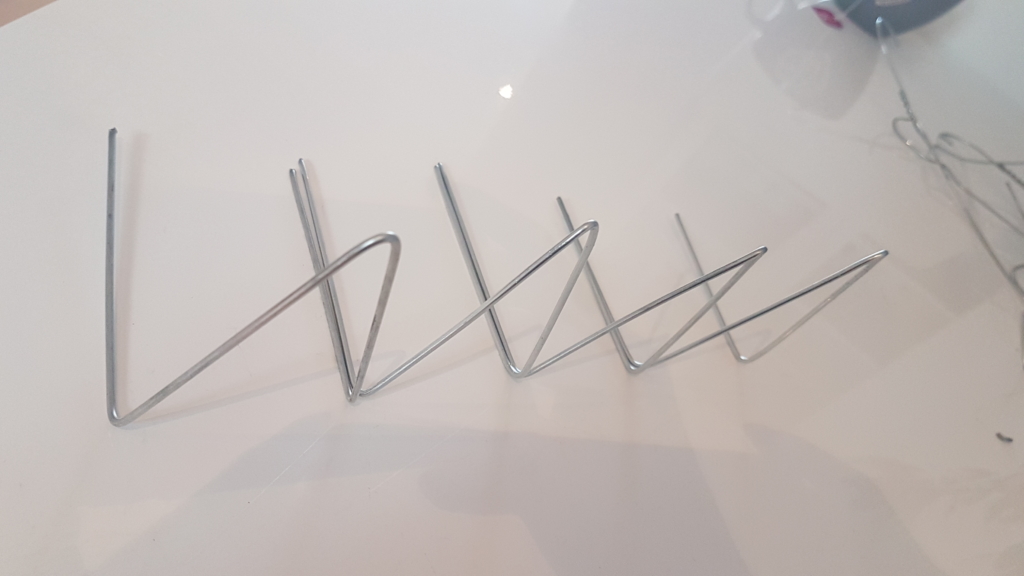
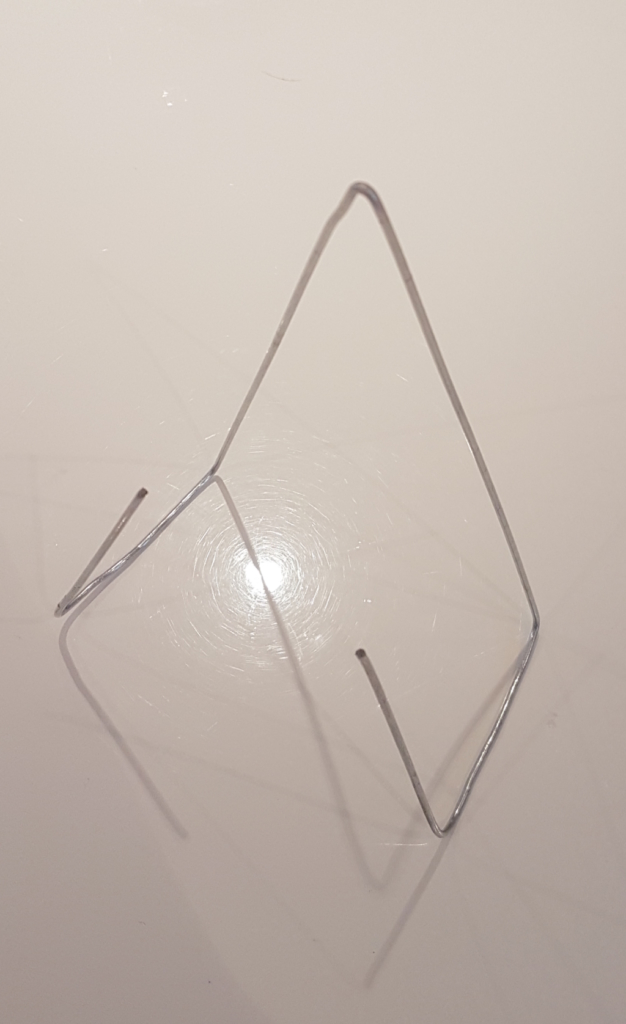
Another tip for creating intrigue is to go for a frame in an unusual shape like for example round or triangular. You don’t see that type of frame all too often but they are beautiful features in gallery walls for example.

However, I would never separate a collector painting from its original frame for example.

Choosing the right frame size

The most common scenario is that you order a frame in the same size as your artwork. But this does not have to be the case. You can absolutely go for a frame that is bigger than the actual artwork. Then you would usually use a frame with a white or black backing, but there are no rules. Transparent frames or frames with both a glas front and back have become very popular.

Going for a bigger frame is actually a really handy design hack. Especially if you have fallen in love with a small art piece. The size of the frame will help to give the art more impact by drawing the eye to the artwork.

For certain artworks, you might want to use a cardboard mount or edge around your art. These are very common and are called Passepartout. They can both be used to highlight the print in terms of creating a contrasting trim.

You can also use a method called floating, which is when you attach a cardboard or foam spacer behind your artwork. This creates some depth between the mount of the frame and the artwork, that 3D effect is called footing.

In most cases, you want to be careful to choose the right size. For example with poster hangers, it is very important that you get the size right. Otherwise, the art might look very misplaced.

Frame positioning

The first thing when positioning your art is the size, usually smaller artworks, and photographs can be placed on tabletops and it usually makes sense to hang larger artworks on the wall. A general rule when positioning your artwork on a wall is to hang it at eye height.

Depending on which type of art you have you should also consider if the artwork will be damaged in direct sunlight or not. Art, just like plants, have different needs.

Usually, the positioning of an artwork is not a big issue since most of us shop based on the available space. One challenging thing can be to make your art look good in an arrangement.

If you want to learn how to build a gallery wall, check out my free ebook with a step-by-step guide!

If investing in artwork and frames feels like too much fuzz. Then check out this blog post to see if a digital art frame is a better option for you!

Please let me know if you agree with the things I have pointed out!

Make sure to become an email insider to get updates when I create more juicy content like this!

We bought a new house!

You might have noticed that I haven’t posted something in a while. That’s because there has been a big and exciting change happening recently. namely, we bought a house!

It has been a very challenging time to get the house livable with both me and my boyfriend working full-time. Now we finally everything to the point where we have a moment to spare. I want to take that time to share the happy news with you.

About our new house

The house we have bought is right outside the city Sala in the middle of Sweden. It was built sometime in the 1850th, the first we have found of the house is from 1856.

The main house is about 180 kvm / n 1900 square foot. The property and the plot is quite big, about 8.3 hectare / 20500 acre. There are a lot of buildings on the property:

  • Guesthouse
  • Machine hall
  • 2 Barns
  • Woodworking shop
  • Blacksmith workshop
  • Firewood shed
  • Garden shed
  • Underground storage for food and wine
  • Pond
  • Brick fish/meat smoker

The main house is spacious and has a lot of character and quirks, some of the highlights are:

  • A hidden ceiling painting
  • Original wood flooring in several rooms
  • Original wood ceilings in several rooms
  • Original panel doors

We are extremely happy to be here, this house is a huge step towards building a life that we love. There is enough space here to build a home, grow a family, and be able to do the things we are passionate about.

Naturally, there are a bunch of things that need to be done. Which you would expect in an old house. Some of the bigger changes include switching the wood panel on the front of the house and replacing the brick roof in the main house. We also need to build a master bathroom in the house. currently, there is only one WC in the main house and a shower cabin in the boiler-room.

What is next?

To be honest we have already started doing some work on the property. We have striped down the old bathroom and started fitting the new plumbing and the new water. I will definitely share more of that project further down the road!

We have also installed rock heat/ mounting heat in the house. It was installed about a week ago. It already had a water-carried heating system installed when we moved in. However, it was powered by a wood-burning boiler. We saved the boiler since it was in very good condition, it will work as a spare heating alternative. The new heating will work as the main heating system.

Despite the juicy installation cost, the new solution will lower the heating costs significantly over time. It also means the house is always going to be heated. One big downside with the wood-heated boiler is that you (obviously) have to make a fire every time you need warm water for showers or to heat the house. Living in Sweden there is also another downside. In winter when the temperatures sometimes go down to – 30 C / -22 F, then things start to break. Water pipes can freeze and break and it can lead to all kinds of damages.

That’s why we decided to make a new heating system our first investment in the new house. It not a sexy investment but it is functional! Now the heating is very low maintenance, and in the future, we can go on vacations in the winter without having to find a “house sitter”.

Projects already started

Between moving in, working full time, tearing out the bathroom, and installing the new heating system… there hasn’t exactly been a lot of time to spare. Since I am a bit crazy I have also started some smaller DIY projects like painting and a cane chair, restoring a crystal chandelier, and DIYing smaller decor pieces. I am really looking forward to sharing those projects with you!

As soon as everything calms down a bit I will upload more about my current projects. This hose will mean that a lot of new interesting projects and I promise to share it all with you! There will be rooms makeovers, garden makeovers and I already have a ton of DIYs planned. I am also thinking about creating a “house to home” series. Let me know if that is something you would like to see!

When I do upload new content it will be over at the blog section of my blog. Also, make sure to become an email insider and join the selectedcrafts tribe if you want to join me on this adventure!

Don’t forget to join my awesome newsletter to get updates when I post more awesome content like this!


Make a concrete birdbath

Looking for a simple but impact-full way to update your backyard? Then this is the perfect project for you. In this post, I will walk you through exactly what I used to make this concrete birdbath. I think this could definitely be used as a planter as well, but I wanted a birdbath so for me that was the original idea.

Supplies

  • Fine-grain concrete mix
  • Plastic bowl
  • Plastic bucket
  • Gloves
  • Facemask
  • Concrete blending bucket
  • Duck Tape
  • Medium-sized stones (optional)
Screwdriver concrete mixer extension

Tools

  • Screwdriver
  • Screwdriver concrete mixer extension
  • Concrete trowel

Instructions

  1. Start by gathering all of your tools and supplies in one place so you have them at hand.
  2. Make sure to use gloves and a facemask, concrete dust is very bad for your lungs so you want to make sure to protect yourself.
  3. Place the plastic bowl that will serve as the mold for your birdbath, at a flat leveled surface. If possible to this outdoors and remember to protect your space.
  4. I blended the concrete mix with water according to the instruction on the bag. I started by using a trowel to start mixing it and make sure I get some water into the concrete mix. Once it was fairly mixed I used my screwdriver and screwdriver mixer extension to mix it for a couple of minutes to make sure I had an even concrete mixture. You can do this entirely by hand but concrete is quite tough to work with so I would really recommend using a screwdriver if possible.
  5. Once I had a fairly thick but even concrete mixture I added about 4 cm or 1,5 inch of concrete to the bottom of the plastic bowl using a concrete trowel.
  6. Then I placed my plastic bucket on top of the concrete, I wanted to create an exiting shape so I chose to put the bucket closer to one edge of the plastic bowl. If you prefer you can easily center the bucket as well. Make sure you leave enough room space between the bowl and the bucket to ensure the concrete won’t crack once it dries.
  7. Secure the bucket in place with duct tape, I made a cross with the duct tape and secured it to the bowl.
  8. If you want you can use a couple of stones to weigh down the bucket in order to secure it even more as it dries.
  9. Then I kept filling the space between the bowl and the bucket until I reached the top of the bowel.
  10. Then it is time to tap the bowl to make sure all air bubbles escape. I can honestly admit that I did not pay enough attention to this step. Because I used fine concrete I could have archived a much more even end result if I had spent some more time tapping out air bubbles directly after filling the bowl.
  11. I set the birdbath aside to dry for 6 days. But I watered the concrete daily to make sure it didn’t burn too quickly, if you don’t water the concrete it might crack.
  12. After 6 days I gently removed the bucket, I also placed the bowl above the grass to make sure it wouldn’t be damaged once it popped out. I simply turned it upside down and started removing it from the bowl mold.
Voila now you have a concrete birdbath!

I am very happy with the way this turned! Next time I will make sure to tap out those air bubbles. There is always a learning curve for doing new things and I really love working with concrete. Going forward I hope I will be able to bring you more DIYs like this.

If you loved this DIY make sure to join the Selectedcrafts Tribe right here! Then you will receive gifts and inspiring content like this every now and then. If you can’t wait to check out more content like this make sure to head over to my blog.

Make a jute candle holder

Looking for a super quick way to update your patio or balcony? In that case, this DIY is the right thing for you! Not only can this candleholder be made basically for free, but it is also very quick and simple to make. In this blog post, I will show you exactly how to make a jute candle holder. Let’s get right to it, here is what you will need!

Make a jute candle holder

Supplies

  • Medium sized glass jar
  • Jute rope
  • Candle

Tools

  • Scissors

Instructions

  1. Start by measuring out 8 pieces of jute rope, mine was around 60 cm / 24 inches.
  2. Line up all the rope pieces and make a firm single knot.

3. Place the knot above the center at the bottom of the glass jar. Measure our where the first row of knots should be. The first row should be pretty close to the bottom in order to hold the jar properly.

4. Pair two strands of rope and make 4 knots. This will create a basket that will serve as the base for your candle holder.

5. Measure our where you should place the next row of knots, tie 4 new knots by pairing one rope strand from each old knot with each other.

6. Taken all the rope pieces and make a single knot to tie the candleholder together, remember to leave enough room to fit the glass jar.

7. Place the glass jar in the rope basket.
8. Take your scissor and trim any access rope if needed.

Remember to never leave a burning candle unattended!

Ta-da! Now you have a brand new jute candle holder. This DIY really turned out way better than I expected, as soon as I have access to more glass jars I will make more of these. Sometimes the only thing you need in order to update a space is a small but impactful change. Lighting the candle in this candle holder is such a nice detail in the late evenings on the patio. I am considering to spraypaint the base of the jar since the candles sometimes make a mess once they melt. Another option if you want a trouble-free experience is to go for a battery-driven or solar light powered candle.

I really hope you enjoyed this tutorial, consider joining the Selectedcrafts tribe to get updates when I post new goodies like this.

If you enjoyed this post make sure to check out my other DIY tutorials over here!

Thank you for stopping by, you’re a superstar!

Smart Ikea planter hack

If you are looking for an affordable way to spice up your patio, balcony, or garden? Then check out this genius Ikea hack. It is not every day you have the chance to turn trash to treasure but today I will show you how to turn these trash cans into elegant planters. Hope you like me smart Ikea planter hack.

Buying larger planters can be very expensive but if you are looking for a simpler design this Ikea hack is a great alternative. I bought these Ikea Fniss trash cans and turned them into planters. Have to say I really love how these turned out, they are pretty sturdy and has the modern look I am going for in our patio design.

To turn them into planters just drill holes in the bottom to let access water out and bought inexpensive plastic patterns in my local garden warehouse. In total, I paid about 2 dollars per planter, 1 dollar for the trashcans, and 1 for the plate. I think it looks great for 2 dollars and makes a huge difference on my patio.

What do you think? Will you make a couple of your own? Make sure to show me if you decide to make a couple of planters of your own. I have to give some credit to my brilliant mom who told me this brilliant idea.

If you are looking for other smart garden hacks head over to my blog section! If you enjoyed this post make sure to sign up for my newsletter.

10 essential tools for DIYers

Are you thinking about taking your DIY game to the next level or are you just not happy with the results you get? Maybe you are not using the proper equipment? Let me share 10 essential tools for DIYers that will bring you the results you want! Using the correct tools will let you have a happy and trouble-free time DIYing.

What is an essential tool ?

This list is an overall “starter” essential tool list for the crafty person who loves to fix things for themselves. This is a list of the base tools I have accumulated over time and think that every crafty person should have at home. I have learned the difference in precision between a craft knife and a scissor the hard way and thought I would help you skip that part. That’s why I will tell you which tools you should invest in to get the best results possible.

At the same time, I didn’t want to make a list of every single tool out there, so I have tried to only include the most essential tools that I reuse in almost every single DIY. Keep in mind that this is a list to cater to most types of DIYs. If you are very into for example woodworking DIYs, then you properly need to extend this list with tools used specifically to that purpose.

Note: Always be super careful when using power-tools or sharp tools! Make sure you protect yourself and your surfaces and ask for help if needed.


10 Essential tools for DIYers


1. Hammer

A hammer is without a doubt one of the most essential tools. The most obvious use of a hammer is naturally applying and removing nails. But hammers can be used for a wide variety of purposes from smashing to attaching things like studs.

2. Screwdrivers

I have both regular screwdrivers and two electric ones in different sizes. I really recommend having both, sometimes you need to use a soft touch with a regular screwdriver so you don’t break fragile things like lanterns and home equipment. Other times you might have to attach something in very sturdy or though material then you need that extra assistance from an electric screwdriver to attach things properly. I have almost gone mad trying to attach screws by hand when my strength has been failing, so for an easier life do consider investing in an electric screwdriver.

3. Drills

You might not be drilling things on a daily bases, but once you do it makes all the difference. The devil is in the details and there a huge difference in how professional an item looks once it is using properly pre-drilled and drilled holes. Go for a set of drills, most hardware stores have kits with a mix of wood, metal, and cement drills.

4. Handsaw

If you don’t have a regular handsaw available you will be amazed by how much you can actually do with a proper saw. If you plan on building massive wood projects then naturally you need to consider buying an electric option. But start off with a regular handsaw and then you have figured out which types of DIYs you prefer to do you can go on to invest in different electrical options.

Pro tip! Most handheld saws are built in a way to also function as a ruler. The saw handles are made for helping you draw lines at 90° and 45°. Next time you’re using your saw, place the saw handle on top of your plank for perfect angeled lines!

5. Pliers

Pliers can be used for both taking things apart and attaching things. It does come in handy in many different types of DIYing and is especially important if you want to make your own jewelry for instance. Consider investing in a combination pliers that can also be used for cutting wire.

6. Scissors

Invest in a good set of scissors, not only are they an essential everyday item but they are also one of the most essential DIY items. I use different scissors for different purposes, for example, I have different scissors for household use, paper, and fabric.

7. Craft knife

I don’t know the last time I got through an entire day without using my craft knife. I have different sizes of craft knives for different materials. It is a very helpful tool that allows you to cut things with extreme precision. The reason I would recommend using craft knives is that they leave much tidier edges than scissors. Remember to use a cutting mat to protect your surface.

8. Needles

Any hardcore DIYer needs a couple of really good needles. I have a set of embroidery needles that I really love to use. I do recommend buying a set of needles in different sizes to start with. If you know how to crochet investing in crochet needles is also a must. I bought all my crochet needles and all my knitting sticks second hand or got them from family members.

10 essential tools for DIYers

9. Sawing machine

A sewing machine is very essential for any crafty person. You can use it in such a variety of ways, everything from making and repairing clothes, to making toys and home decor items. The DIY options are really neverending if you have a sewing machine. Personally I use my sewing machine mostly for sewing pillowcases, curtains, and occasionally for repairing a cloth item.

Buying a new sewing machine can be very expensive, if you are just starting out consider loaning a sewing machine from a friend or family member or to by a machine second hand.

My particular sewing machine was a gift from my mother and I could not live without it! The machine I have is an old Singer from the 80th I think. Because I’ve been taking care of the machine and doing maintenance it is still running like clockwork. So I think that proves that you can do a lot with a sewing machine even if it not the latest model.

10. Tape Measure or Folding Rule

Preferably you should invest in both tools because how easy it is to use the tool, depends on which project you are doing. However, if you only have one option I would go for a Tape Measure since I find it is a bit more versatile.

Tips

Many of you will already have many of these things, maybe you will have revived them as gifts or hand me downs. However, not all of us are that lucky. A really useful toolkit that I invested in the last time I moved is the IKEA toolkit FIXA. You can find it here, it is only around 10 dollars and its a lifesaver.

The FIXA kit includes a hammer with separate rubber casing, adjustable spanner, combination pliers, bits screwdriver with bits for slotted, cross-headed, allen screws and bradawl.

I really hope you have enjoyed this blog post, let me know what tools you find essential for you DIYs! Make sure to head over to my blog section and get inspired by my many DIY tutorials.

Make sure to become an email insider to receive exclusive discounts in my art print shop the SelectedCraftsStore You will also be updated when I post more content like this, sign up here!

Mini Wire Easel DIY

In this blog post, I want to show you a very simple way to display small artworks and cards. Having alternative ways of displaying your art adds character and dimension to your home decor. I will walk you through how to make this cute mini wire easel DIY.

Supplies:

  • Old wire hanger
  • Large plastic or wooden beads
  • Marker

Tools:

  • Wirecutter
  • Ruler or Measuring tape

Instructions:

  1. Take your wire-cutter and cut out the straight bottom part of the hanger.
  2. Mark out the middle of the wire cut out and fold it in half gently.
  3. Mark out 2 spots on each side with your marker. First where you want the fold to be to create the bottom the easel. Make sure to make this part quite wide, it might be hard for the easel to balance properly if this section too short. Place the other marking where the fold to bend the wire upwards should be. This fold will keep the artwork in place. In total, you will have four markings and fold the wire in 4 places.
  4. Decorate the edges of the wire with plastic or wooden beads.

And voila, now you have a mini wire easel! This is a super simple way to properly display your art without having to spend a lot of time or money. These small easels look really good on a dresser or in a bookshelf. I have made a few of these in different sizes and one here and there around my home.

I hope you liked this DIY! This blog post is shorter than my usual posts but sometimes a short and sweet post is the best option. Make sure to let me know in the comments if you decide to make some mini easels of your own!

If you are looking for more inspiration on how to display art, make sure to check out this blog post on how to frame art. Don’t forget to join my newsletter so you can keep updated when I post more awesome content like this!

Why cleaning without organizing doesn’t work

Let me explain why cleaning without organizing doesn’t work. Do you ever feel like no amount of time you spend cleaning is ever enough? Have you ever considered that it might not be your effort that is failing but rather a lack of organization? Chances are pretty high that this is one of the reasons you aren’t getting the results you want, it is because of a lack of organization.

What is the difference between cleaning and organizing?

Let’s start from the beginning, cleaning and organizing is not the same thing. Cleaning is getting rid of dust, dirt, and grime and keeping your home and your items in good shape. Cleaning includes mundane and quite boring tasks like dusting, vacuuming, take out the trash, doing the dishes, and making your bed. Organizing on the other hand, is structuring your home and setting up systems to support you in your daily life. Organizing includes tasks like setting up storage, filing papers, labeling, and sorting through items. Both are essential to having a good looking home, but having a sufficiently organized home will reduce the time you spend on cleaning!

Why do you need to organize?

I speak from experience when I say that no amount of cleaning will ever be enough if you don’t have an organized home. The beauty of organizing is to learn for yourself how to set up systems that will enable you in your daily life. Naturally, it will always take more time to clean if you don’t have these systems in place. If you feel unsure or unmotivated to start with organizing, then have a look at this blog post on 5 reasons to start organizing today.

There we look deeper into these 5 benefits:

  1. To find your things
  2. To feel creative
  3. To feel in control
  4. To feel calm
  5. Eliminate excuses

What does it mean to organize?

Once we have motivation sorted there are two main functions of organizing you should know about. One is simply setting up storage in your home, the other is learning how to maximize the use of your available storage space. You need to learn the fundamentals of decluttering and how to properly store items to fully utilize your available space. But frankly, it is not rocket science, throw away broken items or items you haven’t used in a while. In terms of storing items, there are a gazillion Youtube and Pinterest tips for how to store items efficiently for all areas in your home. You can also find tons of useful DIYs right here on this blog.

You don’t have to find the perfect storage set up or method for storing your items right from the start. You just have to find one. Usually just sorting through a dresser, pantry, or cabinet, and putting things back into their place is a good start. You might think that sounds an awful lot like cleaning, but actually, this is decluttering and will free up space in your home for the things you love.

If you feel completely lost with where to start with organizing, you should read this blog post with 10 steps to start with organizing. In the blogpost we go deeper into how to follow these 10 Steps to get you started:

  1. Make a plan of action
  2. Settle for an organizing method
  3. Start with what makes the biggest impact
  4. Tackle the hardest challenge straight away
  5. Set reasonable expectations
  6. Don’t cut any corners
  7. Take breaks
  8. Celebrate small victories
  9. Check-in with yourself
  10. Decorate

Why don’t cleaning without organization work?

Now we have had a look at benefits with organizing and steps to get started. One questions still remain though. Why is cleaning not enough? Because without organizing you will end up spending more time cleaning and the results of that won’t last as long.

You will spend more time cleaning

Not having a system or a dedicated place for items will make you spend a lot of time trying to figure out where to put your things. Not having enough storage will make it more difficult to clean. You might end up a situation where you need to shuffle things around just in order to be able to do your cleaning. You will have to “clean” to do your cleaning. One common example of this is when you store things directly on the floor and you have to move things around in order to be able to vacuum.

In a home without sufficient storage and cleaning, I would say from my personal experience, that you spend about three times as much time cleaning as in an organized home.

Let’s make a little experiment! Ask yourself do you go around your home to retrieve dirty laundry? Or is it waiting in your laundry basket when you feel like doing your laundry? I have been on both sides and I think we all have different levels of structure in place, in different stages in our lives. But say for the experiment, that you fall into the latter category and you go around retrieving your laundry. Those minutes, add up. If that’s 3 minutes each time you do your laundry and you do your laundry once a week for 50 years. You will have been looking for your laundry for 130 hours in your life! That’s not even including the actual time for doing the laundry. So start using that laundry basket folks!

Why cleaning without organizing doesn't work.
The results don’t last

Not having sufficient storage often means storing things on the floor or in piles. It might look really good for a day or two, once you need something from that pile it will start to look messy again. So cleaning without organizing, means having the results of all that hard work going away really quickly. I refuse to do that to myself anymore, so should you!

Nowadays I will start by assessing a situation and ask myself. Do I have everything I need to do it properly and in a sustainable way? I start by figuring out how to store things before I start cleaning. A lot of the times I can repurpose things I already have for storage. However I am not afraid to invest in storage items in my home. If you go for quality items you can take these with you and utilize them for the rest of your life. Investing in storage items is always a good idea!

If you loved this blog post then consider joining my exclusive newsletter. You will get updates when I post more useful content like this!

You can find more helpful organizing tips here!

Zero spend kitchen up-cycling hack

All of us can use a couple of really smart decor hacks, and I happen to have a couple of tricks up my sleeve. Today I wanted to show you my favorite zero spend kitchen up-cycling hack!

We all have a bunch of less than pretty food and liquid containers at home. I find that is the case for some products that I use daily. I don’t want to store these away in a cabin, I want easy access to it at all times. Having it on display means it will have to look okay. However I usually find that the more affordable the product, the uglier the container. However, there is a really simple way to fix that!

The only thing you need to do is to save up on beautiful containers. It also helps to have a label maker available, since that is what I used for this hack. But you can also use permanent markers or sticker labels. In my case, I happen to love minimal design and natural materials. So any chance I get I save containers that could be re-used.

I found a couple of liqueurs stored in really cute containers, I decided that I wanted to keep the bottles until all of them were empty. Then I just cleaned out the bottles carefully and removed the labels. I like to use nail polish remover to remove any glue residue still attached to the bottle.

Zero Spend Kitchen Upcycling Hack_2

Then it is simply time to switch out your ugly looking kitchen containers with your new stylish ones. It doesn’t get any easier than this, yet it makes a huge difference in the overall look of your kitchen. Now you can hide all your ugly containers in your pantry for refills and have your easy to access new containers on display. Voila, Kitchen officially hacked!

If you want to get access to more awesome hacks like this on autopilot? Join my newsletter to get updates when I post more awesome content like this!

Find more blog posts like this one over here!