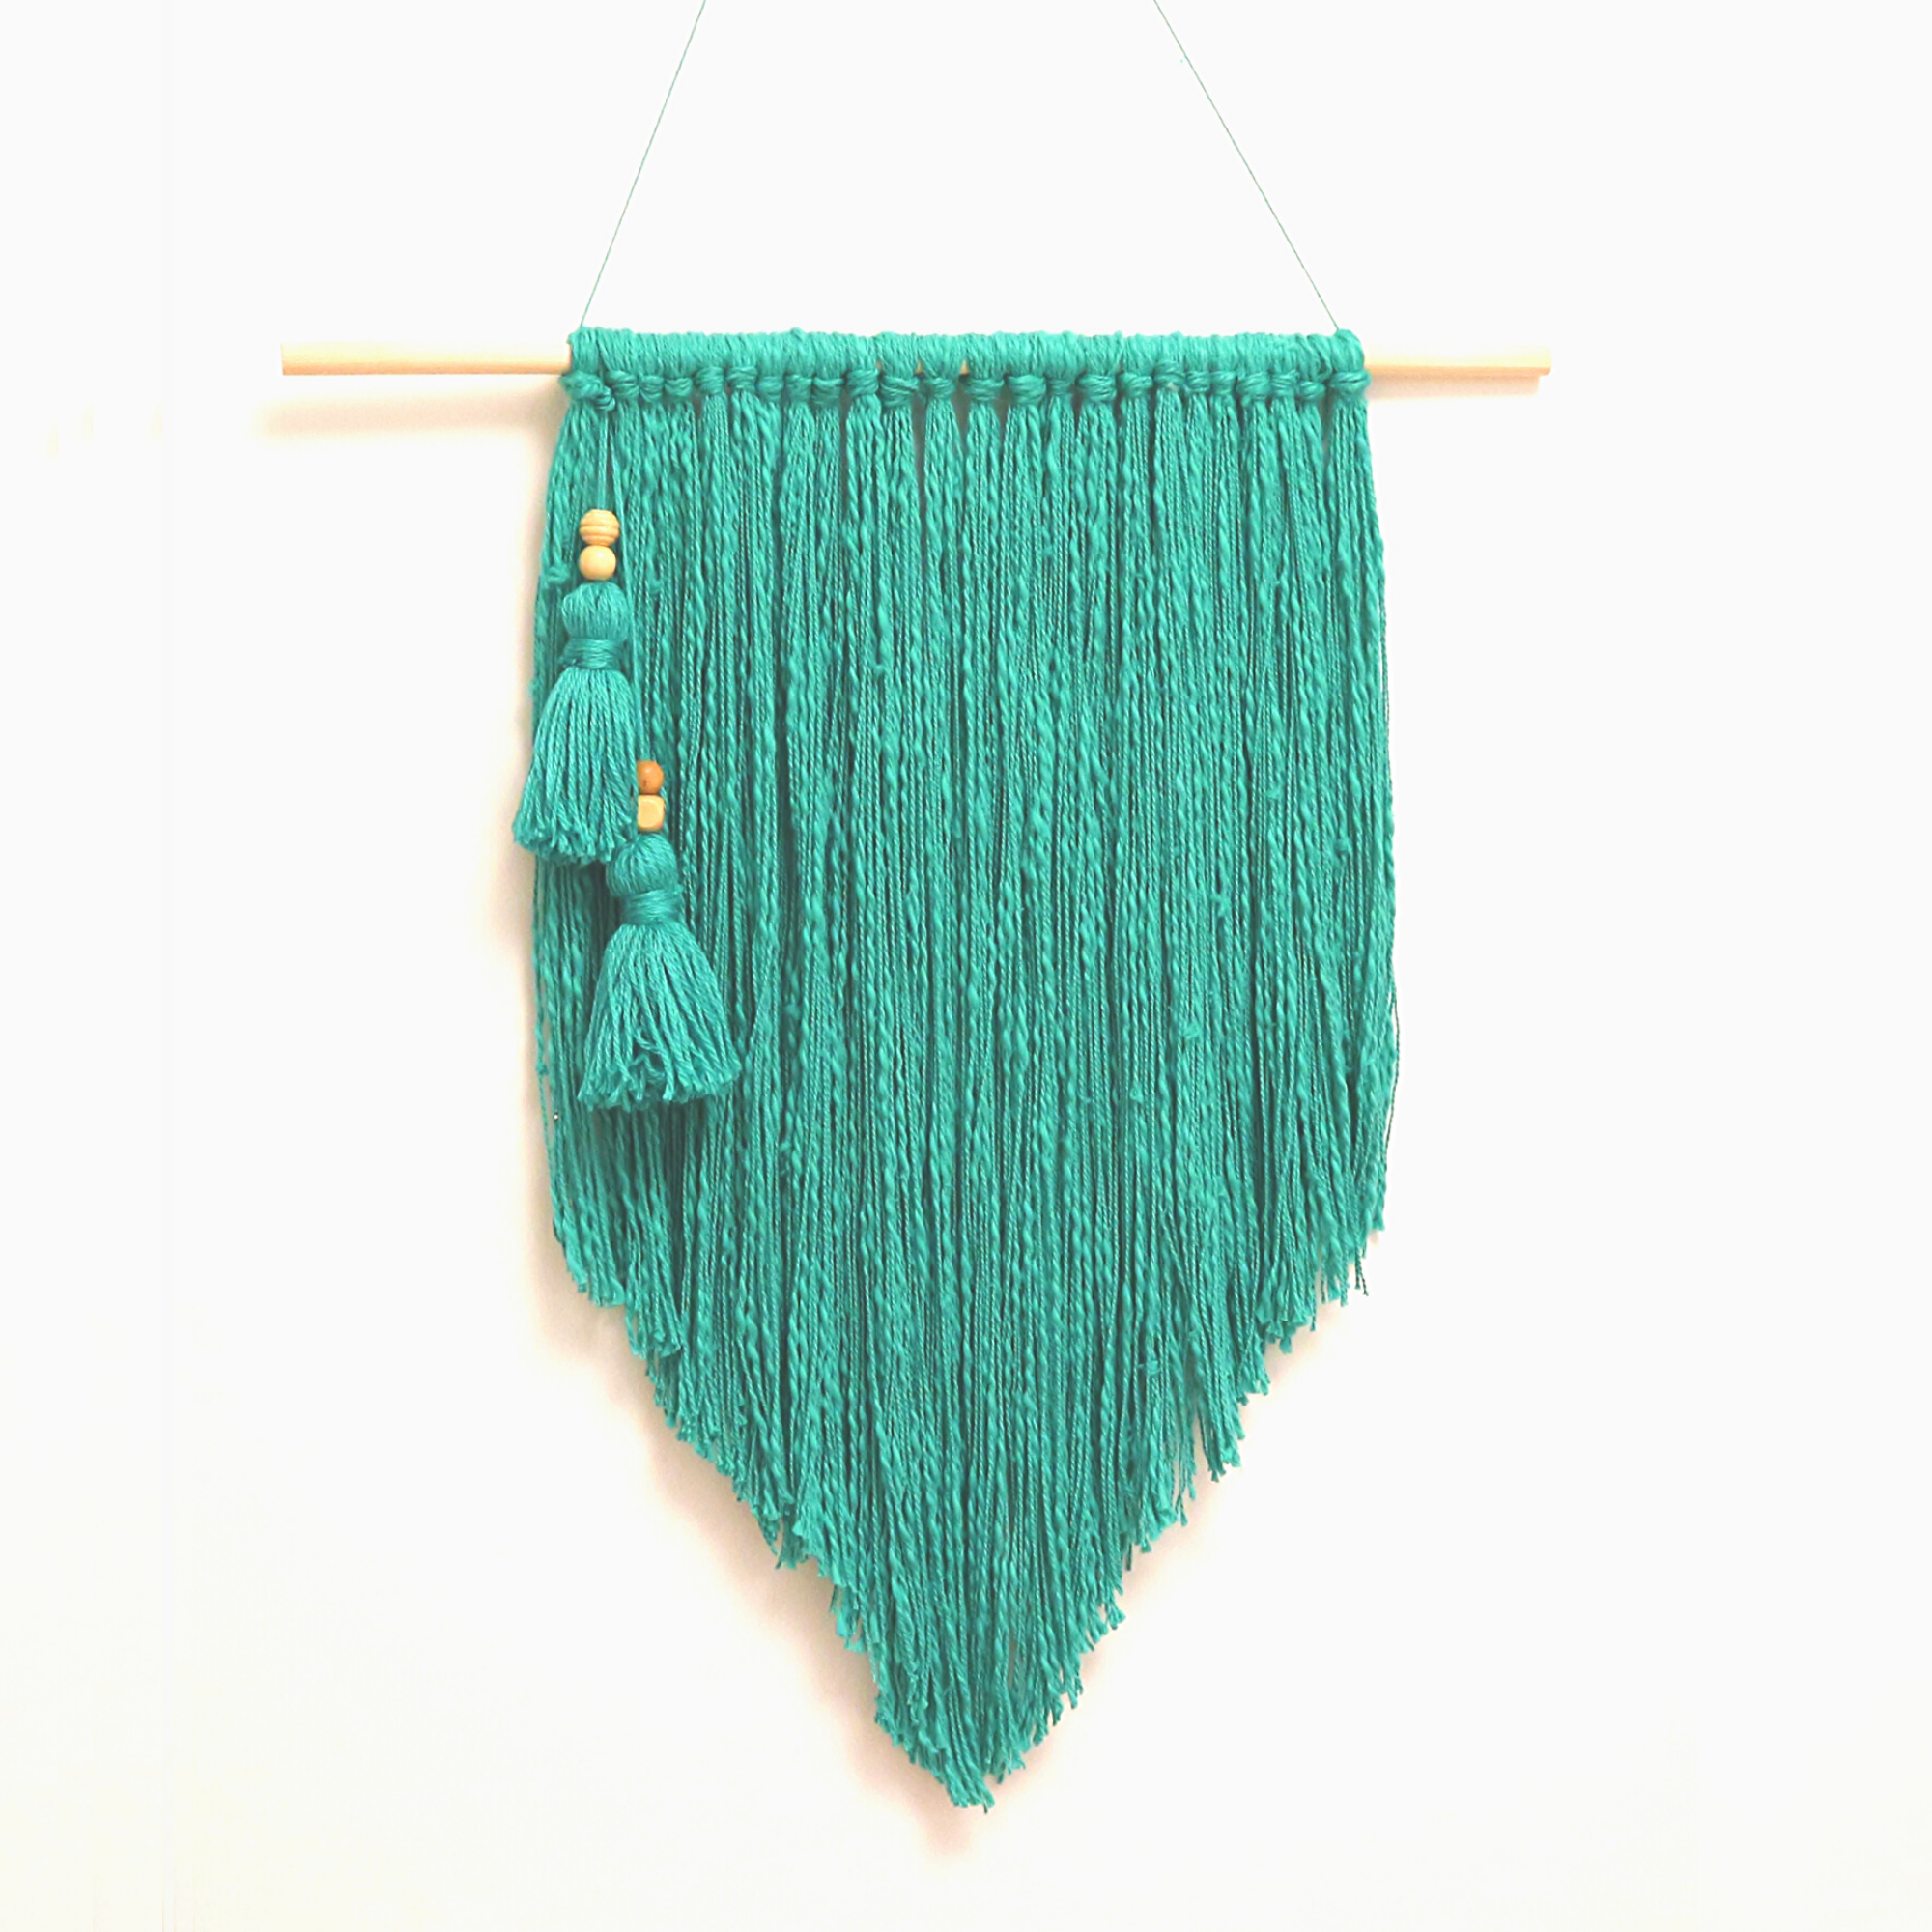
In this blog post, I will show you how to make this very simple DIY yarn wall hanger. Wall hangers are the perfect way to add some personality to your space. They are really affordable to make and the options for color and design are limitless. In this tutorial, I will show you how to make a very simple yarn wall hanger that instantly makes over a space.
Tools:
– Scissors – Measuring-tape
Supplies:
– 1 wood-dowel, I used size 13x500mm – Yarn, preferably above 50g and at least 300m (1000inch) – Wooden beads
Instructions:
Start by measuring out 10, 1-m strands of yarn (or 40 inches).
Put the 10 strands of yarn together in a bundle and fold them in half. Fold the yarn over the wooden dowel to form a loop, and put the ends through the loop to tie it onto the wooden dowel. Repeat this process until you have 10 bundles of yarn.
Then you want to create 15 bundles of, 1.5 m (or 60 inches) and add to the middle of your wall hanger. I made two different lengths to save yarn because I wanted my wall hanger to have a triangular shape. If you want a straight edge, you can make 25 bundles, 1-m (or 40 inches) instead.
4. Once you have attached all bundles to the wooden dowel, it is time to trim the edges. Gently comb the yarn and put it flat against the floor or a table, trim the edges using very sharp scissors.
If you are looking for really good fabric scissors I strongly recommend this one.
This can be a little tedious but make sure you take your time, the more time you spend on trimming the better the end result will be. I decided I wanted a kind of organic look, so not all to symmetrical.
5. I didn’t want my wall hanger to look too plain, so I wanted to add some tassels. To do this I started by looping a lot of yarn around a piece of cardboard. Once I had reached the desired thickness. I put one piece of yarn through the loop and tied a knot at the top as hard as the yarn allowed then I gently pulled the loop of the cardboard. I used some additional yarn to create the top of the tassel, once again I tied the knot very firmly.
Then all that’s left is to cut the loops in the bottom of the tassel and trim off any excess. I attached some wood beads for extra personality and tied the tassels to the wall hanger.
This DIY really adds color pop and makes a big difference in my Scandinavian and minimal home decor. I am definitely going to do more wall hangers in the future.
Let me know what you think and let me know if you like this blog post, please make sure to let me know if you make any wall hangers for yourselfs, I would love to see the result!
If you are looking for other home decor diys check out some of my other blog posts here. Make sure you don’t miss out on any new DIYs that I make, then join my newsletter here!
In this blog post, I will tell you more about why I started my business, the SelectedCrafts brand, and why I decided to open an art printable shop.
I have always had a dream of starting my own business and I always wanted to build something for myself and for my future. Something that is different and that is 100% in line with the kind of life I want to live. So let me tell you how it all started!
Where did it all begin?
For a long time, I felt like I didn’t have the perfect product idea or the perfect brand idea to get started. In most ways, I still don’t. Having a business is a constant effort to improve and to grow.
I found out about the concept of selling art printables in the autumn of 2018 at a time in my life when things weren’t exactly going well at all. I had entertained this idea of making passive income for quite some time, so when I first heard about art prints I felt it would be a perfect match between my level of skill and my desire to start building a passive income stream.
The urge to get back in touch with my creative side had haunted me for quite some time, so the idea to make art printables was perfect for me. When I started my business I did not lack motivation but I was very worn out. The same year I had quit two jobs, changed country, tried to learn the ways of a new culture and a new language and all this while being oceans apart from my loved ones.
I jumped at the opportunity to start a business of my own. I had felt the urge to get back in touch with my creative side for quite some time, so the idea to make art prints were perfect for me. When I started working on the business and products of my own, it was a very rehabilitating experience. Art and creativity is truly the best medicine!
I had dreamt about being an entrepreneur way before I learned about art printables. In college, I had the chance to test out to run a small company as a school project. I was instantly hooked. Although it would take 8 years until I decided to it again.
How I started the business?
This part is very messy, basically, I just started. I started reading about how to make art prints. Then I figured out I had to register as a sole trader if I wanted to make a profit, *which I obviously wanted* so I registered. Then I registered for vat collection, learned about bookkeeping, and the rest is history now. Every step forward has been a new piece of the puzzle and while it is still far from complete, it’s starting to take shape. I actually started the whole journey by building this blog, then ended up leaving it for over a year as I focused on setting up other parts of my business. The road from idea to reality is far from short or simple.
Luckily I wasn’t waiting for a sign, or for the perfect moment to start my business. I just started and I am still figuring things out as I go!
I have learned a ton of new skills since I became an entrepreneur. Some fun things; like designing products and making content for social media. Also really nasty and boring things like registering as a sole trader, handling vat-statements and doing my bookkeeping.
Far from everything about doing this kind of thing is all it is cracked up to be, I spend probably 95% of my time on doing the boring admin stuff. With that said, it is totally worth it since I can spend the last 5% on doing the things I really love. I sometimes wished I had known when I started how much time it actually takes. I feel like I might have fallen for the “fool-proof-get-rich-quick” scam that surrounds this whole type of business. You know the one were will make you “thousands of dollars in a month” before you have even started.
I always knew it didn’t work like that, but I still underestimated the amount of time and effort that goes into building a business. Luckily I am a very persistent person and I remind myself often that Rome was not built in a day. I am getting to where I want to be slowly and steadily!
And what long way I still have to go! When it comes to building the SelectedCrafts brand, there are a million ideas, zero promise that any of it will work and years of hard work ahead…. definitely worth it!
There will be a lot of fails and errors along the way. That is my least favorite part of being a sole trader, I wish I could always do the right thing straight from start. Unfortunately that not reality though and the only thing that really matters is that I will keep going.
Why am I building this brand?
Apart from my long term dream of becoming an entrepreneur. I want to build a life that I really love, a life I can’t wait to wake up to. The brand SelectedCrafts is a way to enable that to happen. I feel very passionately about art and design and I feel the happiest when I can be creative. I love to do DIYs or work on my home decor. So it makes sense, to try to direct my life in a way that allows me to do these things.
The SelectedCrafts mission is to help others build a beautiful life they love. Because my mission is to build a beautiful life I love. So as I grow, my business grows with me and together we can achieve this goal!
And let’s face it, there is, of course, financial benefits to having your own business. The idea to earn passive income was a huge part of why I started in the first place.
The most important thing this experience has taught me. Is that it really doesn’t matter where you start, the only thing that matters is that you start!
To sum it up
This brand is still a work in progress but so am I. Hopefully this blog post has made it clear what I am trying to achieve with my business, and more importantly why. I sincerely hope that you feel like you know me a little bit better after reading this!
If you have any questions about me or my business feel free to reach out. I like to help in any way I can 🙂
Make sure to check out art printable store the SelectedCraftStore. You can get an idea about what I make in my shop section here on the blog.
If you want to get to know me even better I recommend that you join my newsletter. You will get tons of product samples, freebies , discounts, and other amazing things!
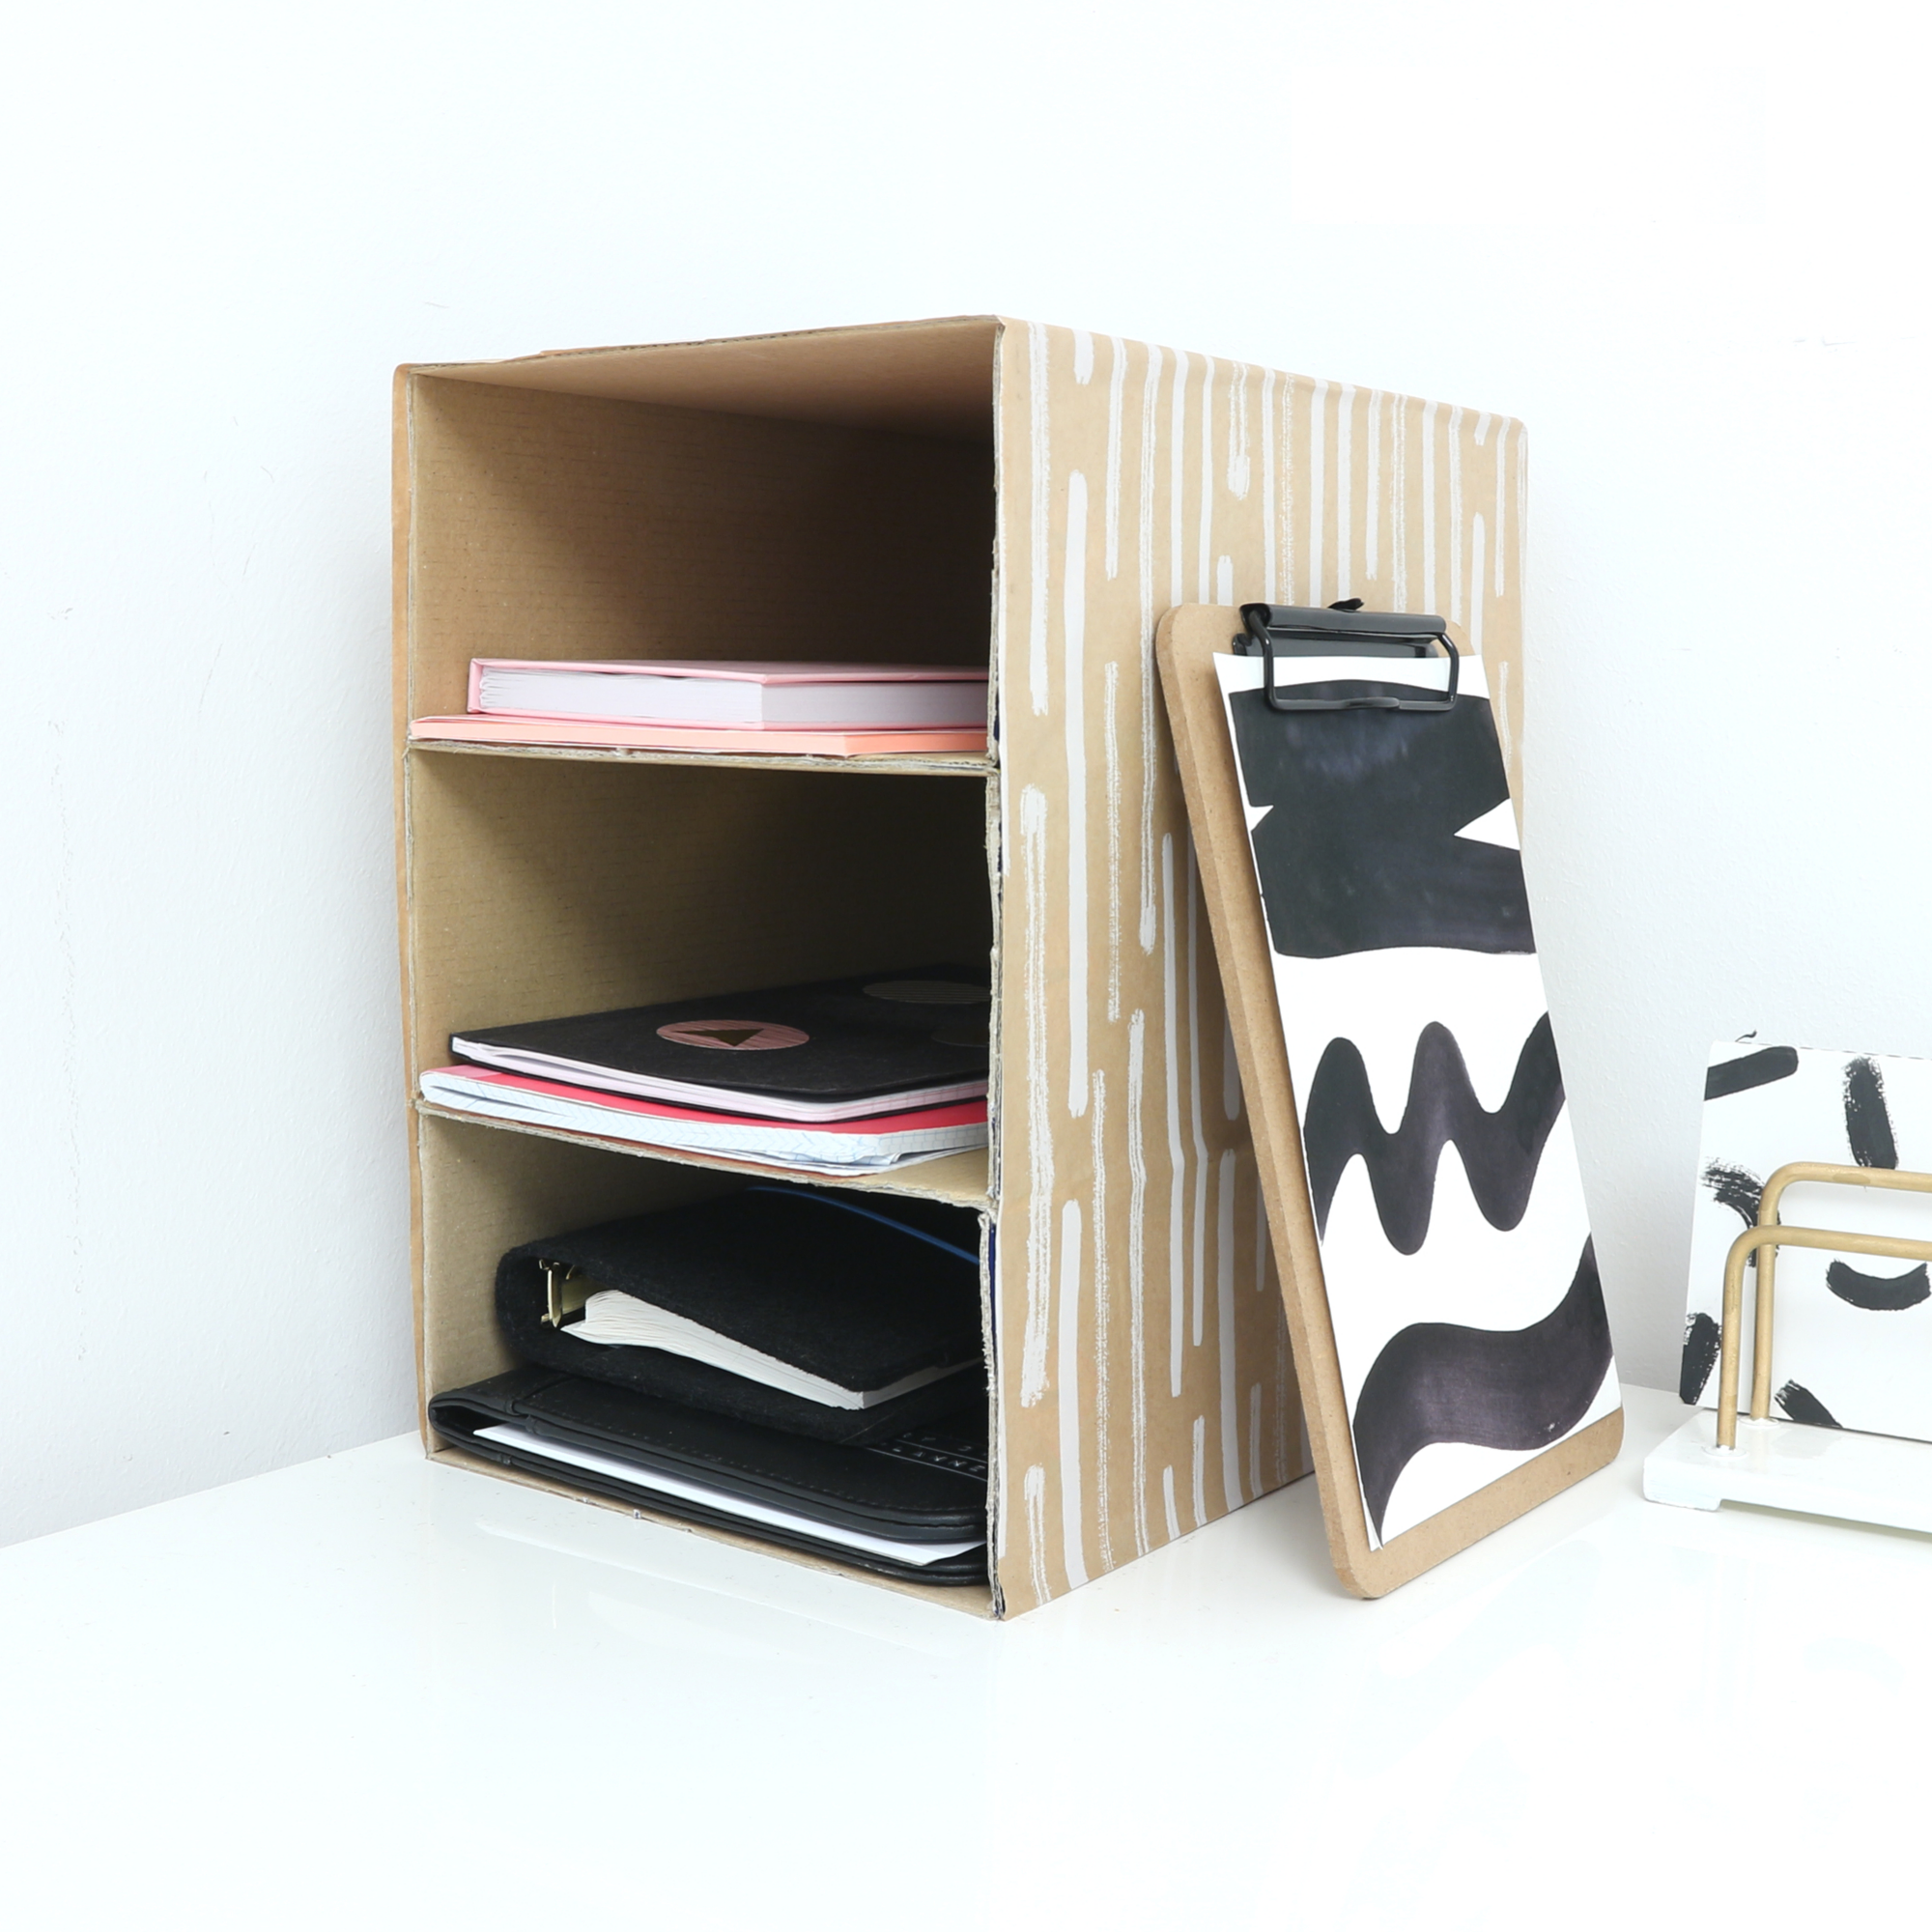
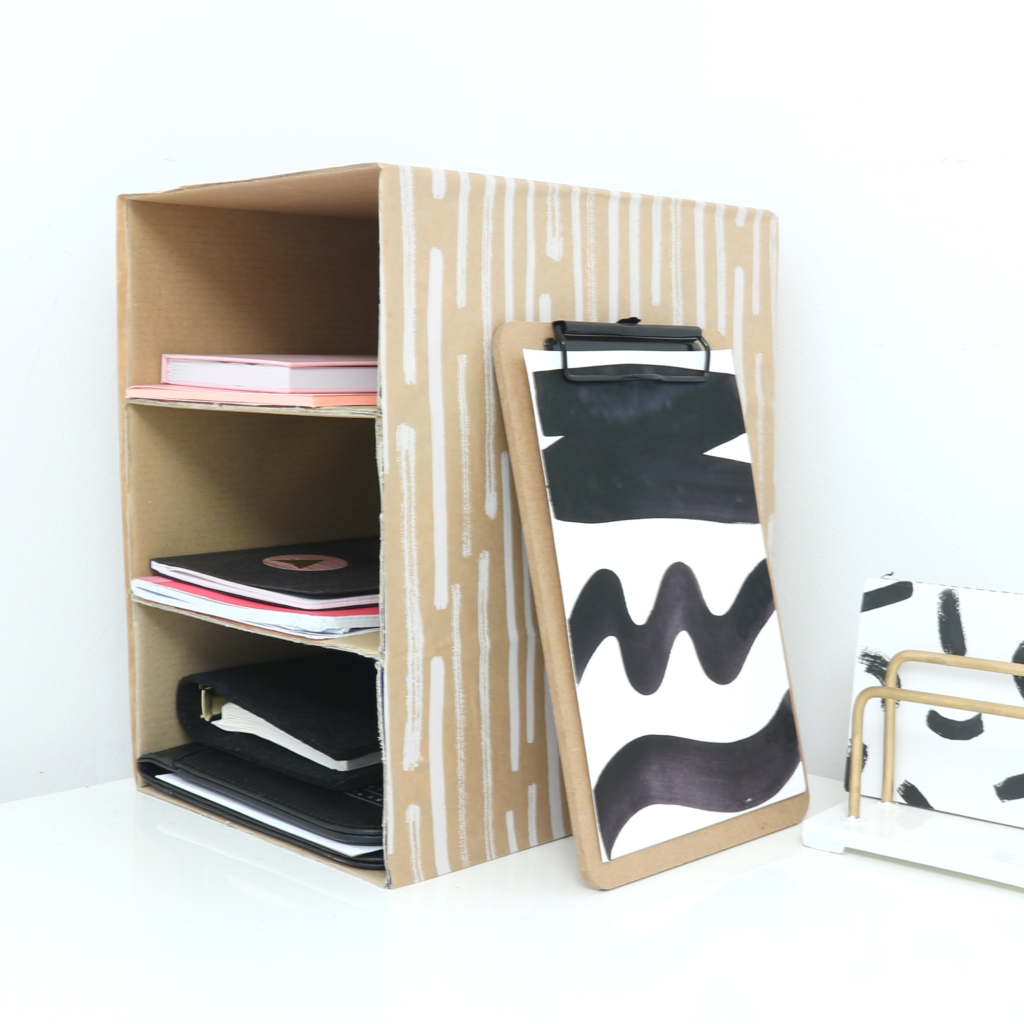
Need a fast and affordable way to organize your office supplies? Then you are in the right place! In this blog post, I will show you how you can make this simple DIY mini office dresser.
Supplies:
Glue stick
Wrapping-paper
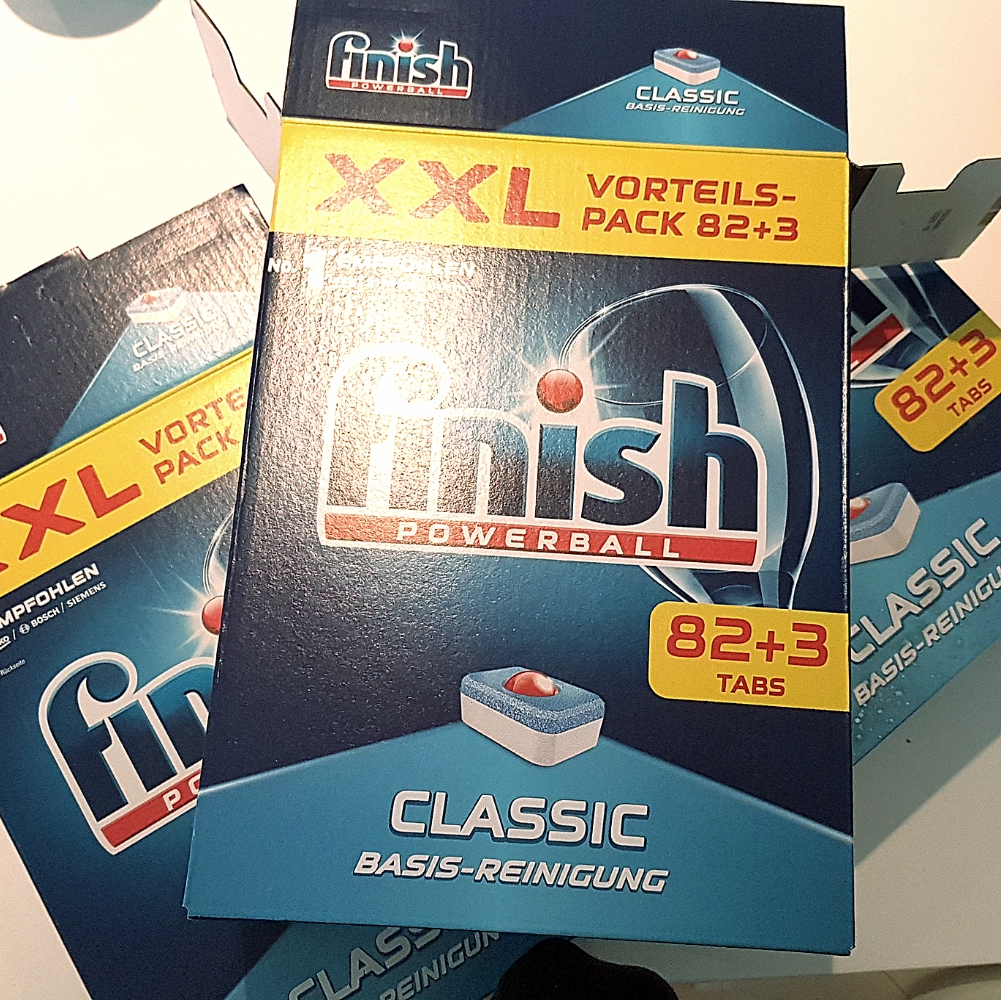
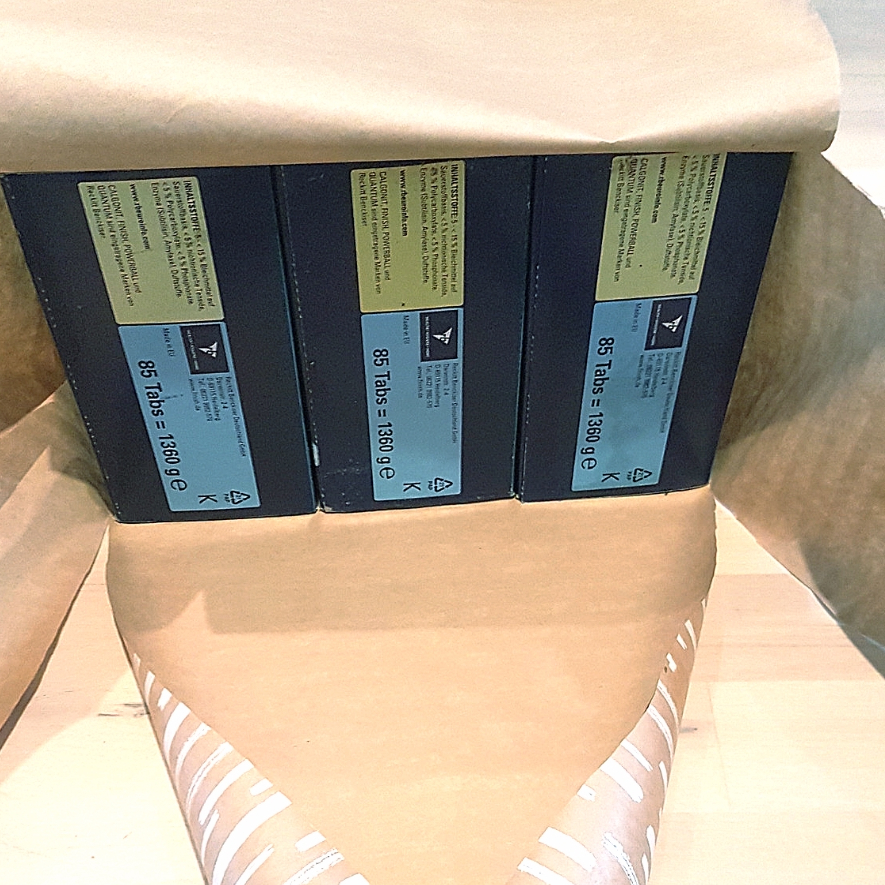
3 Cardboard boxes
Craft-knife or Scissors
Optional: Cloth pins
Instructions:
Start with removing all the access cardboard from each box. Try to make the edges as straight as possible.
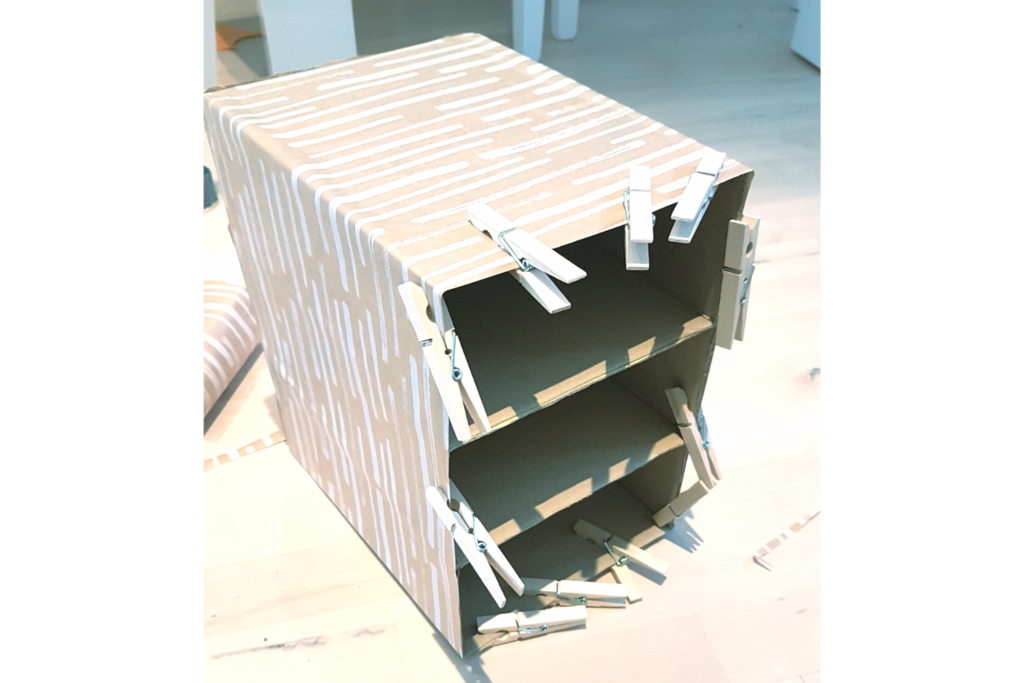
Glue the three boxes on top of each other, carefully press them together until the glue has dried.
Before I glued the wrapping paper on I test wrapped all three boxes holding the paper in place with cloth pins.
Then I measured where to cut to fold it in on the back of the dresser.
Note: I did not care a lot about how it would look from behind since it will be up against a wall. But if you want it to look perfect, make sure to measure with a pen and a ruler before cutting your paper.
6. Then I glued the wrapping paper into place, taking extra care to get the front edges straight. I secured the paper with cloth pins as I went around. I let it dry completely before I remove the pins.
Now you have a mini dresser, enjoy!
Reflections:
I think this is a very affordable way to get your desk organized. I am soo relieved that all of the notebooks that had started to build upon my desk finally have somewhere to go! This will make my office look so much tidier. Eventually, I might put it into the bookcase in my office to make even more use of it. I will definitely do more of these!
If you decide to go on and do a dresser of your own you HAVE to let me know about it! I would love to see it so please tell me in the comments below!
Make sure to join my newsletter, the SelectedCrafts Tribe is the place to be if you are interested in DIY and home decor!
And if you liked this post make sure to check out THIS post on how to make DIY wrapping paper.
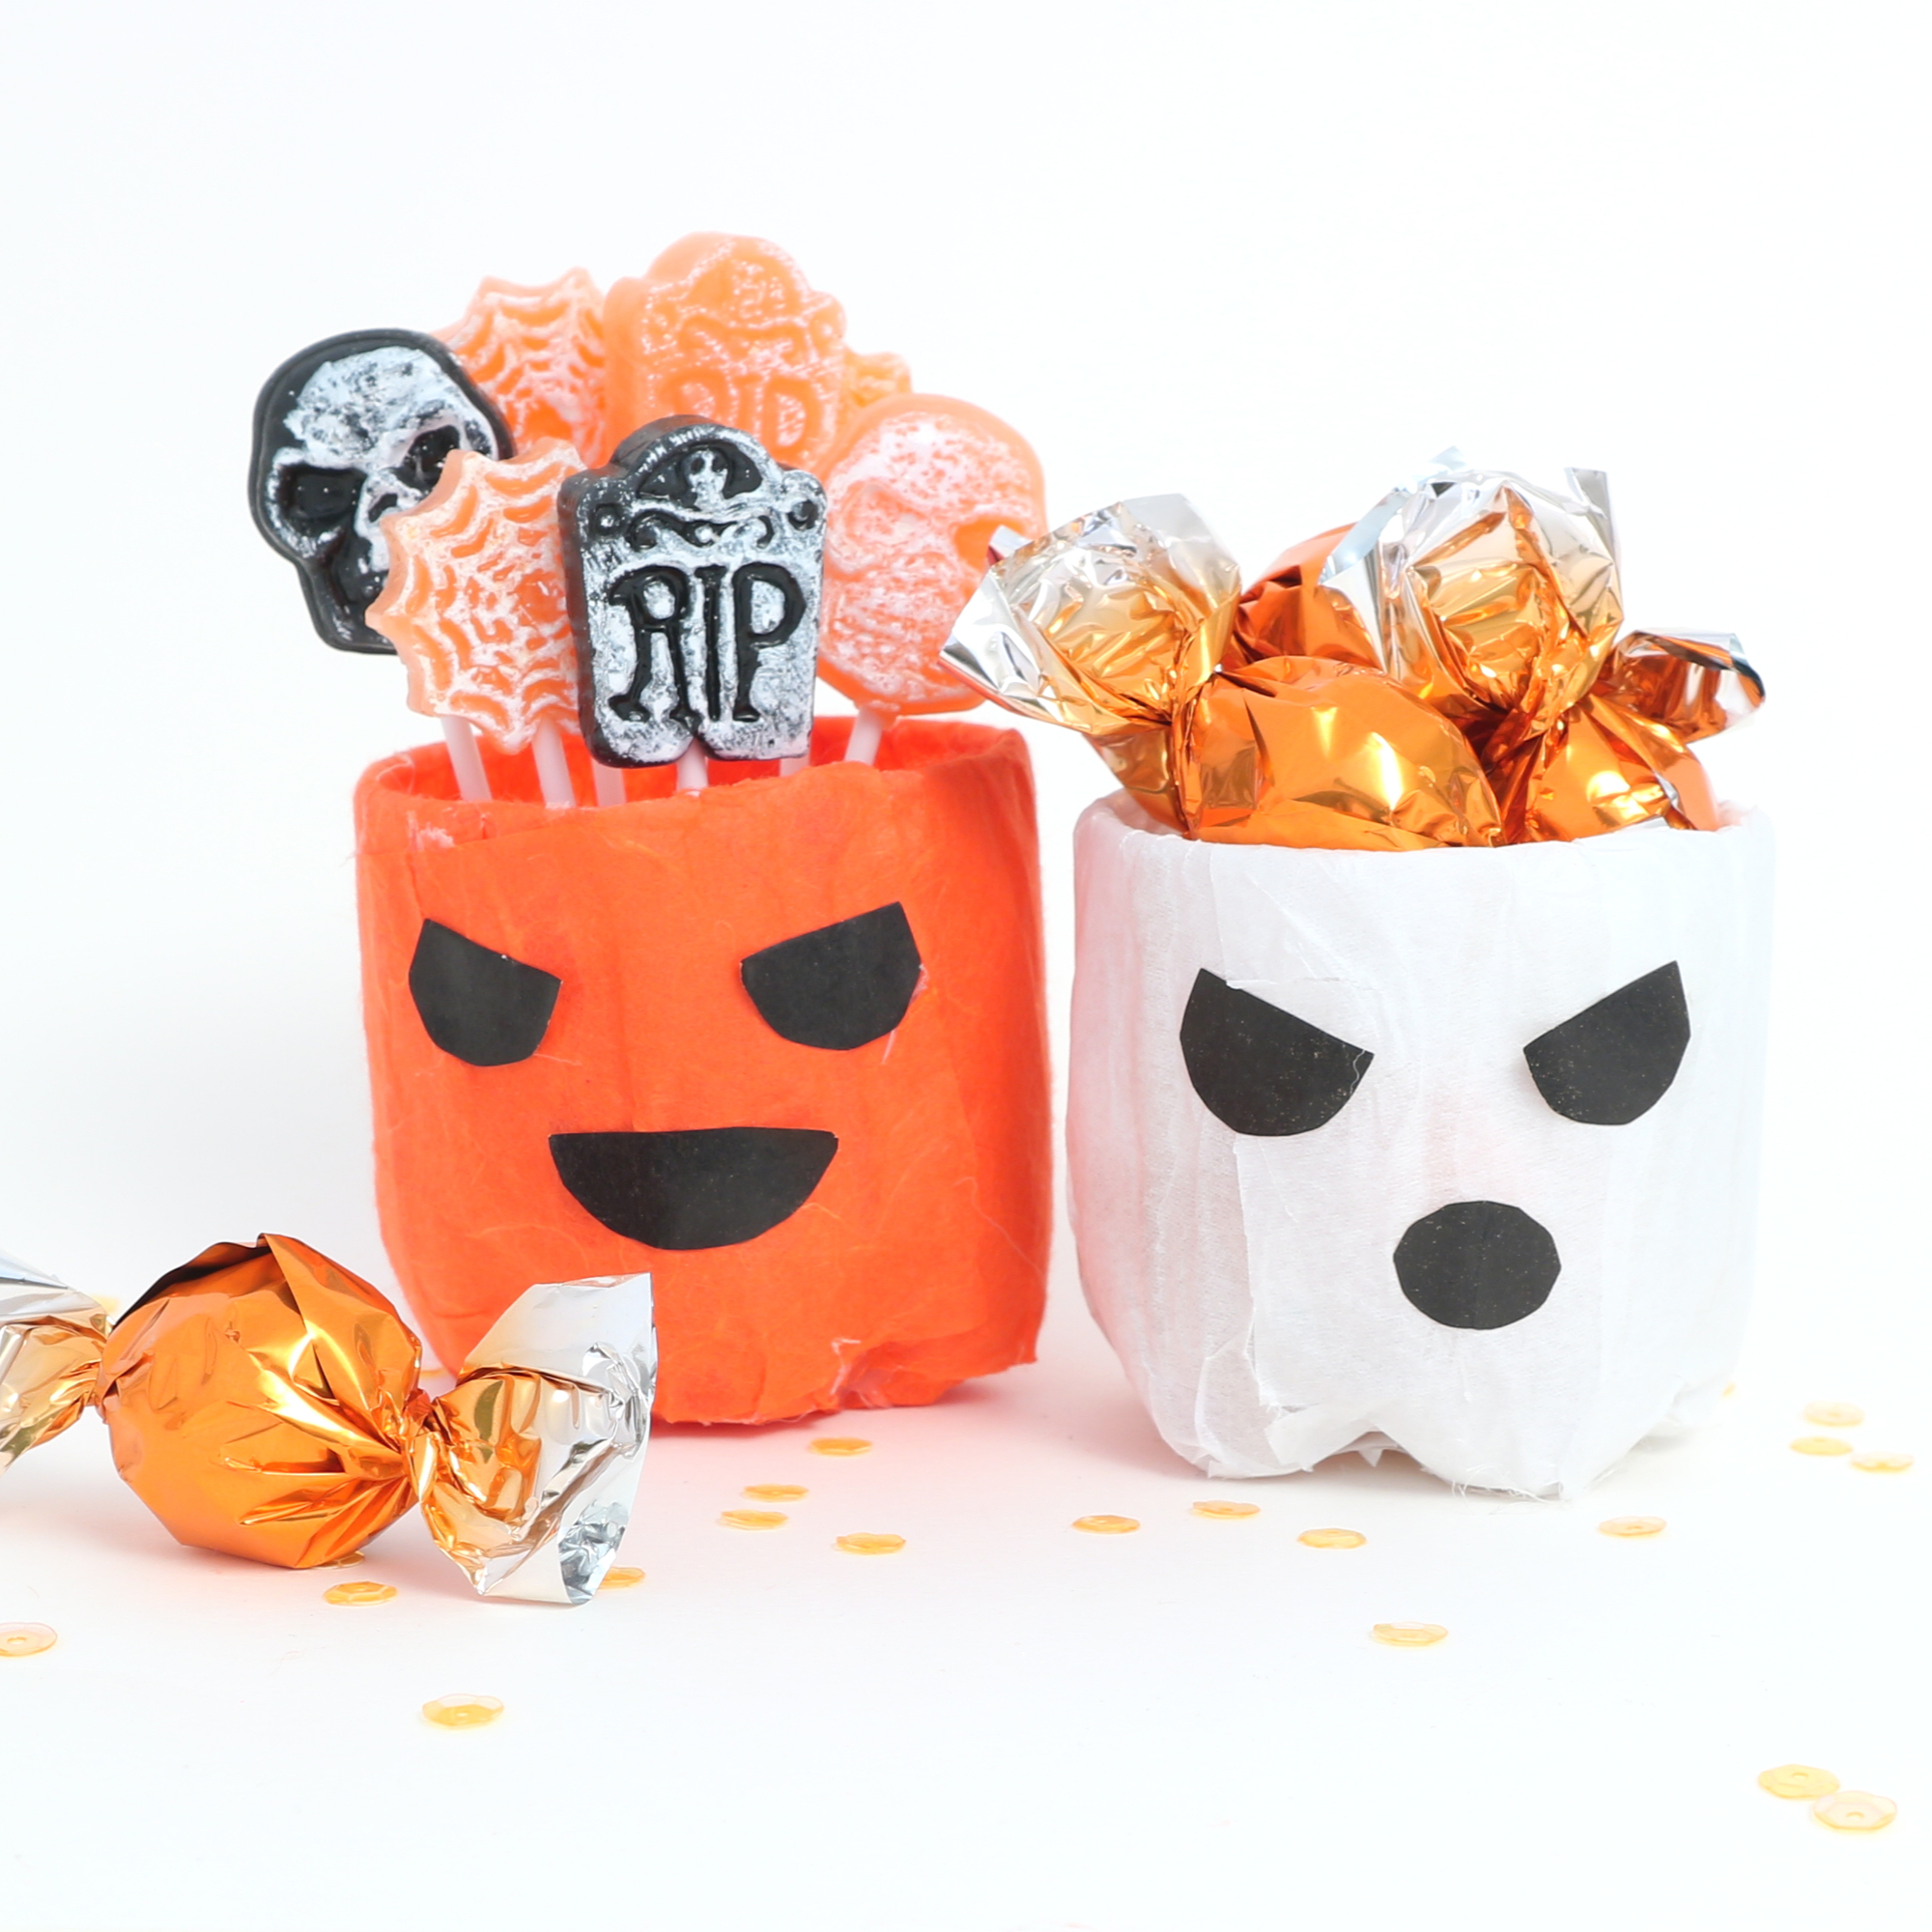
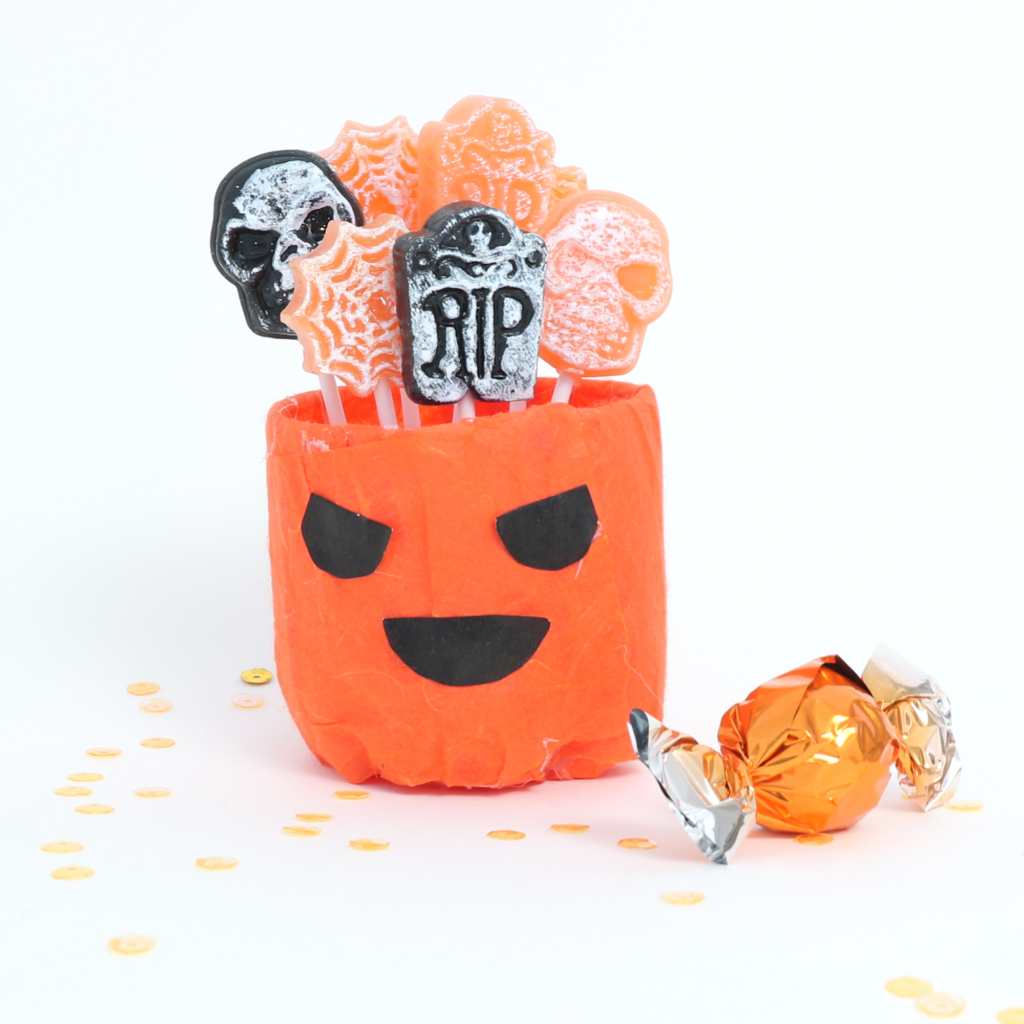
Check out this super cute DIY Halloween mini bowls! This DIY is super simple but who doesn’t love a 5-minute DIY? I am soo happy with these guys, I think that they turned out super cute! I would have loved to make more of these like a Frankenstein – or a Skull bowl, you can’t have too much Halloween decor!
Tools:
Glue-gun or Glue-stick Craft-Knife Ruler
Supplies:
Plastic Bottles Crepe-paper Colored Craft Paper Sharpie/Felt-Pen
Instructions:
Start by marking out where you want the edge of the bowl to be on the plastic bottle. I used a ruler to make sure the edges are at the same height.
Cut out the bottom along the line of the plastic bottle. I used a craft knife for this.
I applied a border of glue with my glue gun to make sure you can’t cut yourself on the edge of the bottle.
Then it is time to glue the crepe-paper into place. Crepe- the paper is very easy to use and I cut 4 quite wide strips of paper to make it follow the shape of the bowl better. Because of the texture of crepe-paper, it still looks good to overlap the strips.
Cut out a face using craft-paper, or maybe ad a message on your bowl.
Please be careful while using craft-knifes and glue guns.
Reflections:
I love to use leftover craft materials and other items I have around my home to create fun home decor. Seasonal home decor is really perfect for this, I think it makes a big difference in your home decor. Making crafts like this is super affordable and I honestly had everything for this at home. Another great benefit of doing homemade Halloween decor, if you are a bit ambivalent like me, is that you can simply get rid of it at the end of the season if you don’t like it anymore. *And with getting rid of it, I mean to recycle it of course*. Anyway, I am very happy with how these Halloween bowls turned out, its the perfect way to store my candy.
If you’re looking for more Halloween DIY’s out this blog post about how to make DIY Halloween Cards Designs.
If you are in need of some other Halloween Decor, check out this FREE printable garland I made for you guys. Download it here!
Let me know if you make some Halloween bowls for yourself and, please let me know what you think about this DIY. Feel free leave a comment down below, I read every single comment. You should also consider becoming an email insider to receive awesome gifts and get updates when I post new content like this.
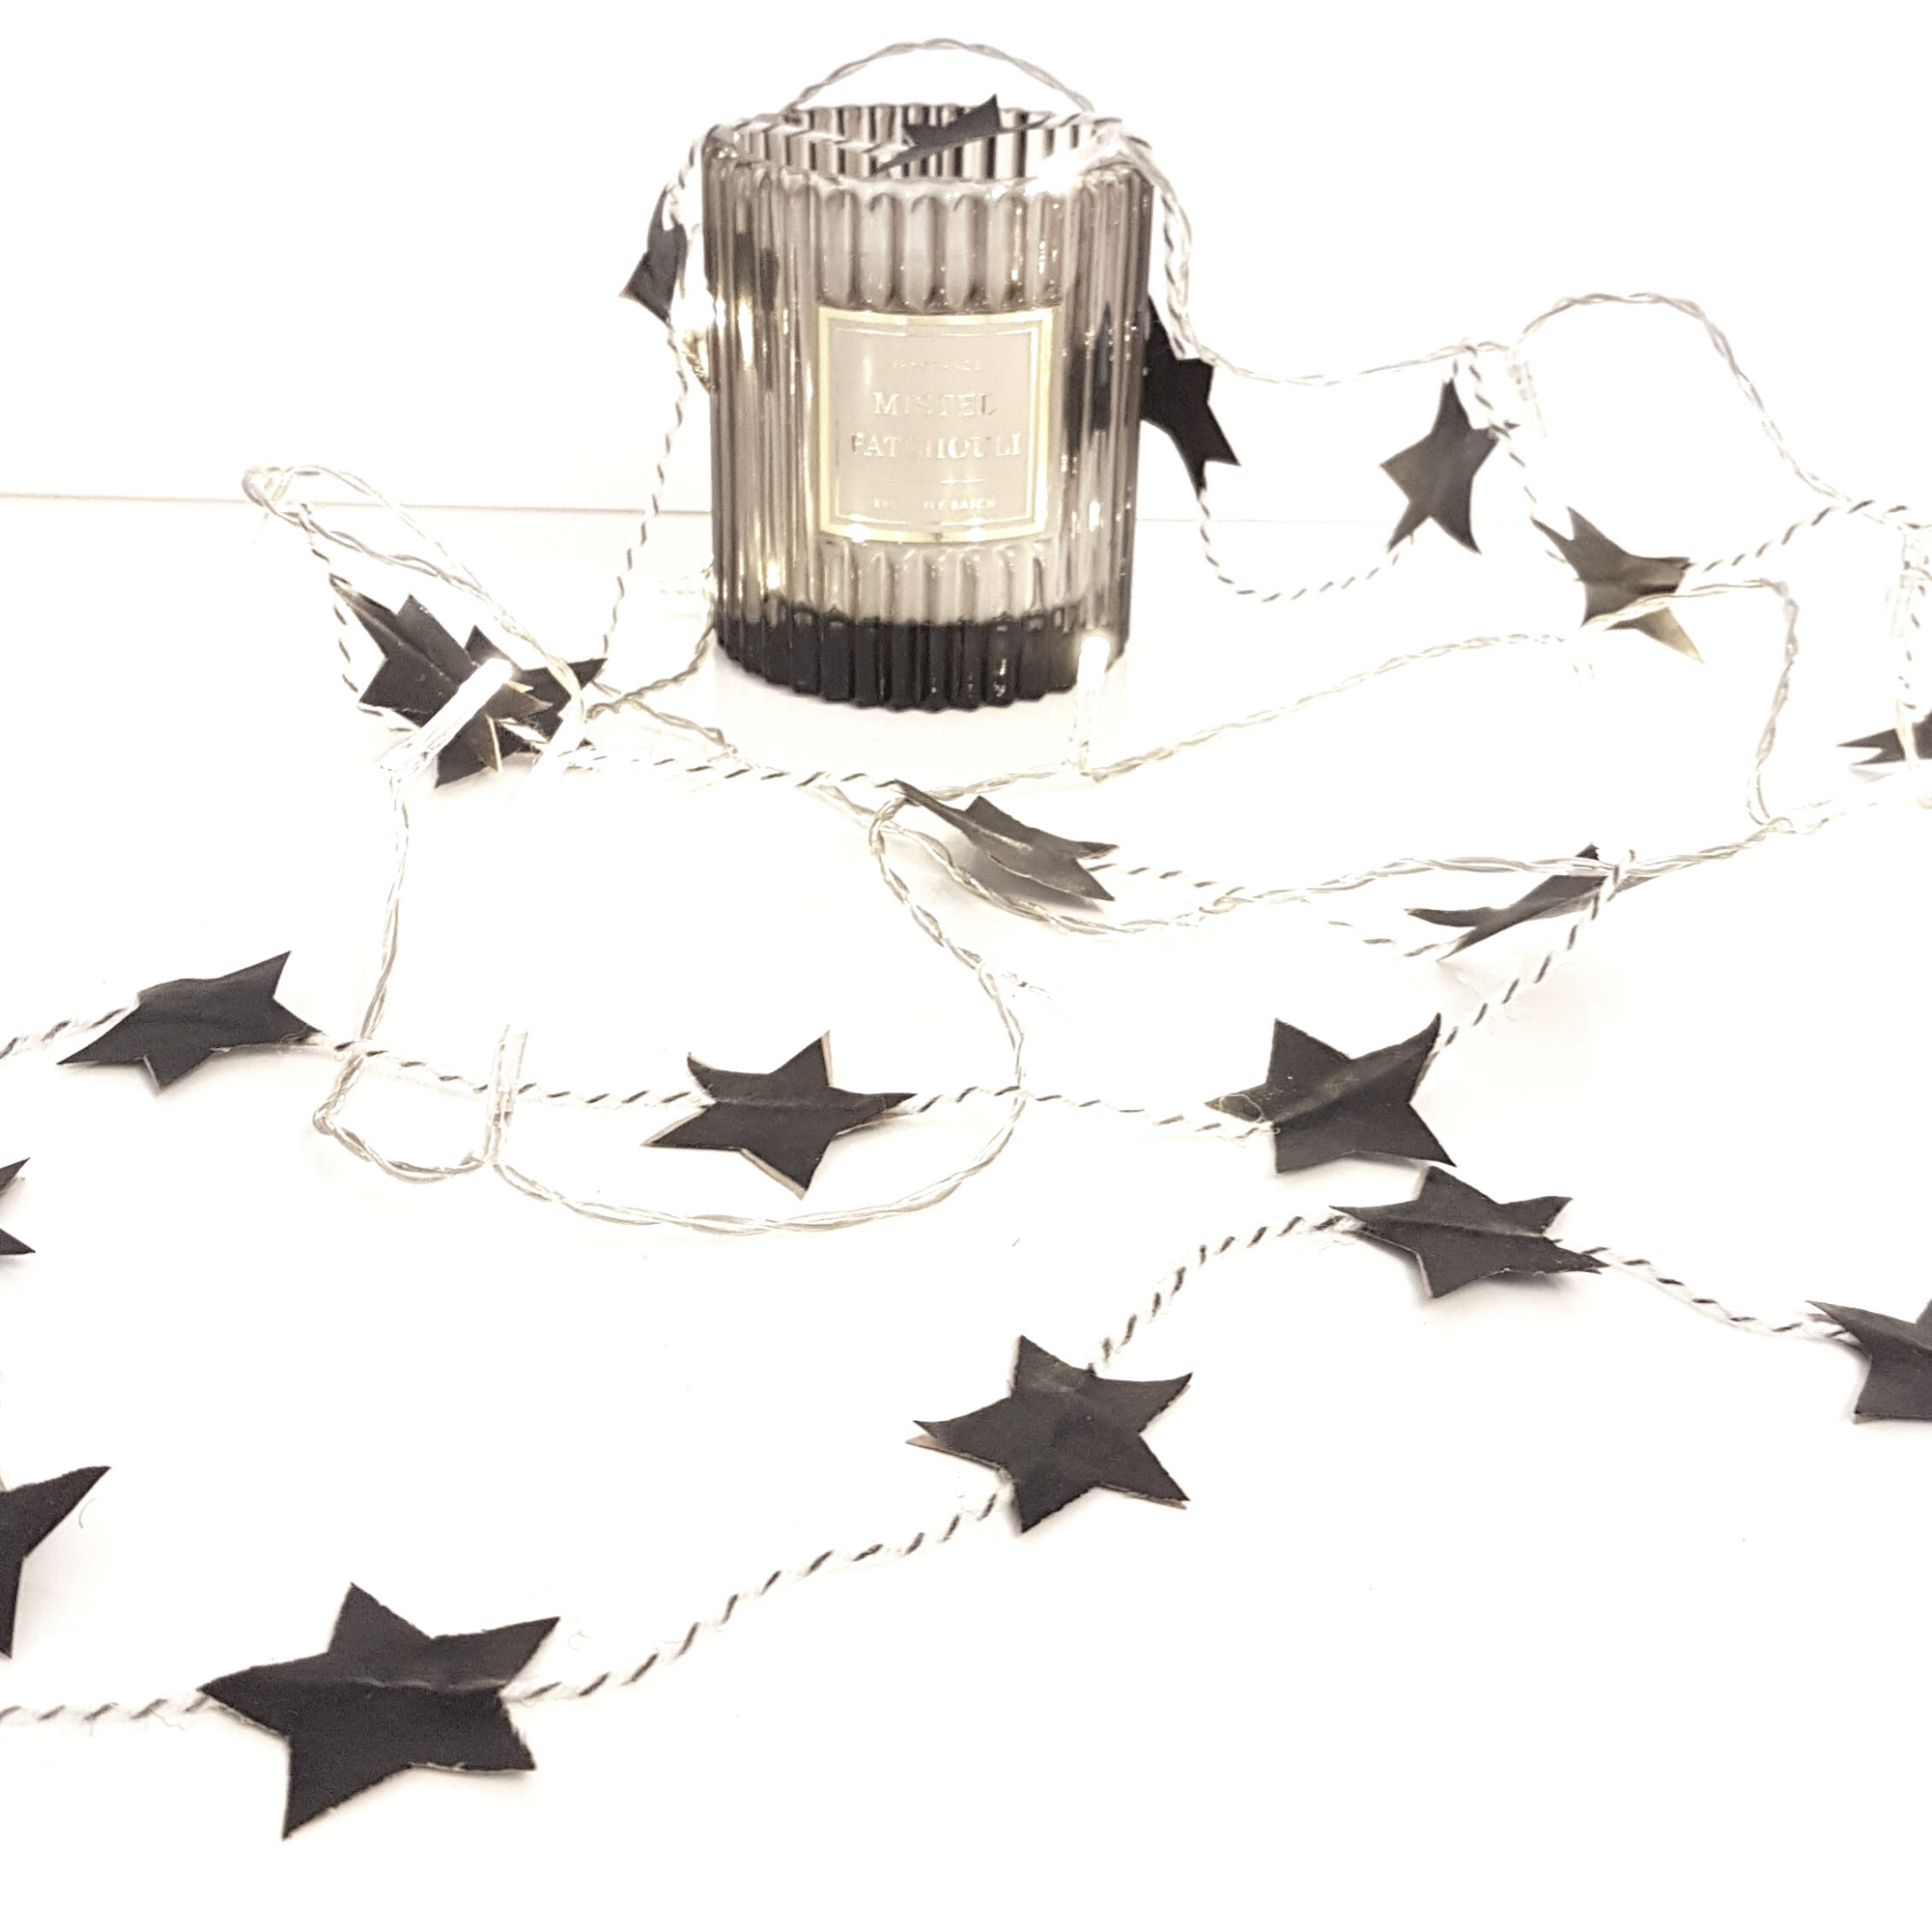
Making your own garlands is a very affordable and fast way to make an impact in your home decor. You can make garlands out of basically everything, paper, yarn, fabric, washi tape and more. In this blog post, I want to show you some examples of DIY garlands you can make for your home decor.
You can make cute paper garlands from basically nothing, all you need is a string, paper and a little bit of glue. There are a number of amazing designs you can do you can create any shape and size you would like. You can also do 3D objects such as flowers, boxes or lanterns. The options are literally endless. You can also add a paper to a string light to add an extra cozy vibe.
Paper Garlands
I really recommend you do a couple of paper garlands designs for different seasonal occasions. You can keep it super simple if you want!
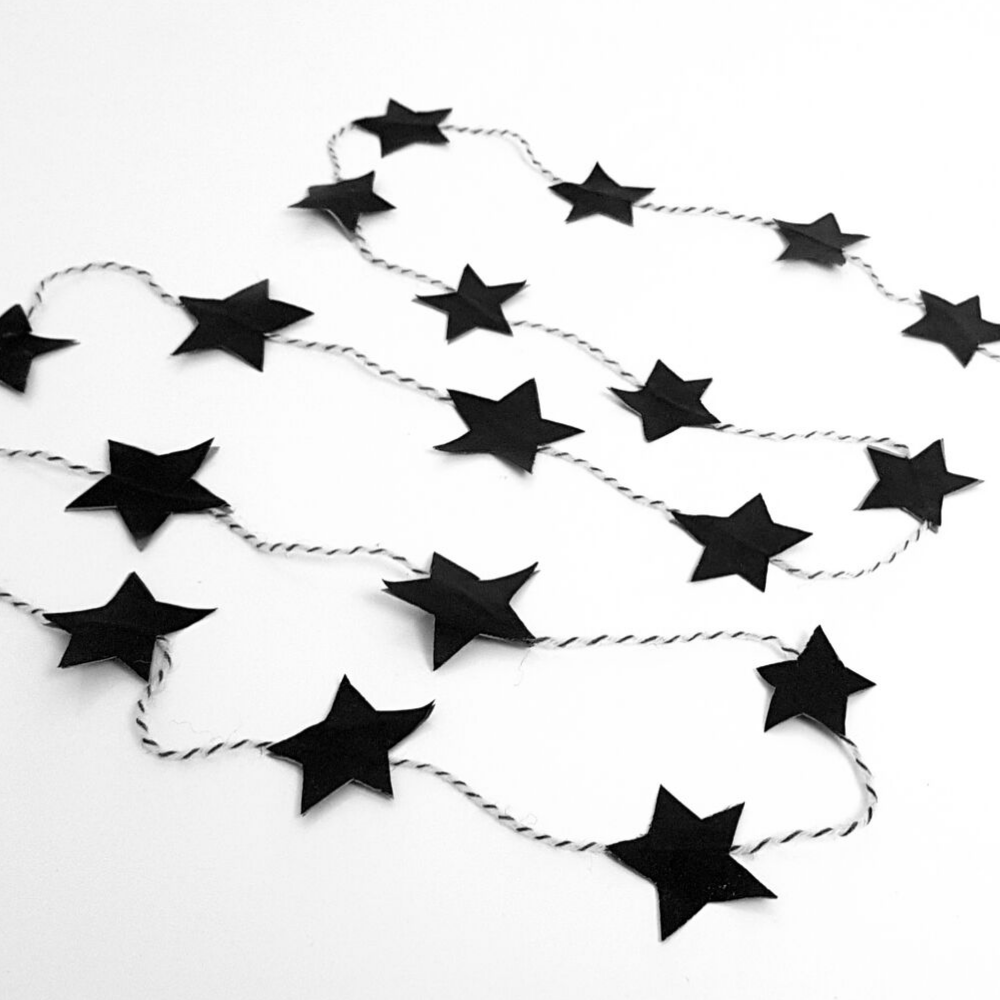
I love minimal design, but you can really go to town when it comes to paper garlands. There are a variety of shapes you could, ranging from simple shapes like hearts, stars, and clouds. To really creative layered paper flowers and origami items. Why not make a couple of different designs?
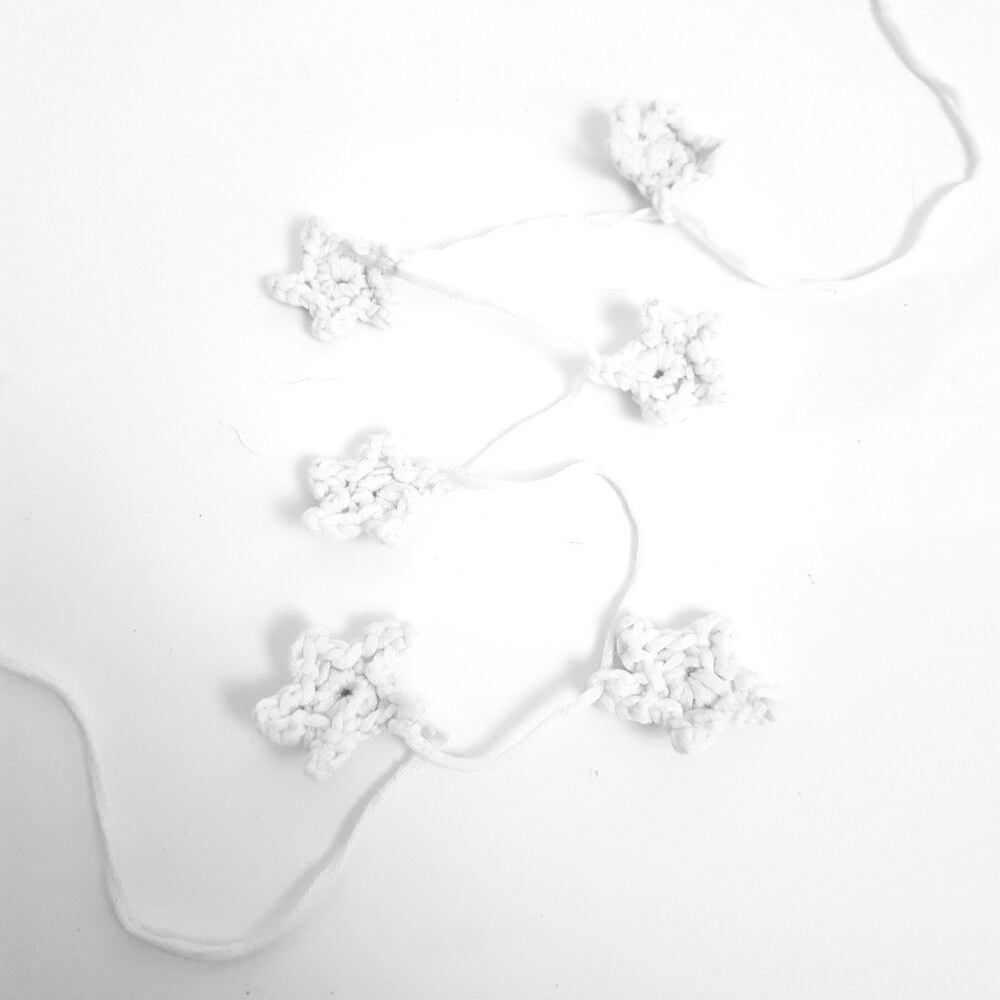
Fabric Garlands
In this category, you also have a lot of options, this is a garland I made with small crocheted yarn stars. You can use yarn, fabric and things like burlap to create beautiful garlands. You can keep it as simple as me and do a very humble design, or you could go to town with banners and colors. Garlands made with pom-poms and tassels are also a very simple yet impactful fabric garland.
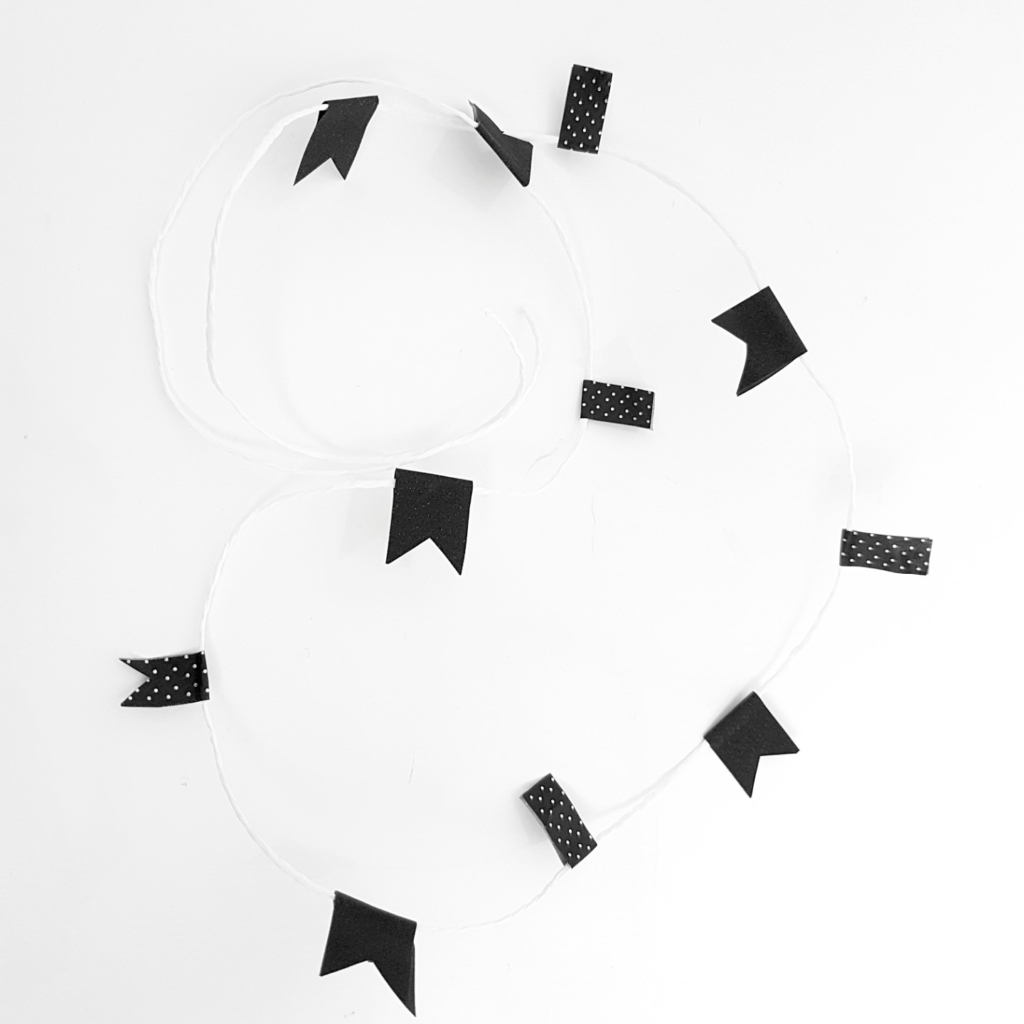
Washi Tape Garland
Probably the easiest type of garland is the washi tape garland. Just choose a couple of colors you like, cut to size and your done. Similar to washi tape you can use stickers in similar shapes to create garlands as well.
Object Garlands
Besides paper, fabric, and washi you have a range of other things you could use as garlands. Favorite of mine are air-dry clay or wooden beads. Here we also have a range of other options you can use old metal cans or mason jars. You can also incorporate other elements like wood or glass.
Seasonal Garlands
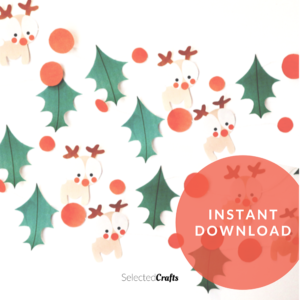
You can make seasonal garlands from things you find in nature like pinecones, berries, leaves, stems and even stones. Around Christmas, you can include ornaments, fruit, and cinnamon. For Halloween, you can use objects like spiders and candy.
How to style with Garlands
In my home decor, I usually hang my garlands across my doors or from the curtain rod. There is no way to go wrong with how to style a garland. You can hang them from both the ceiling and on the walls. You can use them to frame an object like a painting, mirror or bed. There are so many places in your home decor that could use a garland. If you want to go really crazy you can mix and match several different designs. For extra an extra cozy vibe, you could mix your garland with a string light or simply use a string light as the base of your garland.
You can also use garlands as a part of party decor or table stylings for your dinner party. Sometimes I also use garlands for gift-wrapping to add an extra personal touch. Garlands is a really cool craft to do and cost almost nothing.
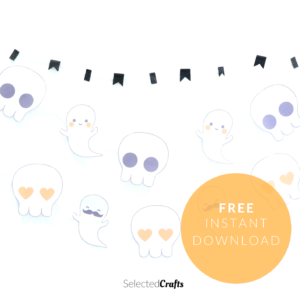
Freebie Garlands
Here are two free downloadable holiday garlands. I hope you like them! You can download the Halloween garland here. And the Christmas garland here!
Let me know what you think, and please let me see if you make any garlands of your own! 😀
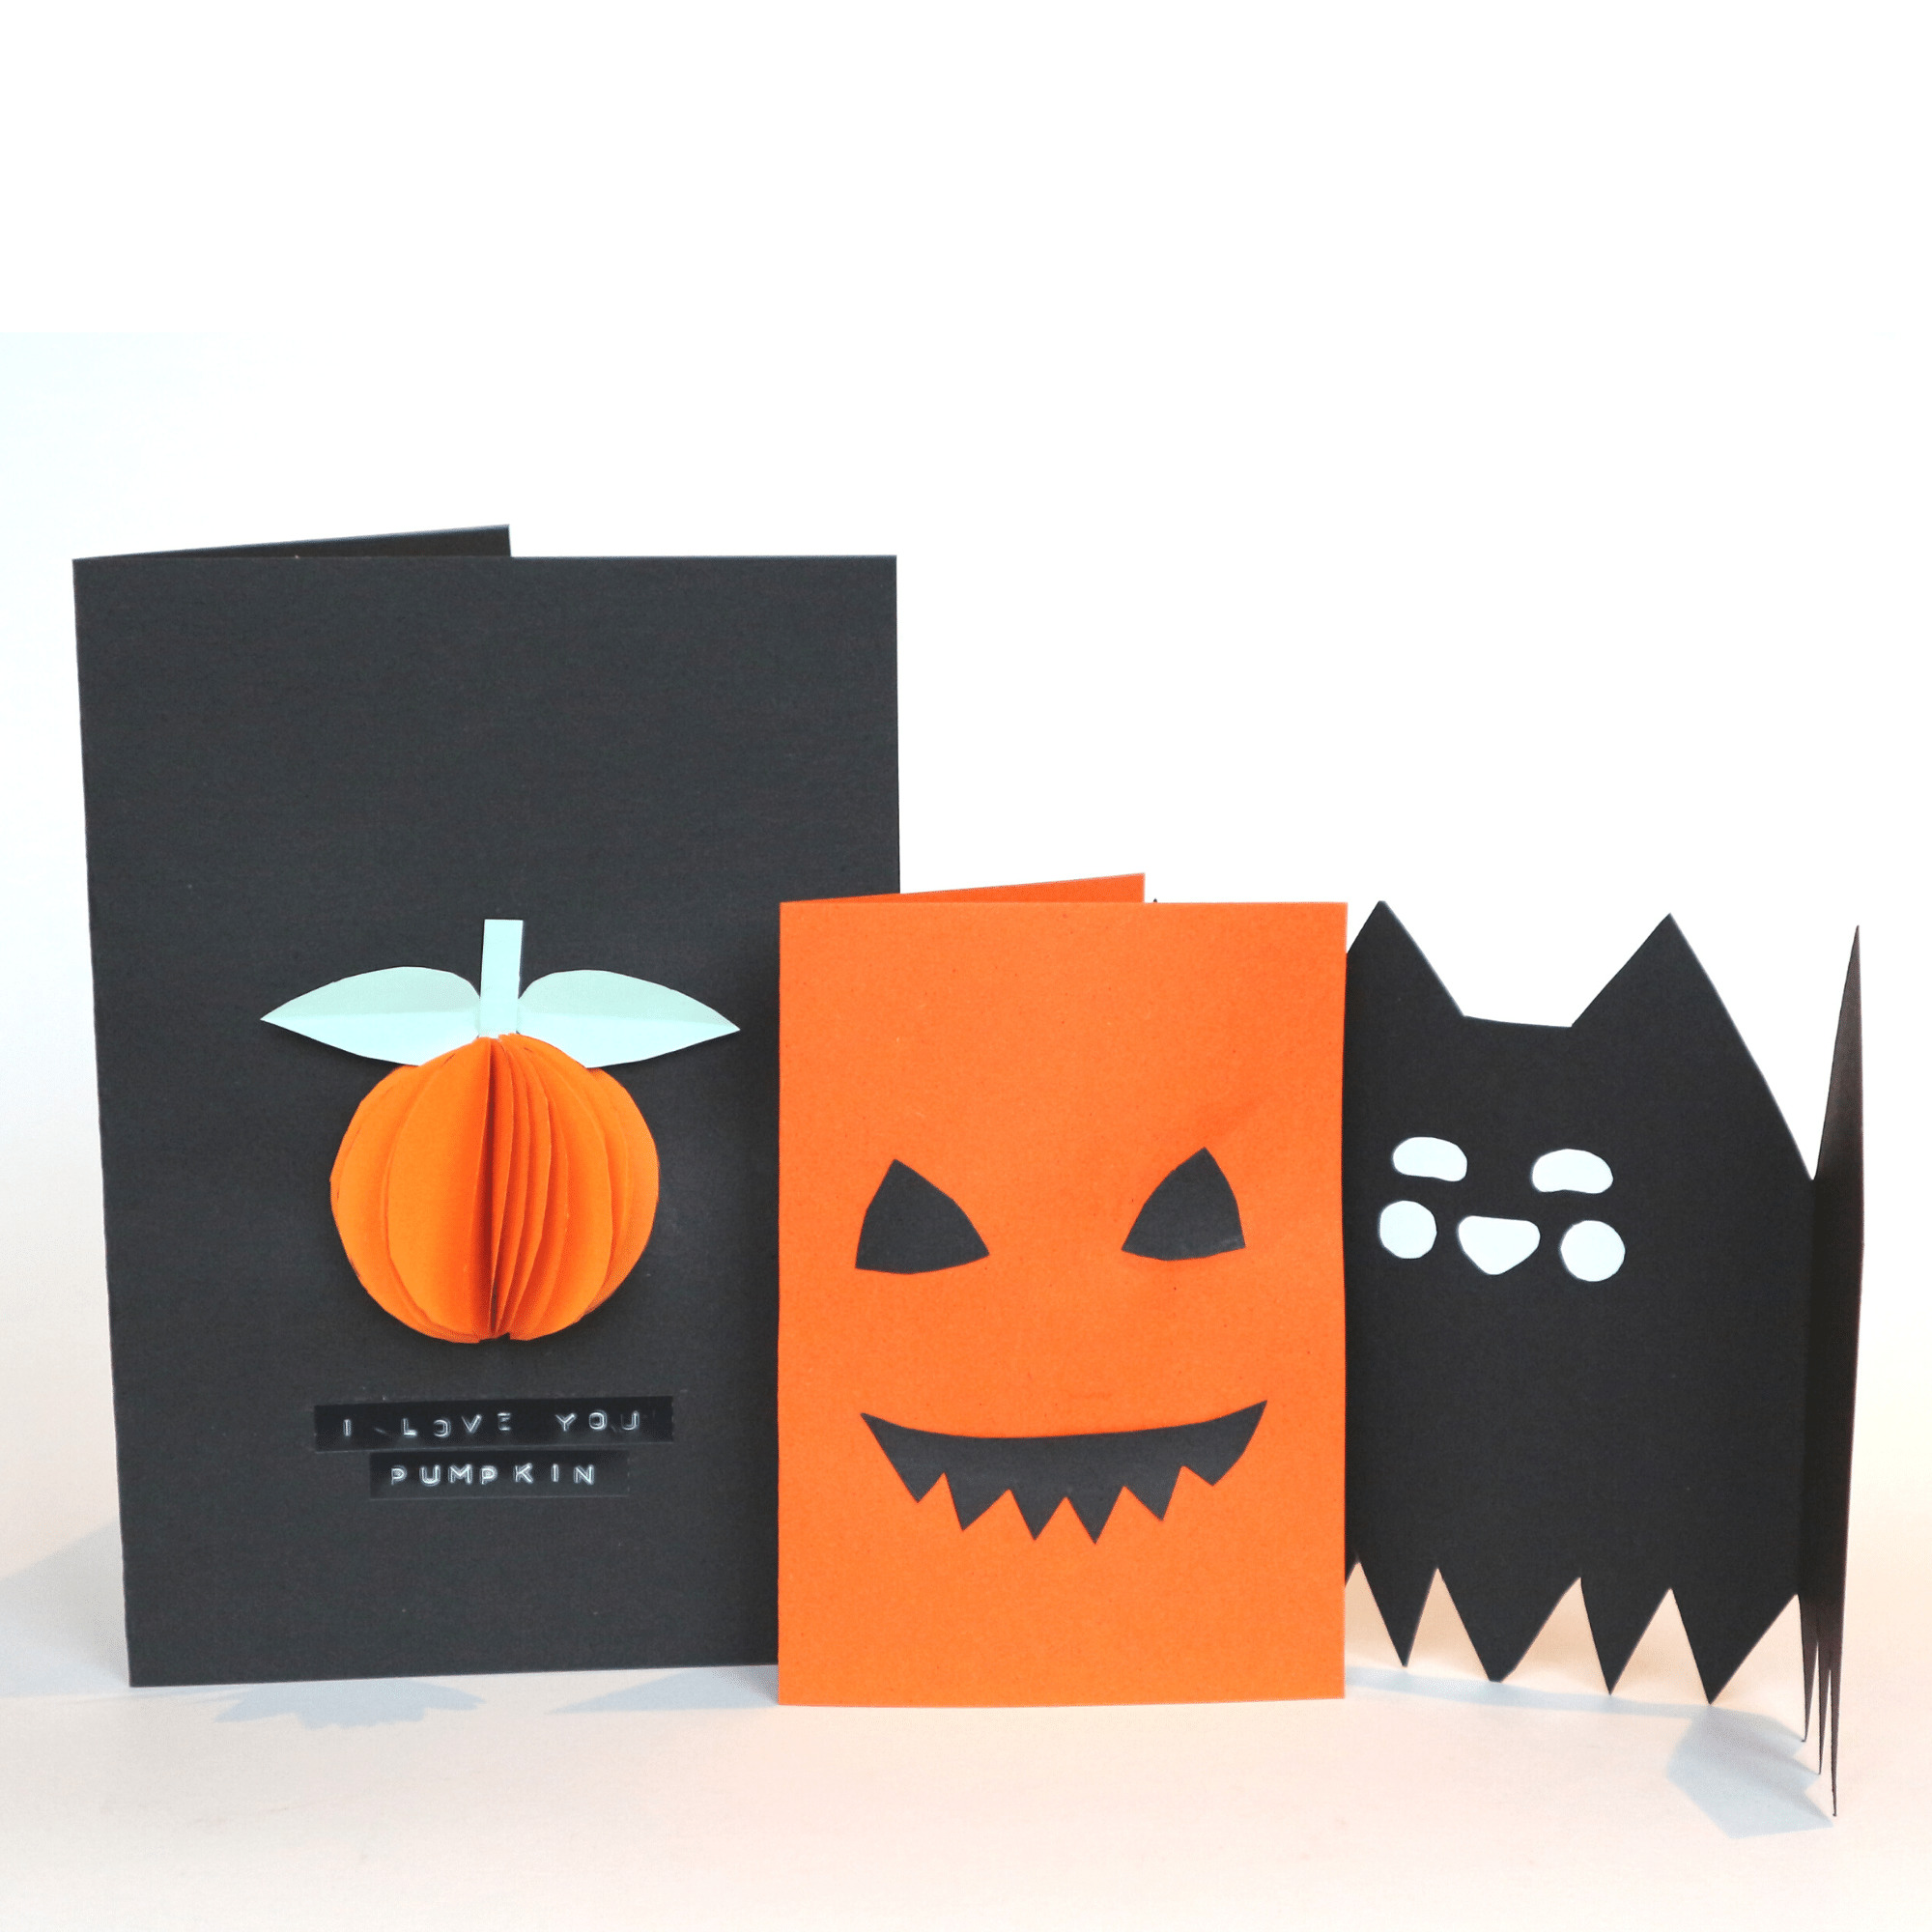
I love making my own holiday cards, making DIY Halloween card designs is just such a fun way to let your loved ones know how much they mean to you. Time to dust off your paper-craft skills and check out these super cute Halloween designs.
Supplies:
Hobby Glue or a Glue-stick
Colored Craft Paper
Tools:
Scissors or Craft Knife
Label Masker (Optional)
Design 1: Scary Halloween Faces
Start by folding a piece of cardboard in half to create a card.
Measure out and cut scary faces in a paper of a contrasting color. You can create all kinds of faces, ghosts, pumpkins and more. The only limit is your imagination!
Note: I do recommend using a crafting knife since scissors can sometimes cause thick cardboard or paper to crack as you can see above. I redid my smile using a craft knife and the result was much better.
Glue your face into your card and your done! *So simple*
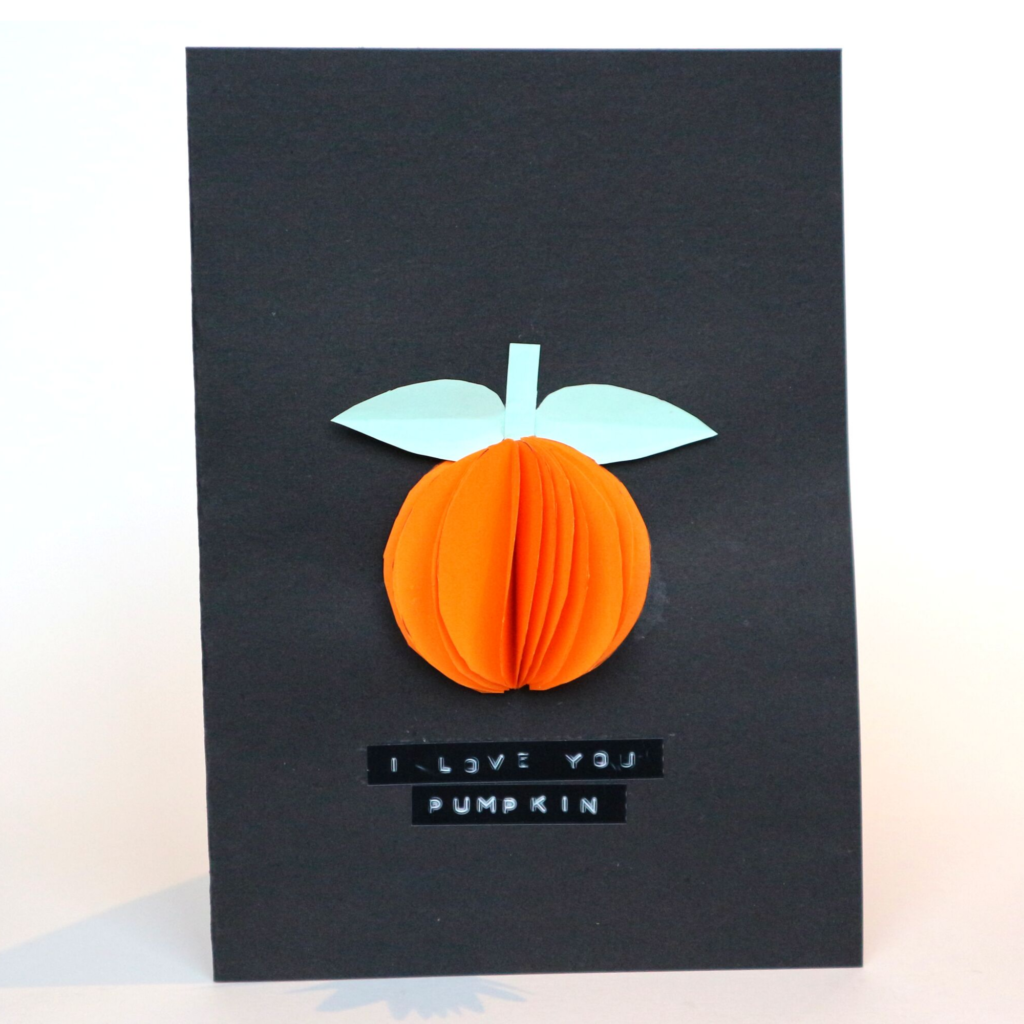
Design 2: Halloween 3D Pumpkins
1. Start by cutting out 10 circles in a craft paper of your choice.
2. Fold each piece on the middle and glue each piece side-by-side together to form the shape of the Pumpkin. Do not glue together the first and the last piece, you want to leave it open to be able to glue it to the card.
3. Fold a piece of paper in half and cut out the shape of a leaf. Open the folded leaf and make a gentle fold to add texture to your leaf.
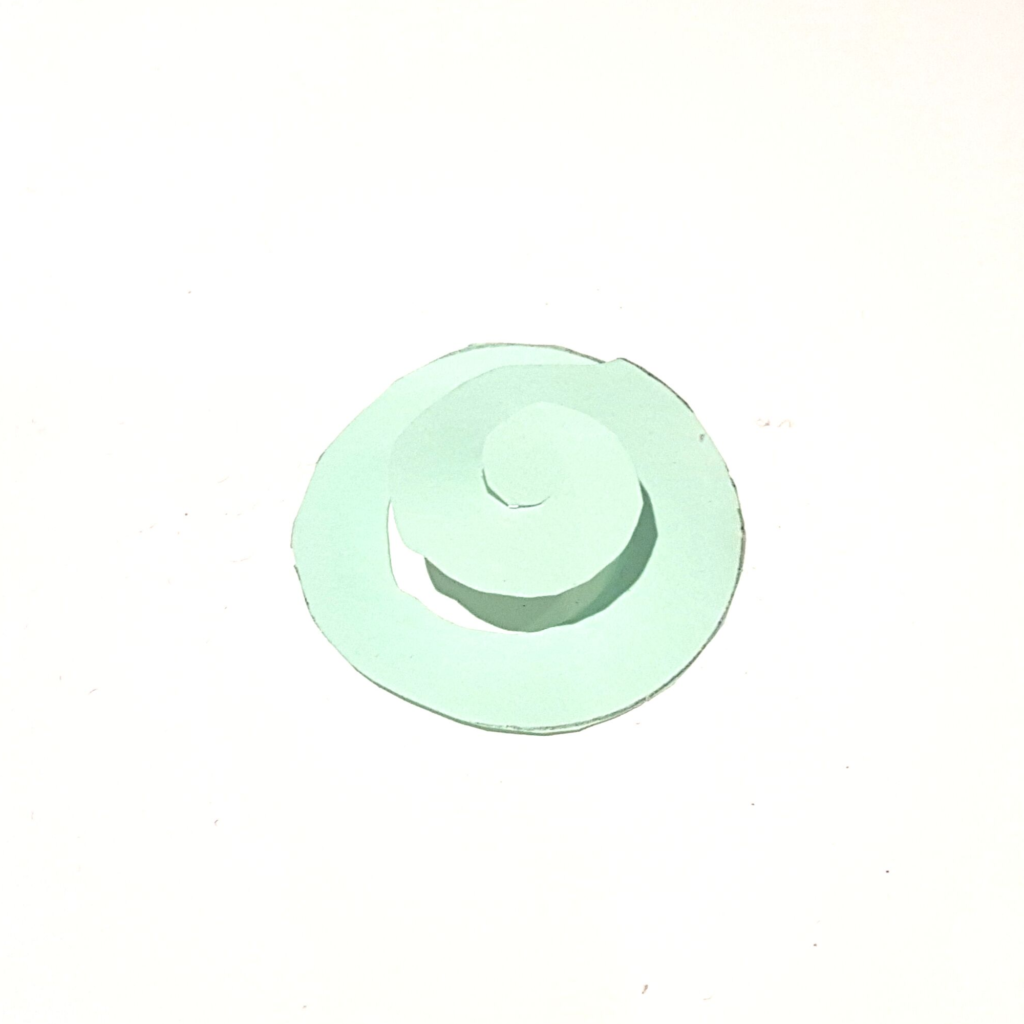
4. If you want you can cut out a circle and turn it into a swirl as pictured above.
5. Cut out a small rectangle to use as steam.
6. Then start by gluing the stem, the leaf and the swirl to the card. Then lastly glue the 3D pumpkin to your card and TADA, now you have a 3D pumpkin card!
You can decorate the cards additionally as you wish, you can write a message or add a sticker. I used my label maker to add a personal message, I use this label maker and love it if you want one of your own!
Design 3: Folding Halloween Bat Card
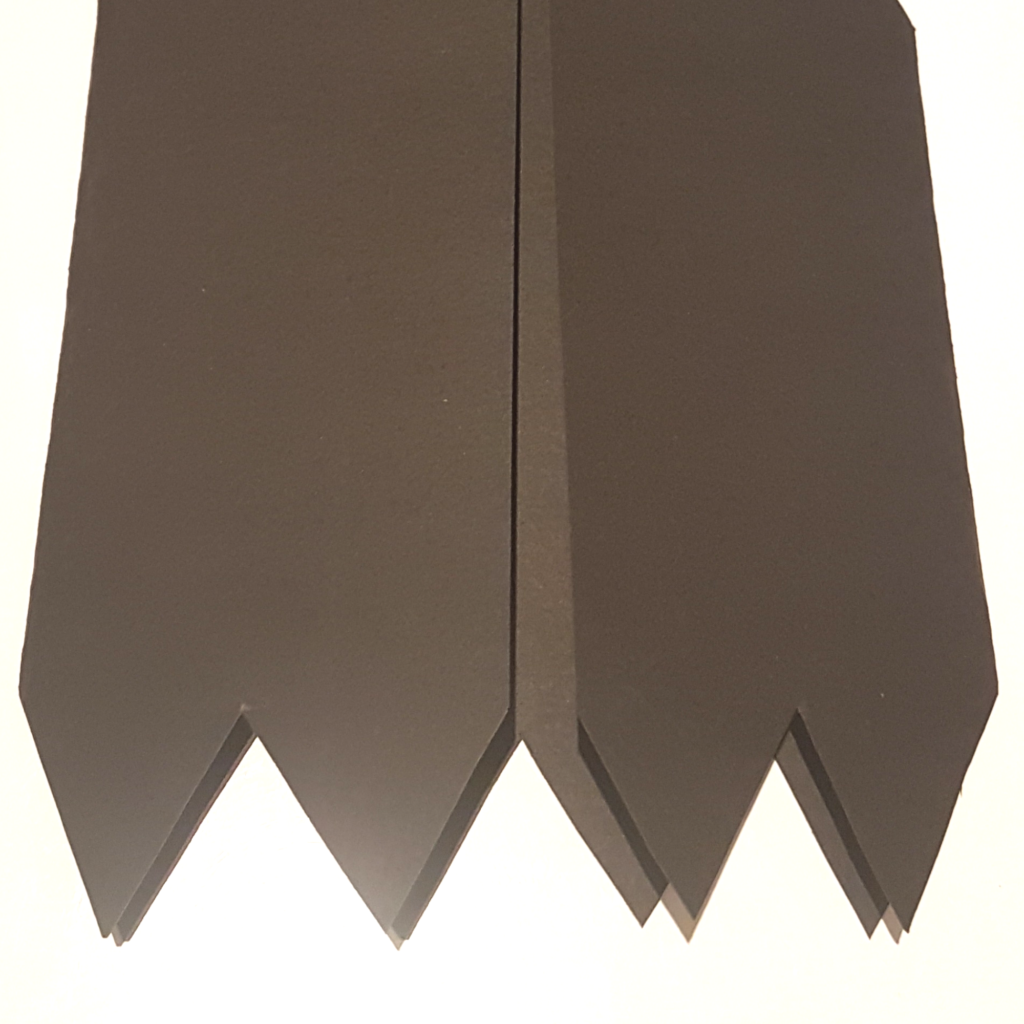
1. Fold the card in 3 parts so that the edges meet in the middle of the front of the card.
2. Cut out a couple of triangles in the bottom of the card to create the bottom of your bat.
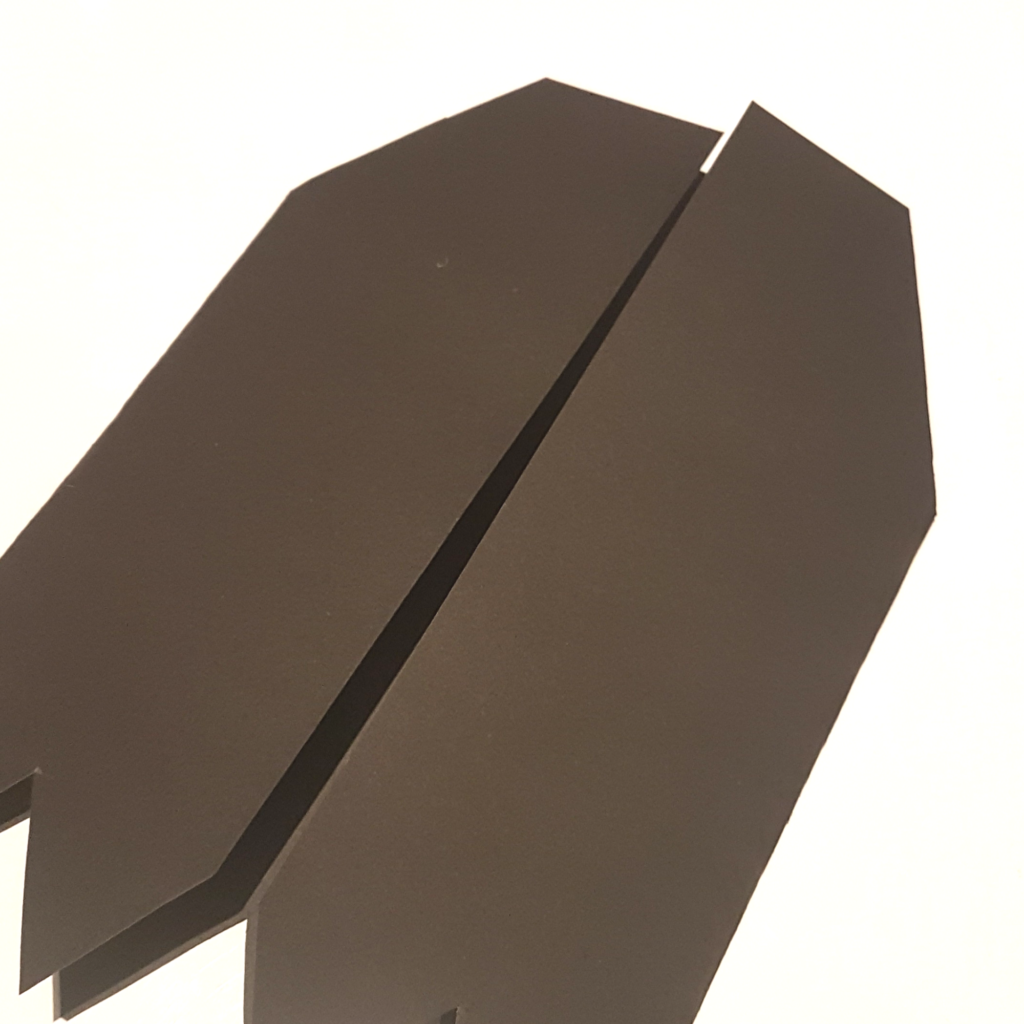
3. Remove the outside corners on the top of the card.
4. Open the card and cut the outside corner to a triangle to finish the shape of the bat-wings.
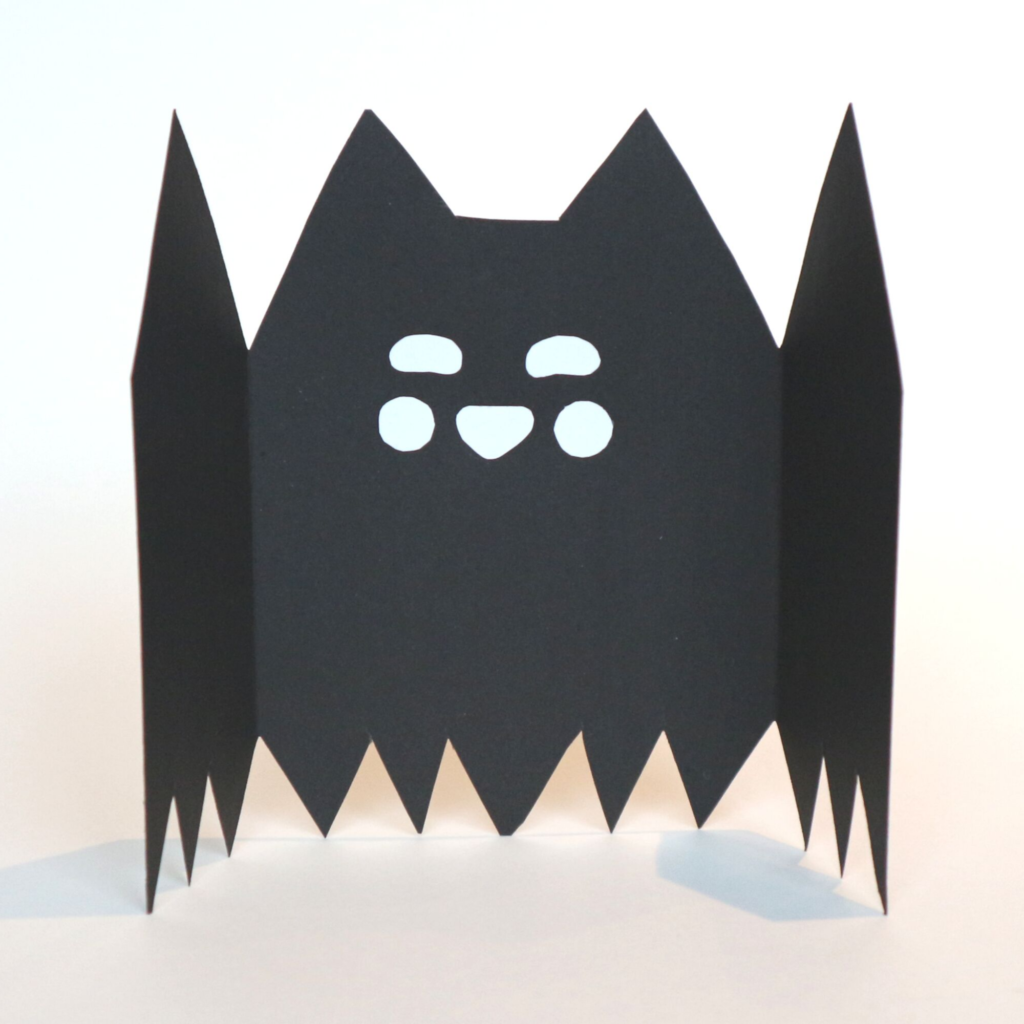
5. Cut out the shape for the bat’s ears.
6. Add a face to your bat, I cut mine out of paper but you can make yours from whatever you want. Maybe you prefer to draw a face or add stickers.
If you are interested in more paper crafts check out these blog posts!
Reflections:
I love making DIY holiday cards! It’s so much fun and it just really gets me into the right mood. The only thing I’m not happy about is that I couldn’t find the time to make even more designs, I will do more next year! I also think the 3D design would look amazing for an ornament Christmas Card. Let me know if you like it!
Interested FREE printable Halloween Garland? Get your Garland here!
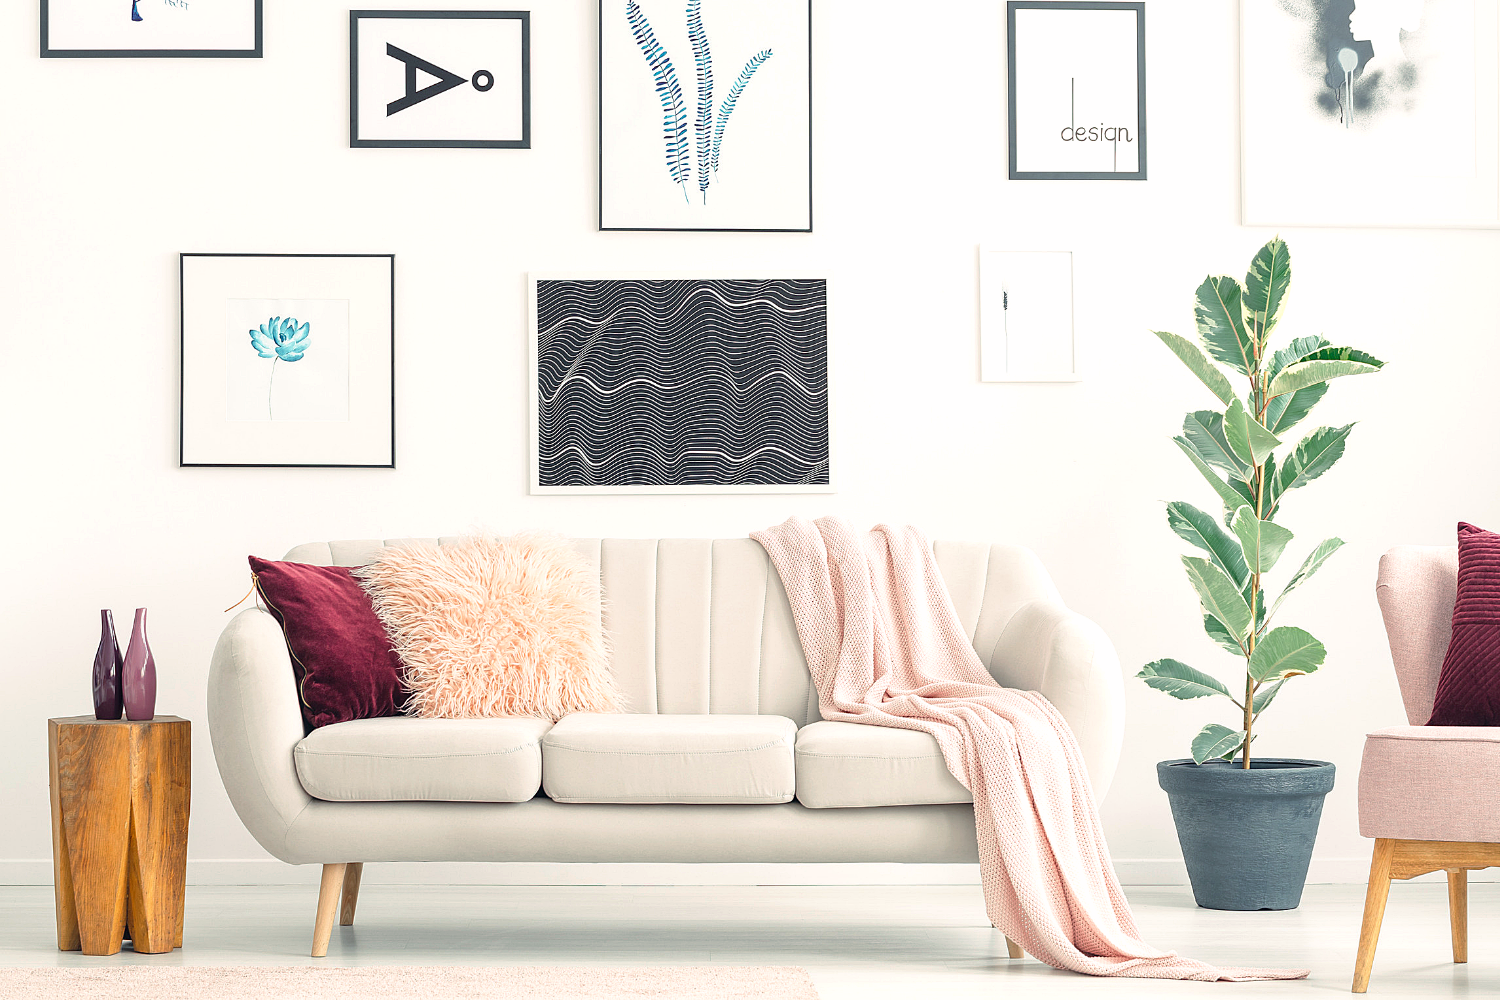
Are you thinking about making a gallery wall but not completely sure how to start? Then you are in luck! I have been there and I want to help you do it too. So in this blog post, I want to tackle one of the most difficult home decor challenges. How to make the perfect Gallery Wall!
Everyone needs a gallery wall
I think most of us want a gallery wall since it really is a statement in any home. In my experience, everyone wants a way to showcase their art and have something out of the ordinary in their decor. Not every space needs a gallery wall, but I firmly believe that every home needs one! So I want to help you build one.
In every home decor magazine, there will be at least one gallery wall to drool over. In the past told myself that my space was too small to fit a gallery wall. But let’s be honest, a gallery wall can come in any size or shape so I was just making up excuses.
But even after I decided to do something about it. I still couldn’t quite get to it, there was just SOO many questions:
Where do I start? What do I need? Do I have enough space?
Everything you need is right here
But don’t feel disheartened, this is the exact reason behind why I created the gallery wall guide! I wanted to make a step by step guide to make this process easier. Both to ensure that you actually start and that no important step is skipped.
The Gallery Wall Guide will take you from searching for inspiration to finding your style and eventually creating your gallery. It will take you step by step through the hurdles of figuring out how to create a gallery wall. On top of that, it will help you to figure out what your style is. It will also list some design principles that are useful to keep in mind, to ensure the finished result looks stunning. I have worked hard to cover ALL the important things to think about before you start making holes in your wall.
So make sure to download your FREE copy of the gallery wall guide here!
Perhaps even more importantly I am ALSO giving you a free gallery wall planner, so you have the very best chance to build the PERFECT GALLERY WALL for you! The gallery wall planner is a way to keep your ideas and measurements in one place so this project goes as smooth as possible.
Grab your FREE copy of the gallery wall planner here!
If you are looking for new art for your wall, make sure to check out my art printables at the SelectedCraftsStore.
When you finish your gallery wall I would LOVE to see the results!
Let me know if you liked this post or if there still is something that you struggle with. I will always do my very best to help you. If you want to read more blog posts like this one, head over here!
Can you actually be good at thriving? I know from experience that you can be really bad at it, so I believe the opposite to be true as well. Thrifting is a very fun activity but it can also let you take your home decor to the next level. So let’s look at the 5 rules to thrifting like an interior designer.
I have always loved going to the thrift store. Buying on auction, second hand or from then salvation army has been a part of me. I have loves it since long before the term thriving came along. I mainly focus on buying home decor items or DIY supplies in the second-hand store, and once in a while, I will run into clothes that I really love.
The problem is that you sometimes buy things for all the wrong reasons. I have lived in a mismatched mess of thrift-store clutter on more than one occasion. Luckily I have managed to turn that around now and I will tell you what I have learned.
Here is my best tips to thriving as a pro:
1. Don’t buy trash
This might seem like an obvious rule but in truth, it’s not easy at all. I have made the mistake of buying something broken thinking I will repair it later hundreds of times. This way thinking just results in my home being cluttered with broken things and me feeling guilty about that “dress with the missing a zipper” or that “tray with a loose handle”. You also don’t want to buy things that are too dirty, stained or torn.
However, with that said it is also important to learn the difference between dirty or broken. I find tons of items like silverware in perfectly good condition but in a serious need of a good cleaning. Now I only bring whole items into my home and I have learned to see the difference between trash and treasure.
2. Only buy quality
Learning the basics of materials like wood and textiles will get you a long way. Understanding the difference between oak and plywood, or pure cotton or some weird viscose-blend fabric, is essential if you want to thrift like an interior designer. I try my best to only have natural elements like glass, wood, and fabrics in my home.
Another way is to buy brands that you love and are familiar with or have a reputation for good quality. I have a couple of favorite design brands and I love to buy both new and second-hand items from.
3. Buy the set
Not buying the whole set, or even worse, buying a set of mismatched items in odd numbers has been a real specialty of mine in the past. When thrifting for unique items like for example porcelain, the odds of every running into the same item in a lifetime is microscopic. That’s why I made a habit of either buying the whole set or leaving the whole lot. I have no use for three forks and four knives, it’s better to leave it for someone that does.
4. Have a plan for your home decor
The problem with shopping home decor is that you cant create a cohesive look and flow with a bunch of mismatched items. Also *spoiler alert*, more mismatched things is not the way to solve this. I have tried to puzzle together a decor that works before.
Unfortunately there here is just no way I can match an antique dresser whit a mid-century lamp and a 70th shock colored fabrics armchair with a super glam pink chandelier. The problem is that I might very well like all of it. Luckily there is where a home decor plan comes into play. Nothing is stopping me from having all of this in my home, I have a basic plan for my home decor and an overall color-scheme. from This really applies to all home decor shopping whether it is through thriving, in the store, or online. Is that you
5. Only buy things you love
And of course, the most important rule defies all the other rules. Naturally you should buy the items that really make you happy. To build a beautiful home, it is absolutely essential to be surrounded by things you love.
Besides thrifting would not be half as fun if it wasn’t allowed go wild sometimes. I have found completely adorable items that were broken that I have fixed and some of my favorite porcelain mugs did not come in a set after all.
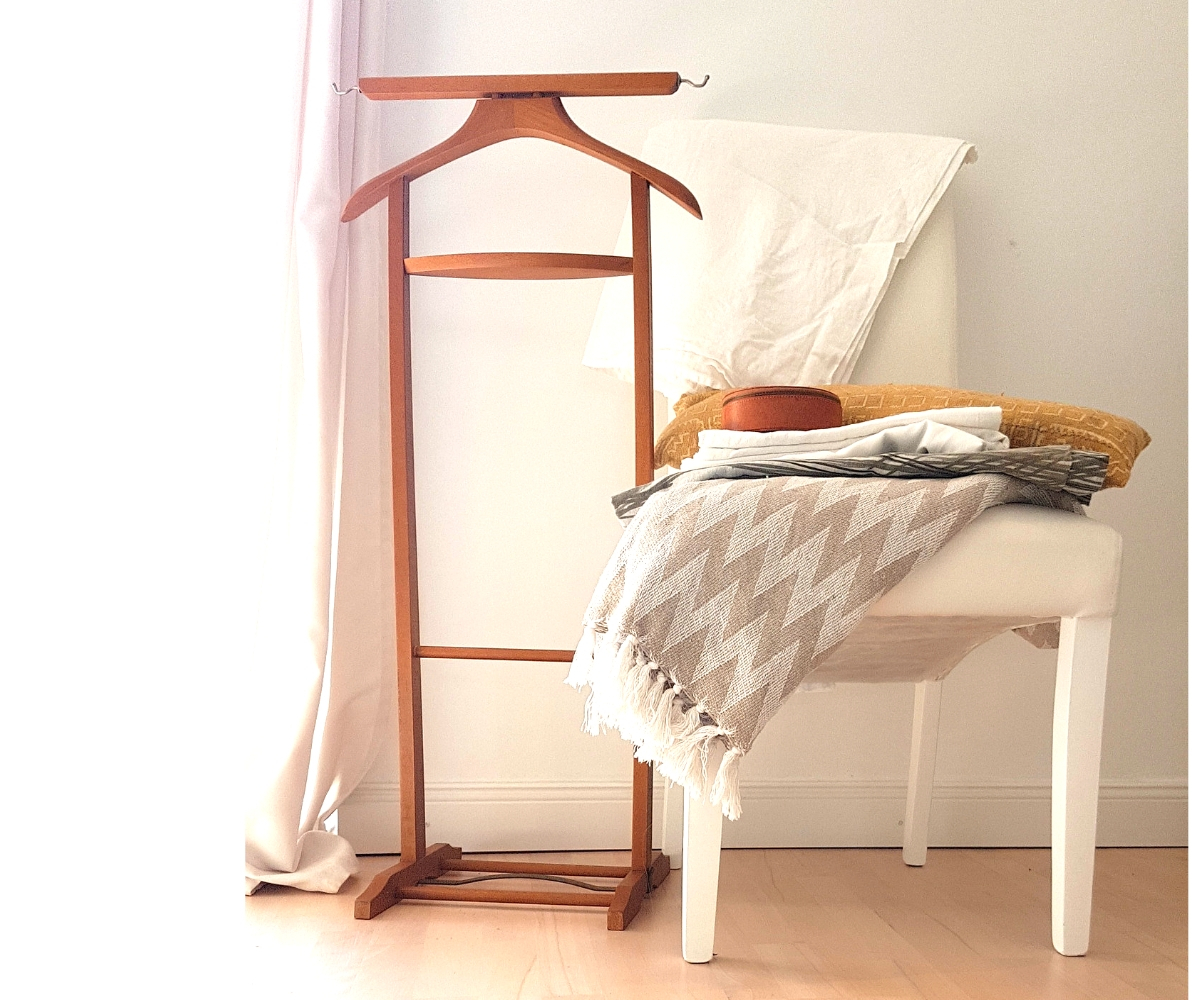
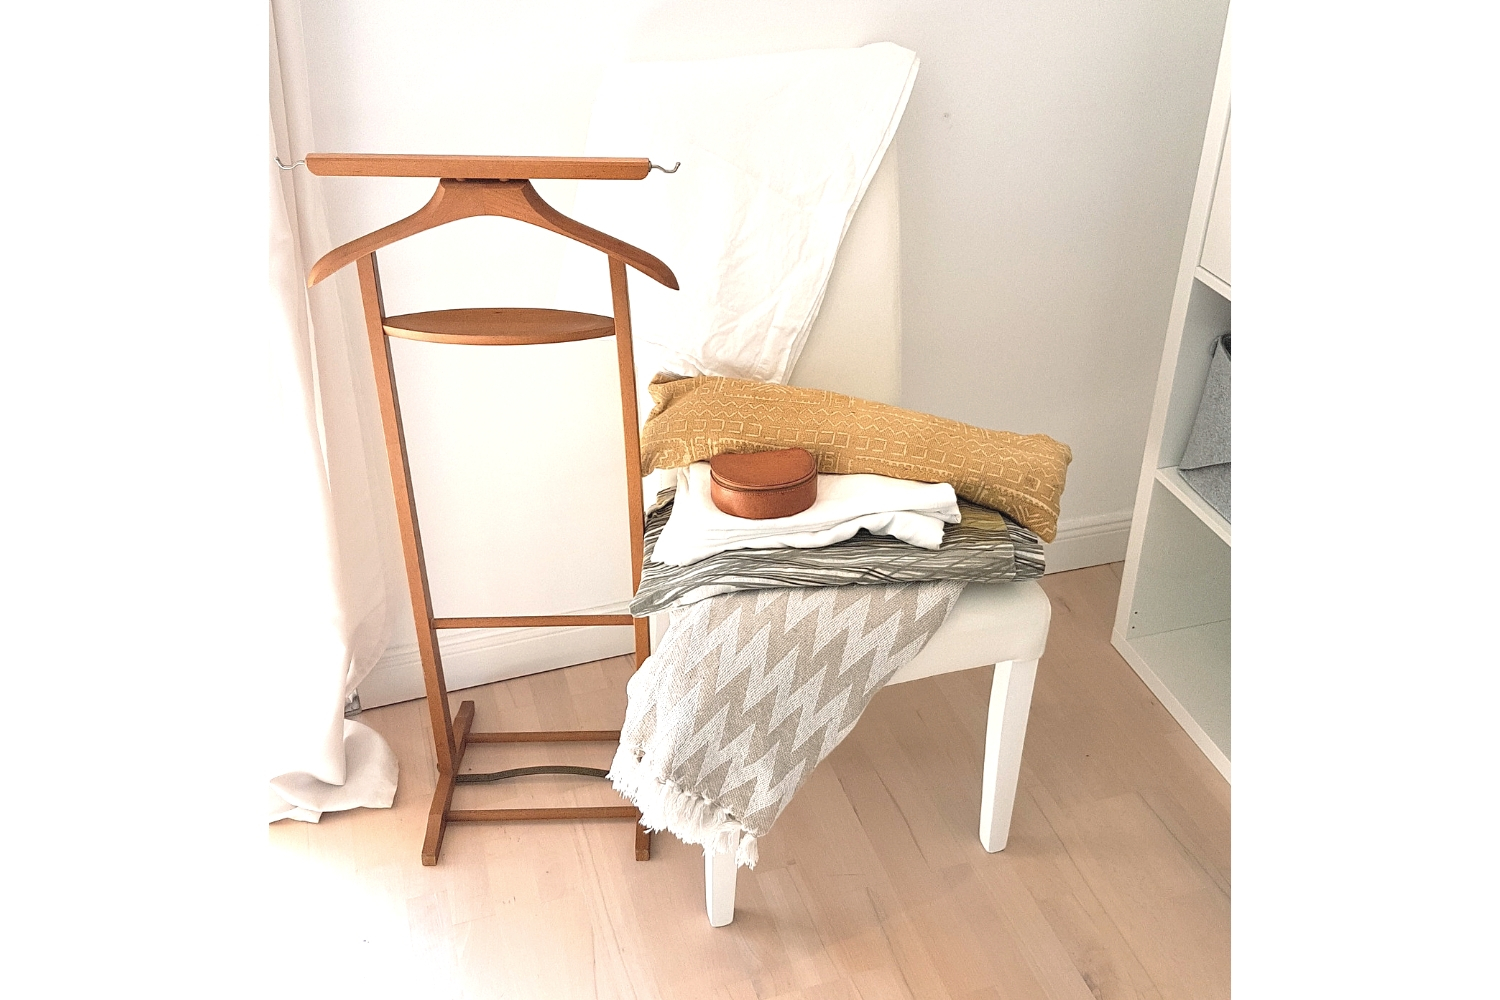
Here is one of my thrift hauls for reference (The chair is not a thrift find).
This time I was really lucky on the textile front, I found:
A pair of regular white curtains
2 big pieces of white pure linen fabric
One piece grey/yellow print fabric
One yellow boho pillowcase.
A 100 % cotton blanket in neutral colors.
All of these quality fabrics, including the cute leather storage box cost me a total 4 euros (about 4 dollars) I also found this clothes valet for ONLY 30 euros, that a STEAL! I googled the exact brand of the valet and found out that they start selling at 120 euros/dollars on action. That is crazy! Right now it works perfectly because I am in love the mid-century look!
And if you want to DIY your home decor then keep scrolling to check out my many home decor tutorials!
I would also love to know you look for when you go thrifting? Are you a collector of a special item, do you also look for home decor, or are you all about clothes? Let me know in the comments!
Have a nice day superstar and make sure to sign up for my newsletter if you want more awesome home decor tips! Check out my other home decor guides over here!
I thought I should share some of my experiences and ideas about home decor with you. Because building a home decor that you really love and that represents your personality can be such a challenge. Sometimes you hit an inspiration dry spell and have no idea how to change up your decor even though it is desperately needed. So today I will share some inspiration with you as we look at the ultimate list of home decor ideas!
I am the type of person who will probably never think that my home or home decor is ever finished. Trends change, my preferences change, and more importantly I change. However I also always want a home that I love and represents who I am, the struggle is real!
Inspiration overload limits me!
I am always looking to change up some parts of my home and are in a constant need for inspiration. I am crazy about home decor magazines and the endless sea of inspiration on Pinterest. I’m ALL about home decor! But when I actually get around to decorating, I usually draw a BLANK. Because getting inspired looking at already perfectly put together home decor, just isn’t the same thing as wrestling my own space.
Over the years moving around a lot I have picked up a few hacks. To avoid getting overwhelmed by the endless home decor options available, I made this overview home decor idea-list. It is a list of all the things that you can use to decorate your space. A great thing about it is that will you already have lots of these things, or you easily can DIY them.
Keep all ideas in one place
I have it with me when I decorate a space and it just saves me a lot of trouble knowing that I am not forgetting anything important. It also helps me make the most of my existing home decor.
Despite the many options of the lis,t I am a creature of habit and I tend to reuse some of my favorite things over and over. So I thought I would share that with you as well.
Here is the list of my 5 favorite home decor objects:
1. Mirrors
Not only are they essential to making sure I look somewhat decent but they also reflect light around in your space. A mirror can really open up your space and make it feel a lot bigger. There are so many style options, big, small, round, square. For quite some time I have been completely sold on round mirrors, whenever I go thrifting I am always on the hunt for more mirrors.
2. Rugs
Rugs have the ability to tie spaces together, when I lived in my studio apartment rugs were crucial to separate my little kitchen-area from where I had my study-area. I personally love rugs for two reasons: The first reason is that they can separate areas and make the home decor look so much more intentional and organized. The second reason is that they are noise-canceling and will make the acoustic in every space 100% more pleasant. So I am always looking for a bargain on a rug.
3. Pillows
Pillows are kind of a guilty pleasure for me because they are so easy to DIY and will instantly upgrade the look of any space. There is so much personality in pillows. You can buy them from your favorite brands, thrift them or DIY them. No matter how I go about it, adding new pillows to my home Is a never-ending project.
4. Art Prints & Posters
Naturally, I love prints and posters since I have an art-printable shop! It really is the ultimate way to express your personality and make your space reflect who you are. Since I like to update my home regularly, art prints are a very fast, convenient and affordable way to to it. If you are looking for new art make sure to check in my store The SelectedCraftStore.
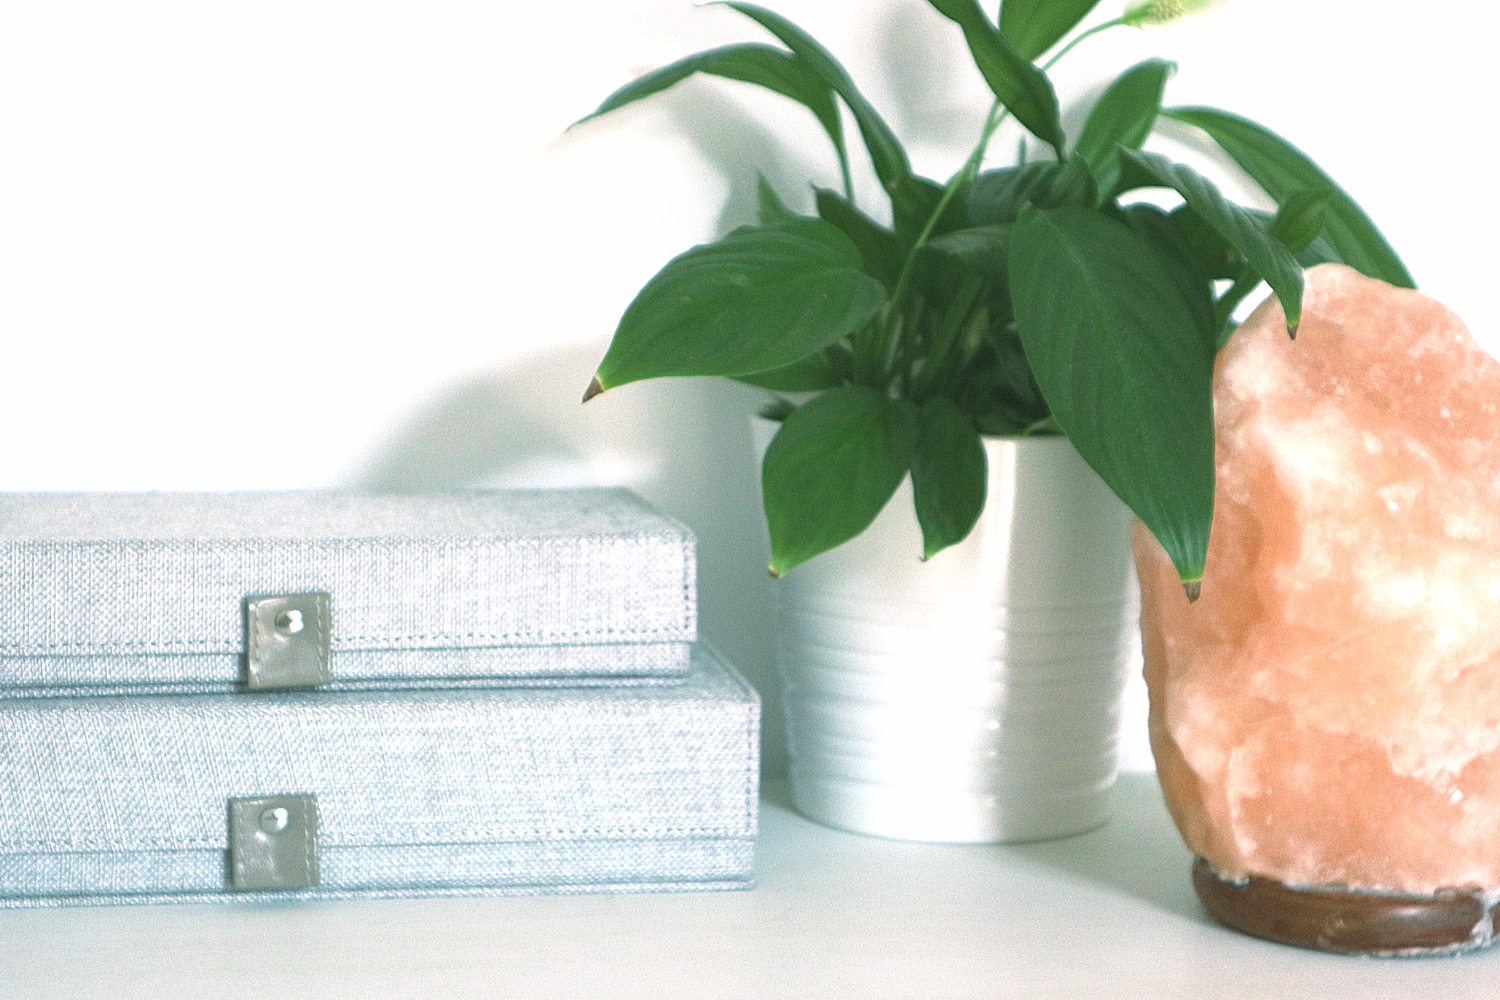
5. Decorative Storage
I am guilty of being obsessed with organization, at this point I have more storage then things I need to store. I think it is because my soul is at peace when I bring a new item into my home that is both functional and beautiful. Decorative storage comes in a number of forms such as bins, baskets, boxes, trays, and dishes. You have endless options for every room or space in your home. I like personally use a mix of transparent and closed items in my decor to add contrast.
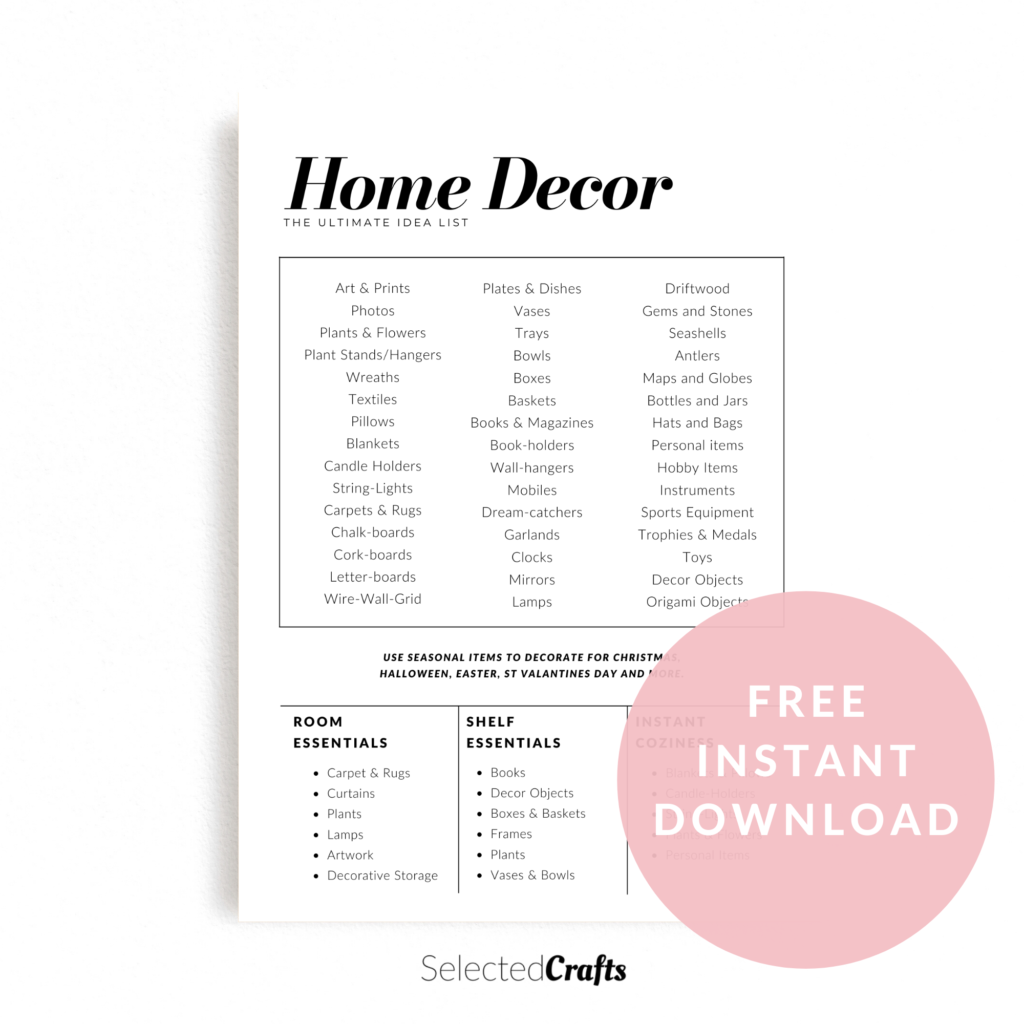
And now to the best part! I collected a TON of ideas and made lists of the home decor essentials that you can download here for FREE!
Keep it in on your phone, or print it out. It is very handy for planning your home decor, so download it here have it ready when you fix up your space!
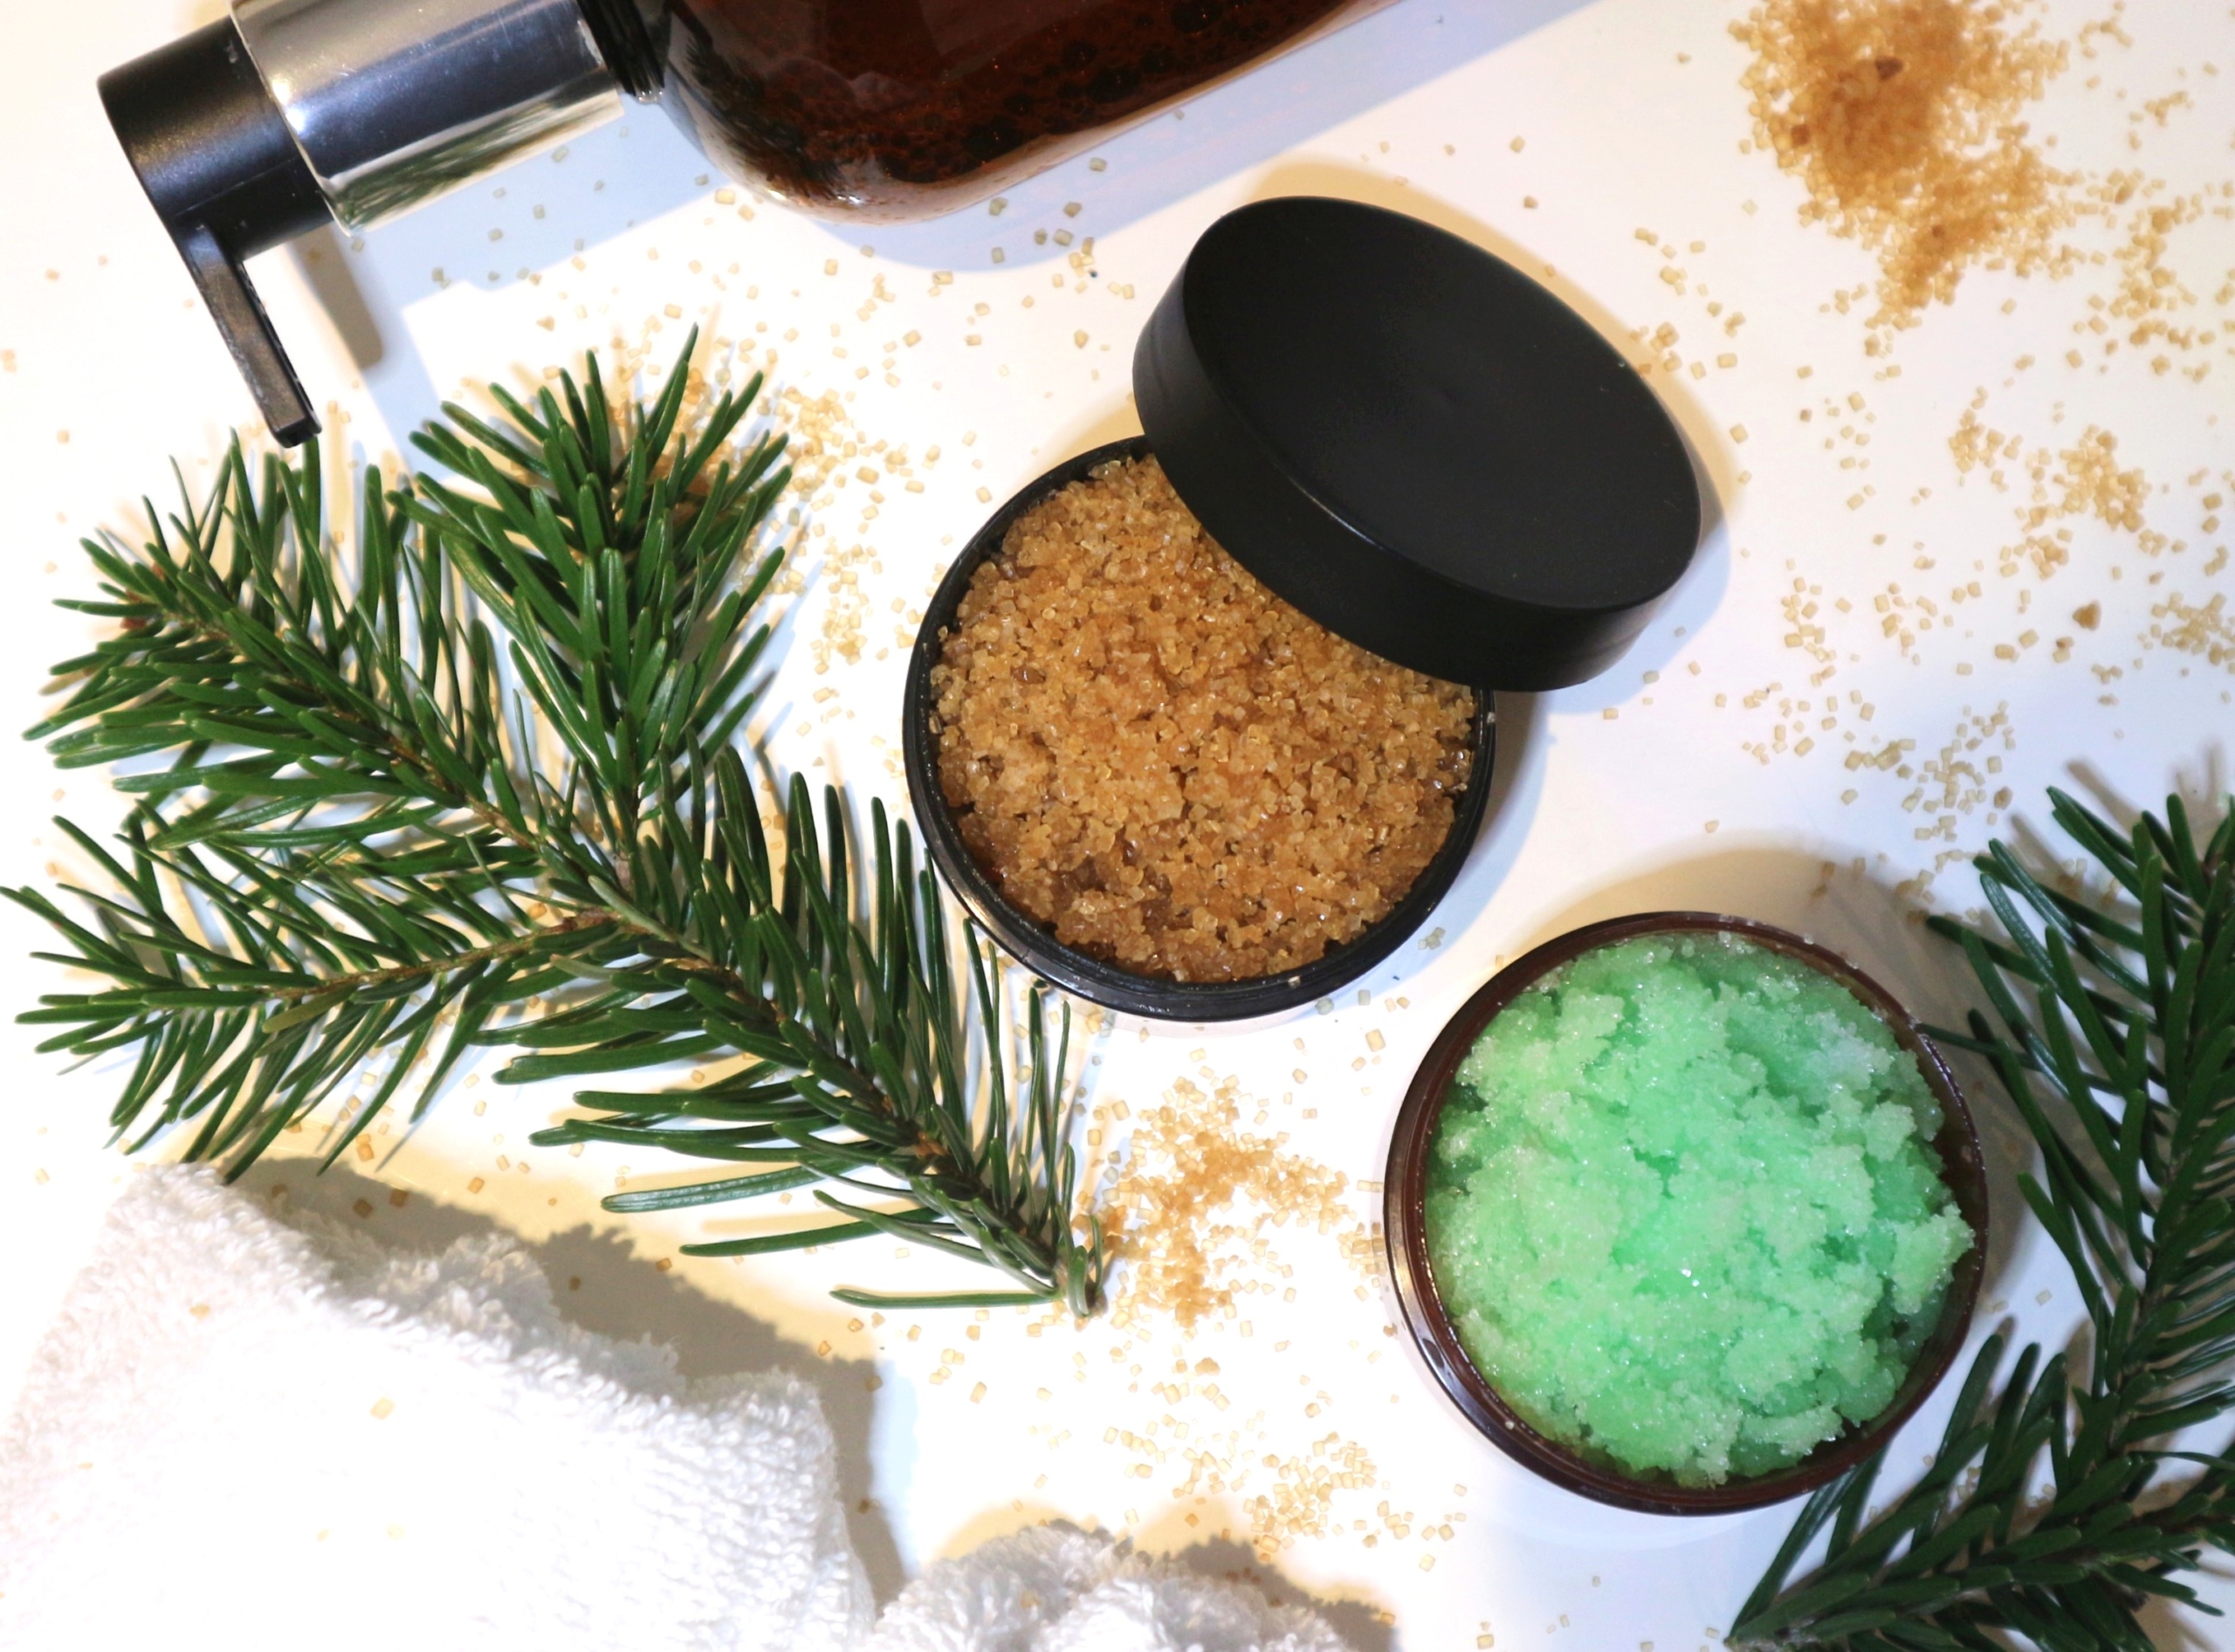
I am a home-spa addict and love everything that helps me relax. These luxurious scrubs are super easy and fast to make. I want to share these fabulous recipes with you all in this post so let’s get started and check out this super simple body scrub DIY tutorial
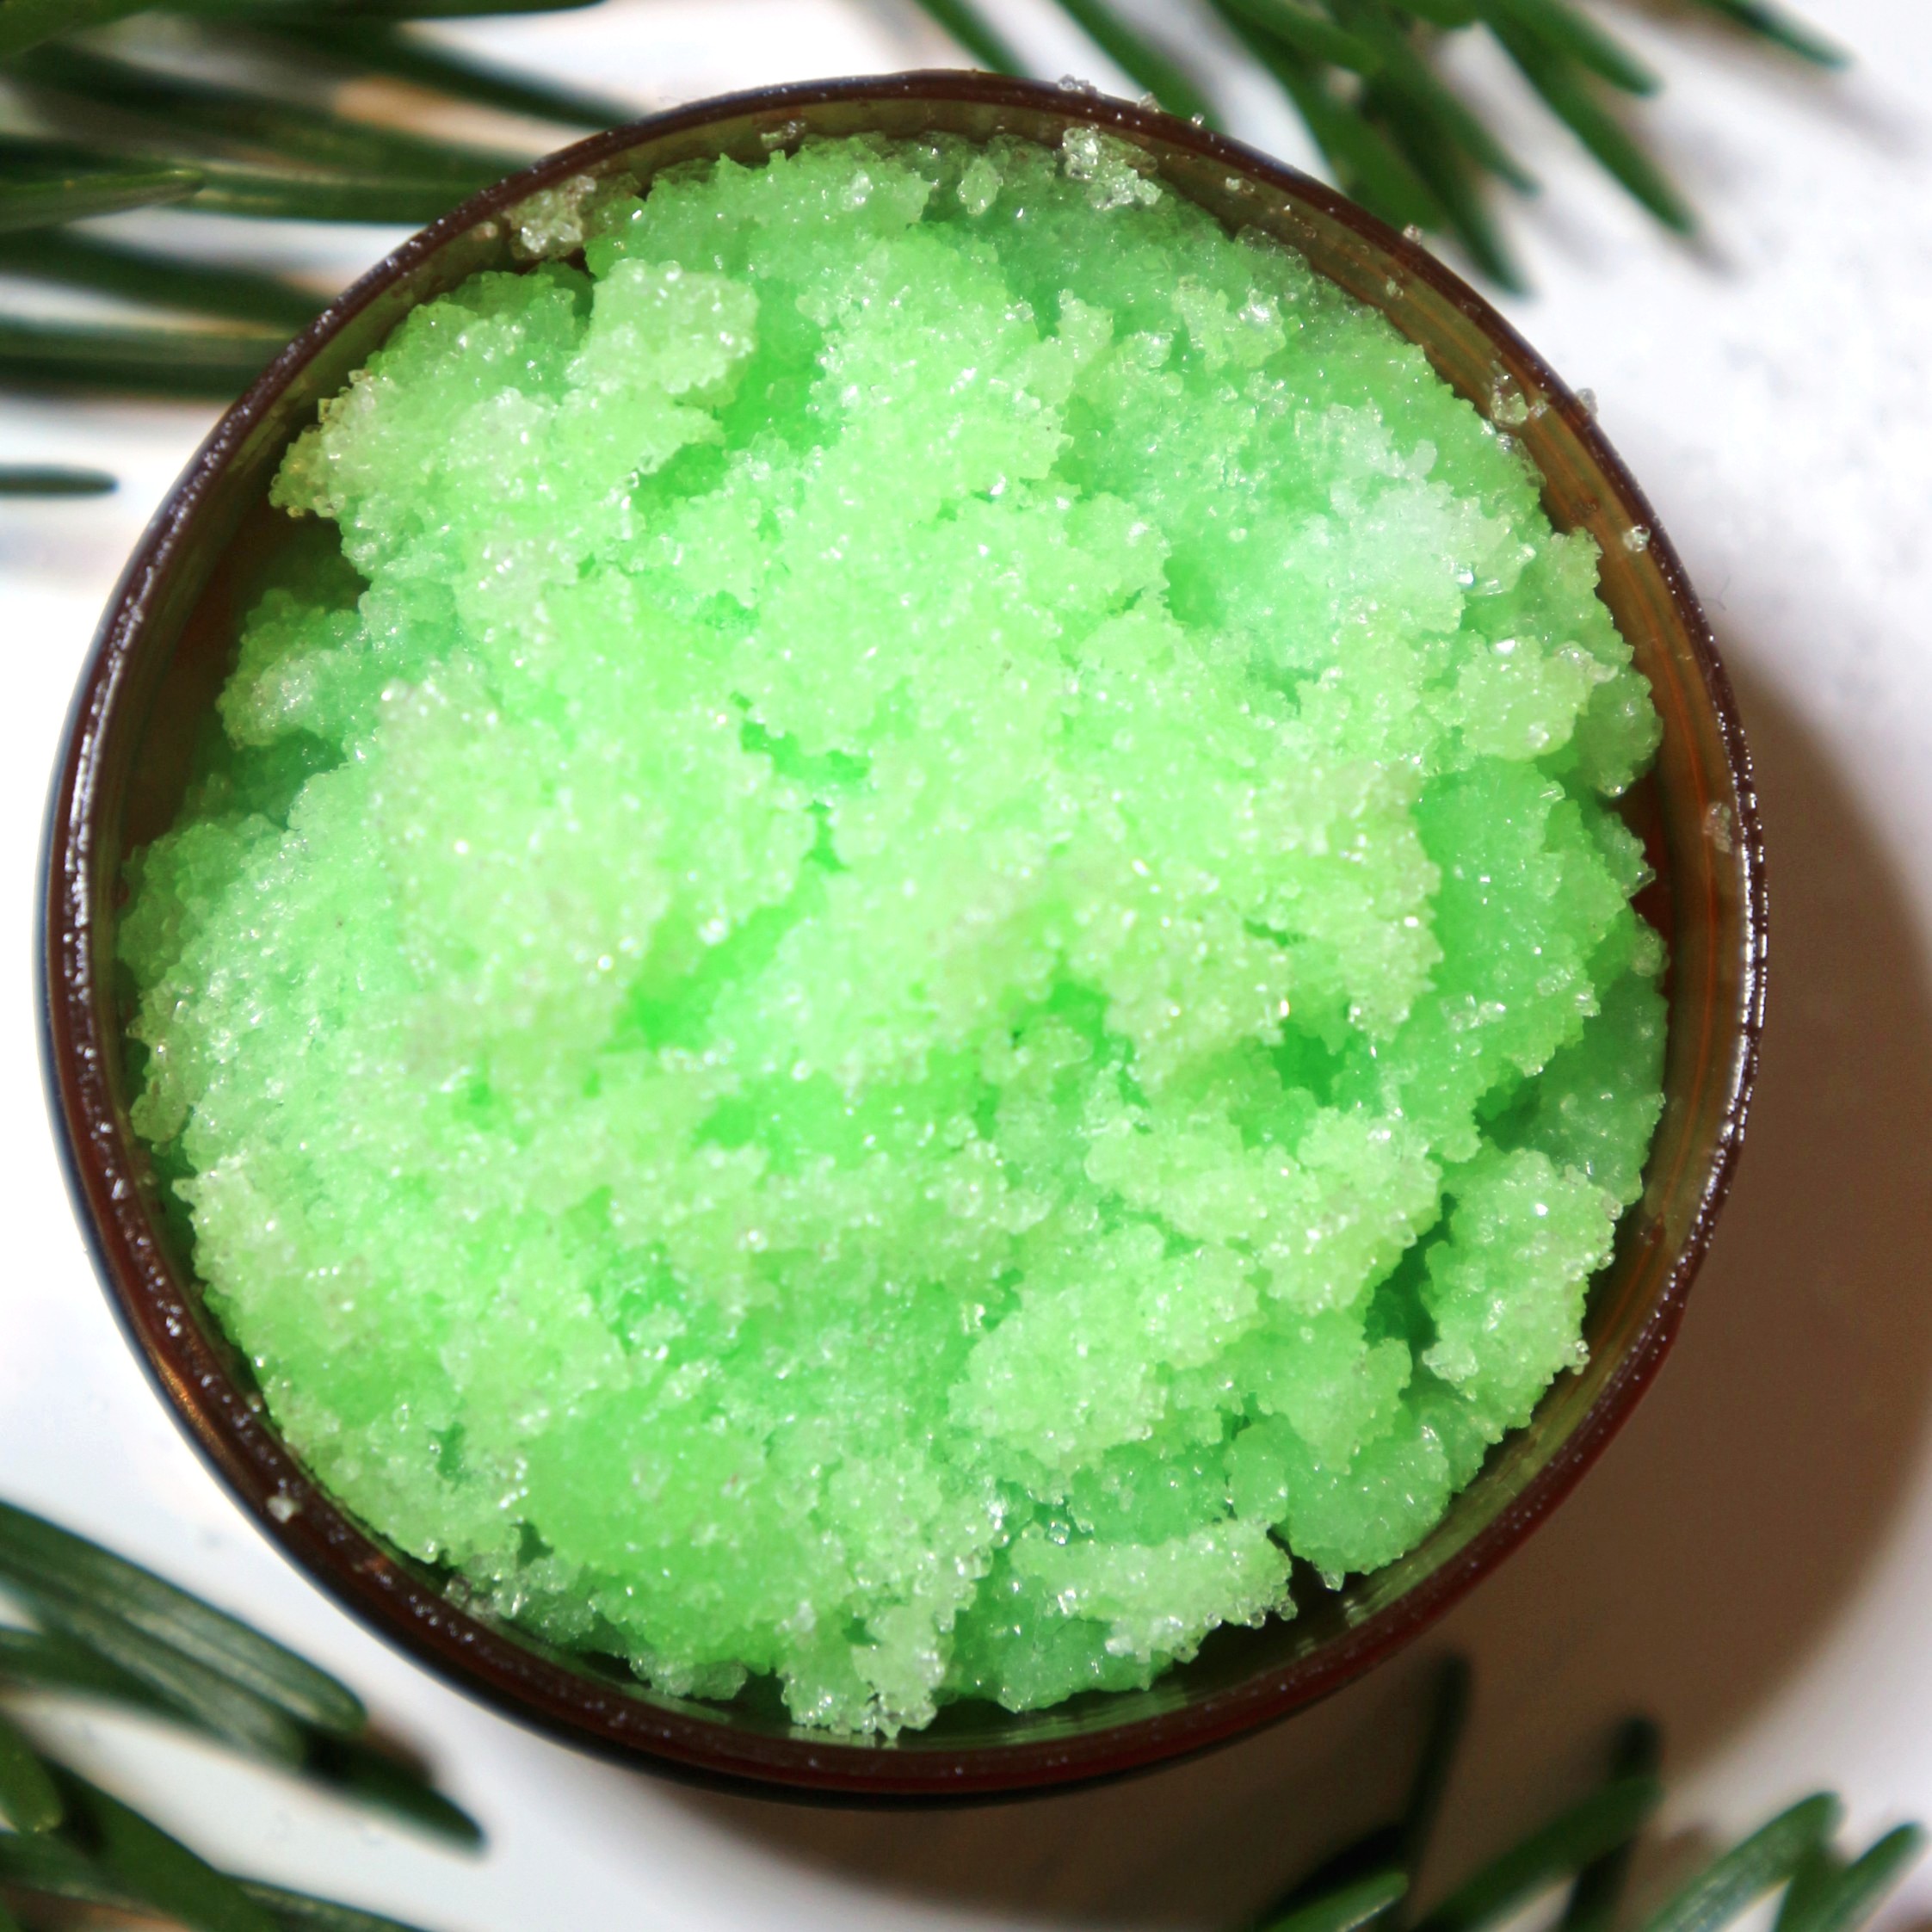
.Tip: For extra pretty body scrub you can add 2-3 drops of food coloring.
Ingredients for coconut vanilla :
1/2 dl Brown sugar
3 tbsp Coconut oil
1/4 Tbs Vanilla Extract
Ingredients for coconut eucalyptus :
1/2 dl Sugar
3 tbsp Coconut oil
Ca 8 drops Eucalyptus essential oil
Instructions:
1. If needed microwave your coconut oil for 30 sec. 2. Blend all ingredients together, add more sugar if needed. Your body scrub should have a dry texture. 3. Store in a clean container of your choice, I used some old body shop containers since they are a perfect size.
Since there are no ingredients that can really go bad I’m sure you will have used it up before it goes spoiled.
Reflections:
This is not even a 5 min DIY but its still a lovely way to spoil yourself. It is also a very cheap but thoughtful gift, I for one would love to receive these. I will definitely do more of these “few ingredients” scrubs in the future. I think my favorite of these to was the coconut vanilla scrub since it smells amazing and had grainer texture since I made it with brown sugar.
Hope you enjoyed this blog post, make sure to let me know in the comments if you have tested this recipe yourself!
If you loved this post consider joining the SelectedCrafts tribe to get updates when I post new content like this on autopilot!
Privacy Overview
This website uses cookies to provide you with the best user experience possible. Cookie information is stored in your browser and performs functions such as recognising you when you return to this website and helping me to understand which sections of the website you find most interesting and useful. For more information please read the Privacy Policy.
Strictly Necessary Cookies
Strictly Necessary Cookie should be enabled at all times so that we can save your preferences for cookie settings.
If you disable this cookie, we will not be able to save your preferences. This means that every time you visit this website you will need to enable or disable cookies again.
3rd Party Cookies
This website uses Google Analytics to collect anonymous information such as the number of visitors to the site, and the most popular pages.
Keeping this cookie enabled helps us to improve our website.
Please enable Strictly Necessary Cookies first so that we can save your preferences!