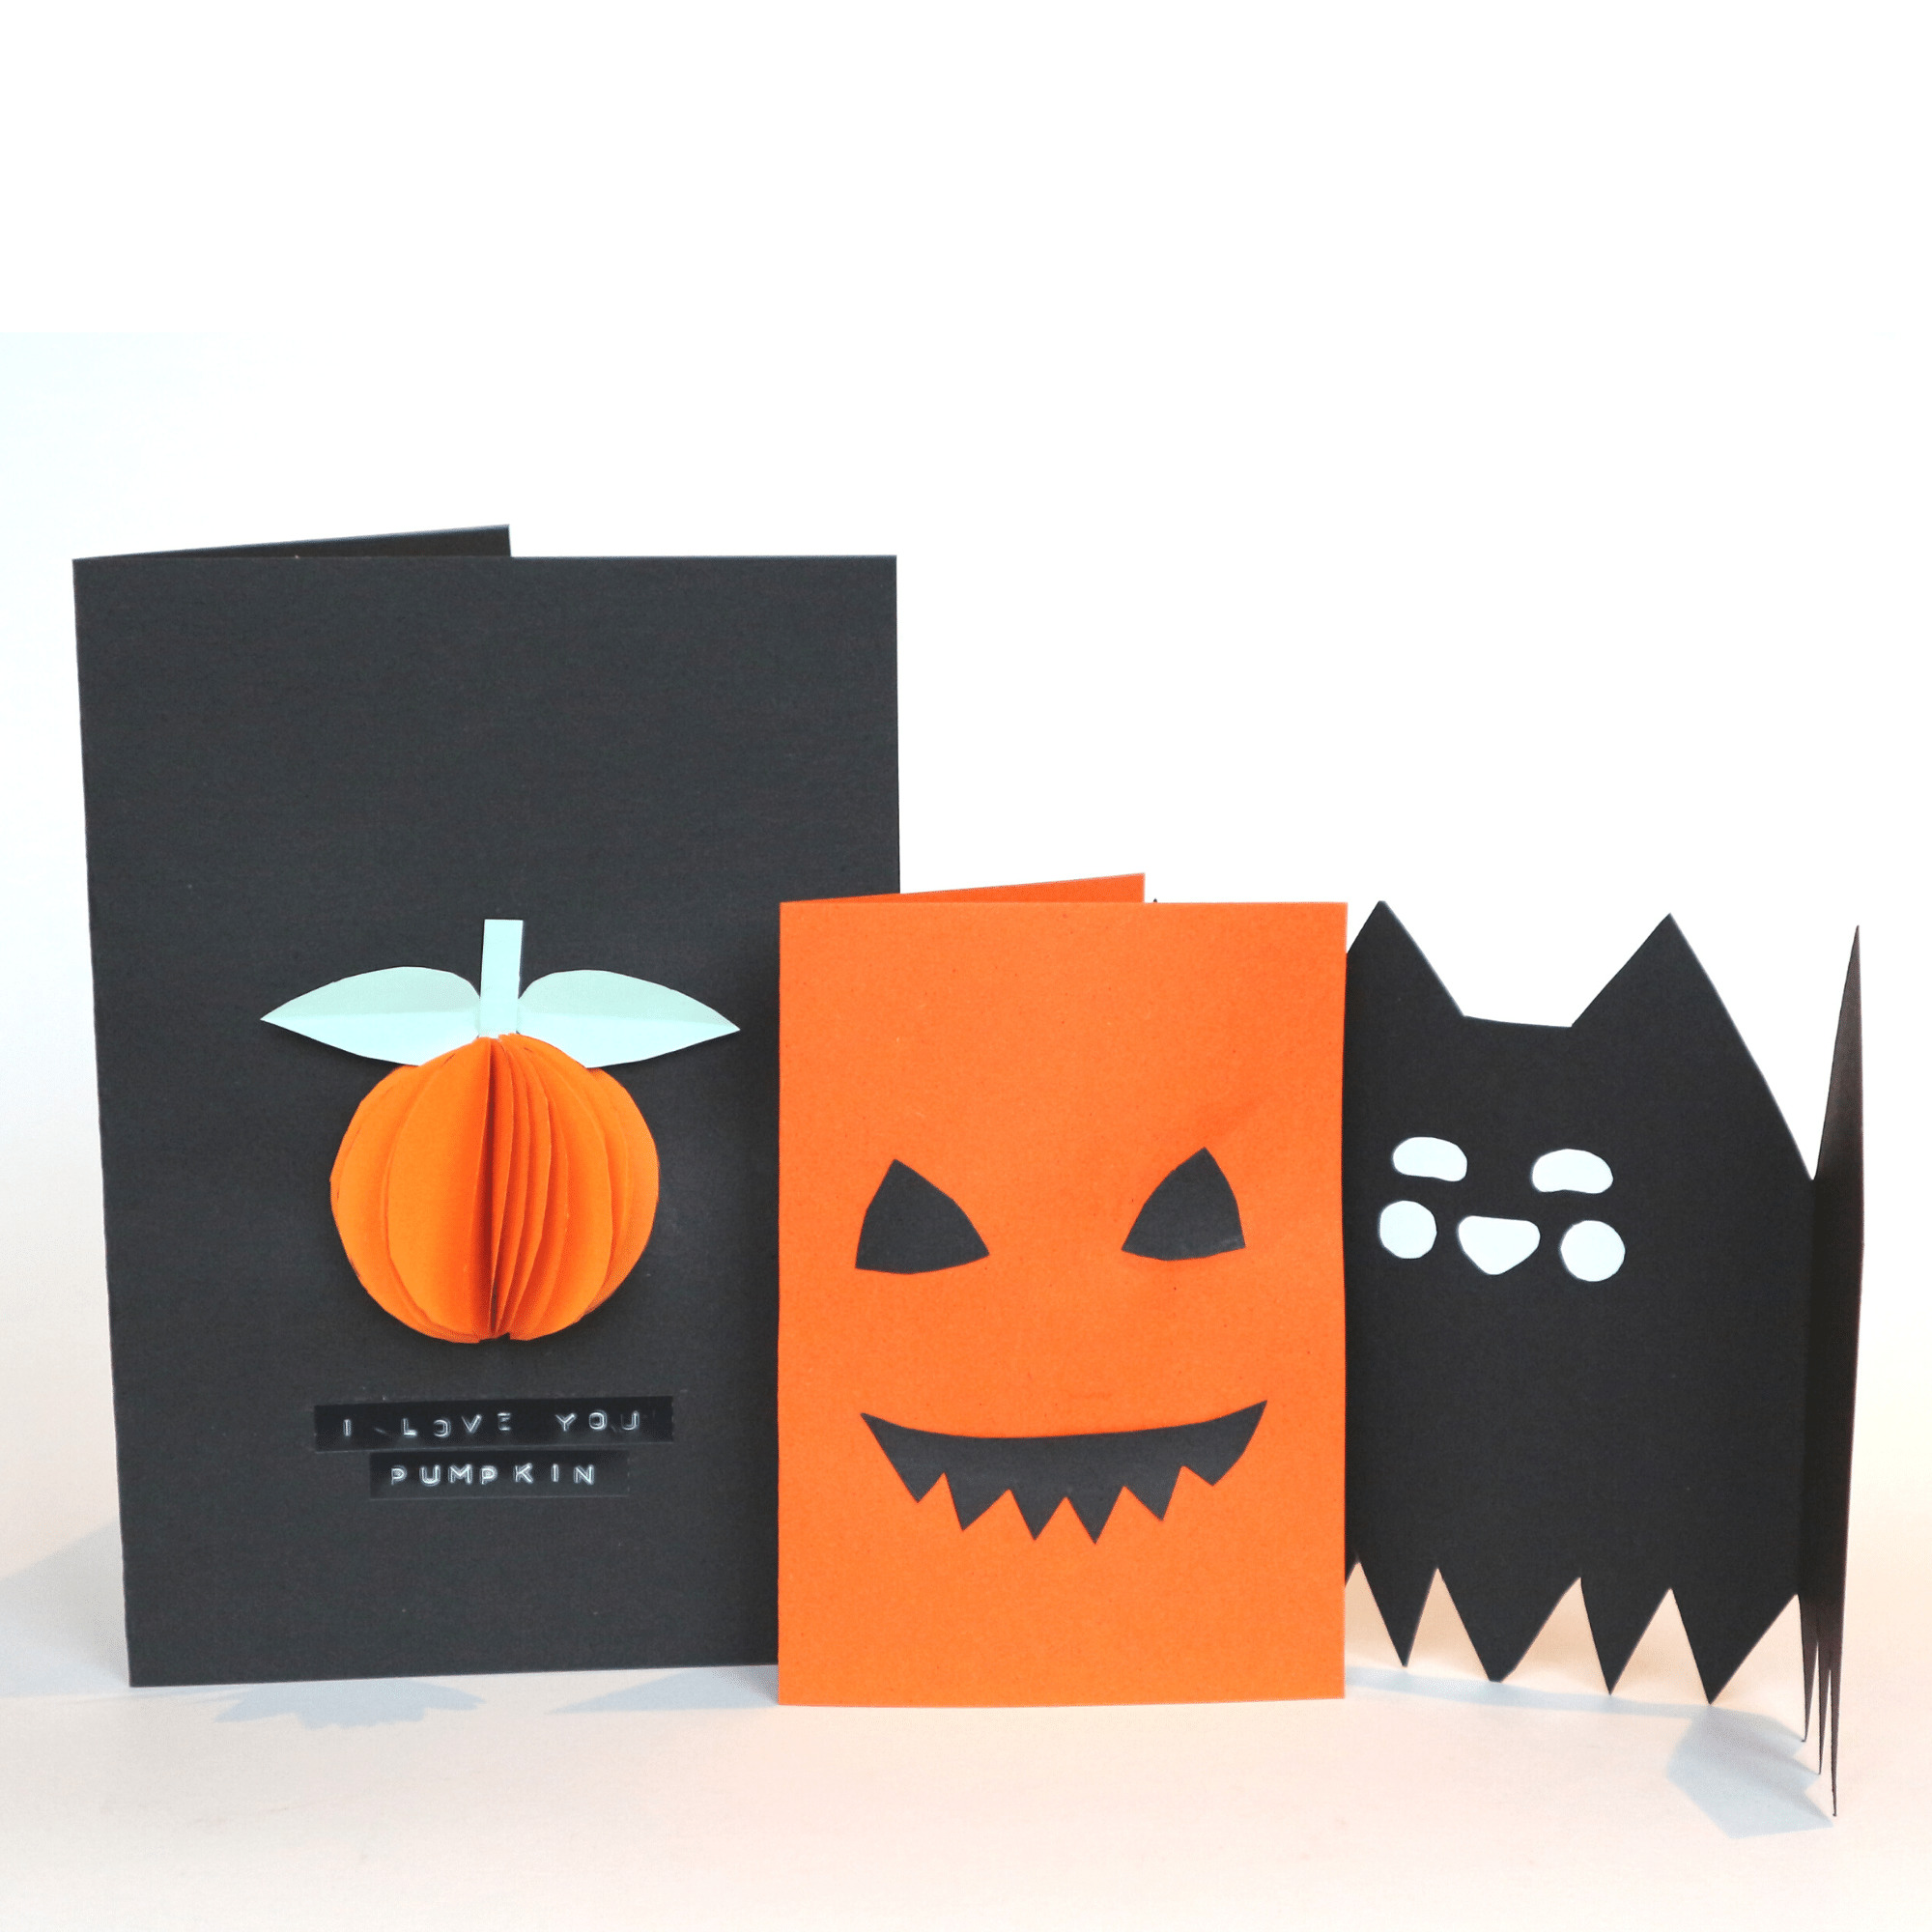
I love making my own holiday cards, making DIY Halloween card designs is just such a fun way to let your loved ones know how much they mean to you. Time to dust off your paper-craft skills and check out these super cute Halloween designs.

Supplies:
- Hobby Glue or a Glue-stick
- Colored Craft Paper
Tools:
- Scissors or Craft Knife
- Label Masker (Optional)
Design 1: Scary Halloween Faces


- Start by folding a piece of cardboard in half to create a card.
- Measure out and cut scary faces in a paper of a contrasting color. You can create all kinds of faces, ghosts, pumpkins and more. The only limit is your imagination!
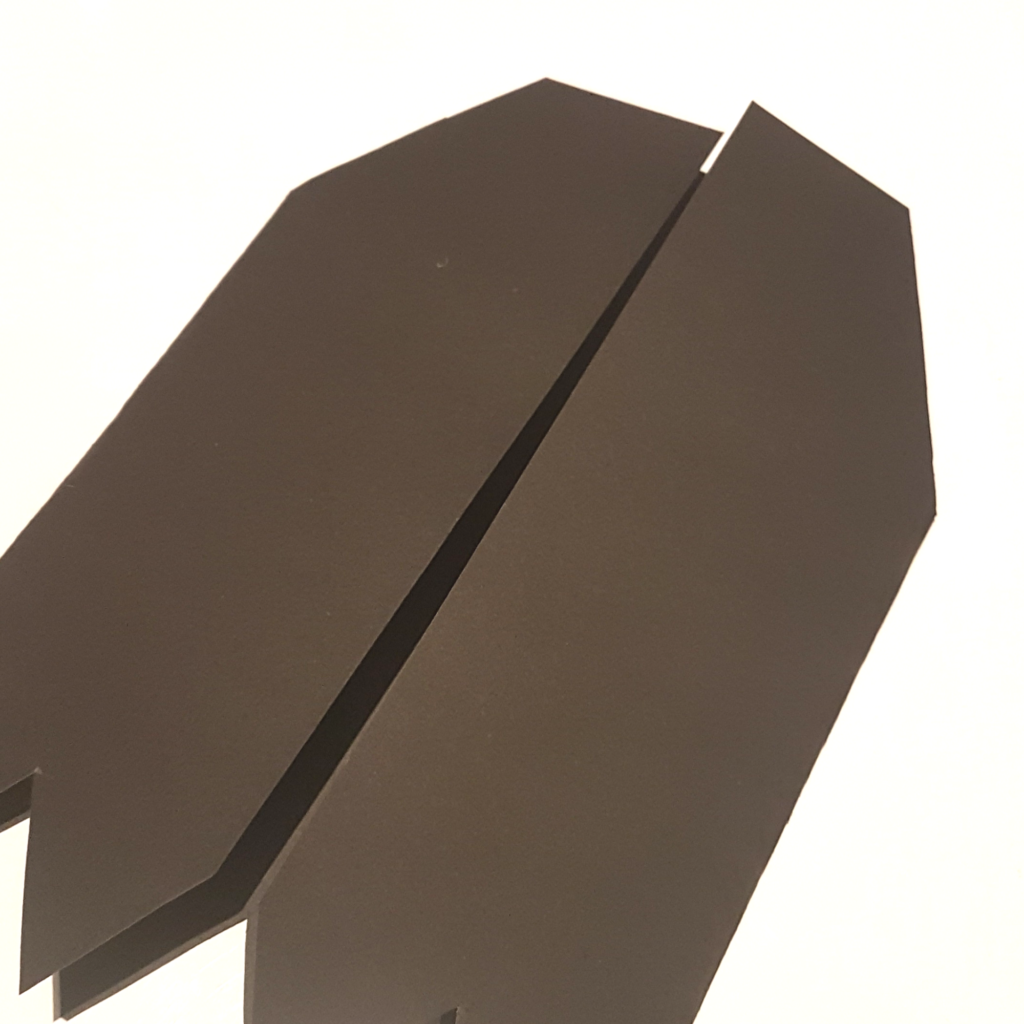
Note: I do recommend using a crafting knife since scissors can sometimes cause thick cardboard or paper to crack as you can see above. I redid my smile using a craft knife and the result was much better. - Glue your face into your card and your done! *So simple*
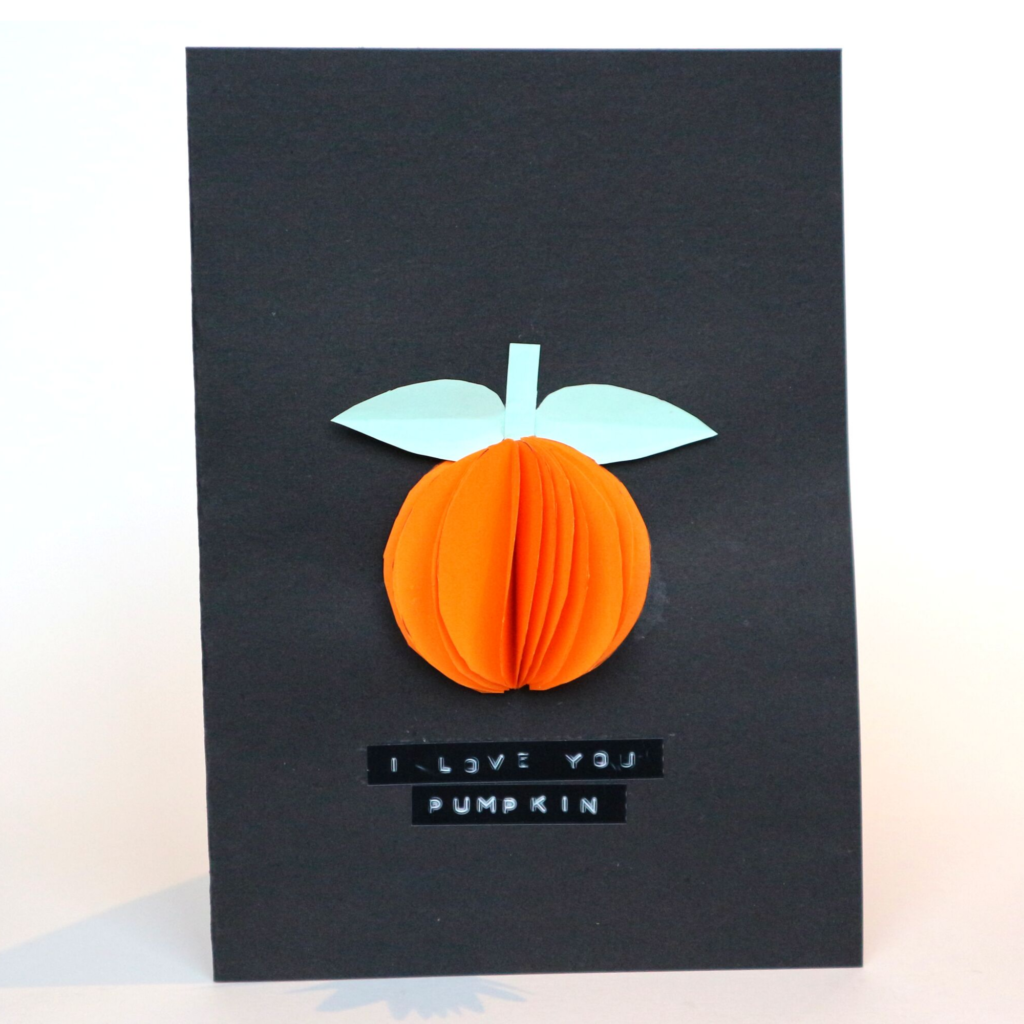
Design 2: Halloween 3D Pumpkins
1. Start by cutting out 10 circles in a craft paper of your choice.

2. Fold each piece on the middle and glue each piece side-by-side together to form the shape of the Pumpkin. Do not glue together the first and the last piece, you want to leave it open to be able to glue it to the card.
3. Fold a piece of paper in half and cut out the shape of a leaf. Open the folded leaf and make a gentle fold to add texture to your leaf.


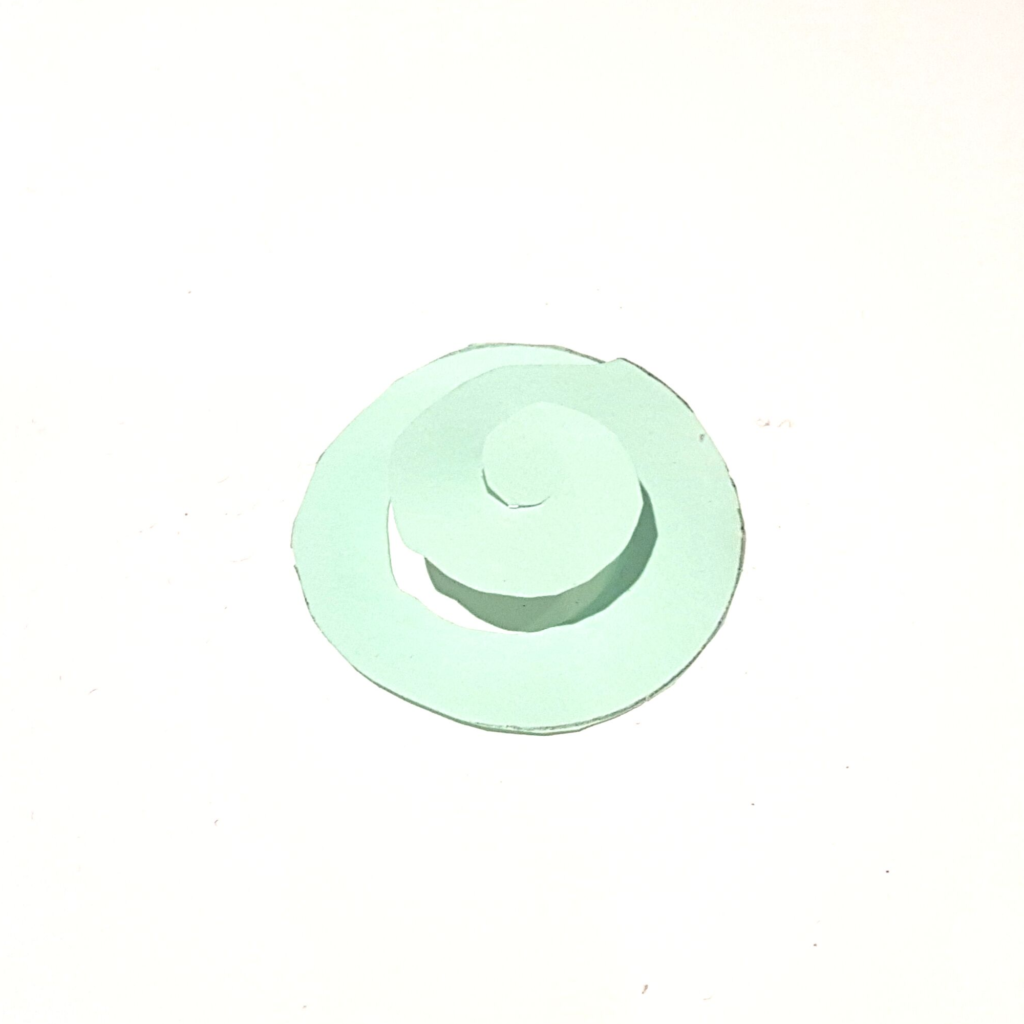
4. If you want you can cut out a circle and turn it into a swirl as pictured above.
5. Cut out a small rectangle to use as steam.

6. Then start by gluing the stem, the leaf and the swirl to the card. Then lastly glue the 3D pumpkin to your card and TADA, now you have a 3D pumpkin card!

You can decorate the cards additionally as you wish, you can write a message or add a sticker. I used my label maker to add a personal message, I use this label maker and love it if you want one of your own!
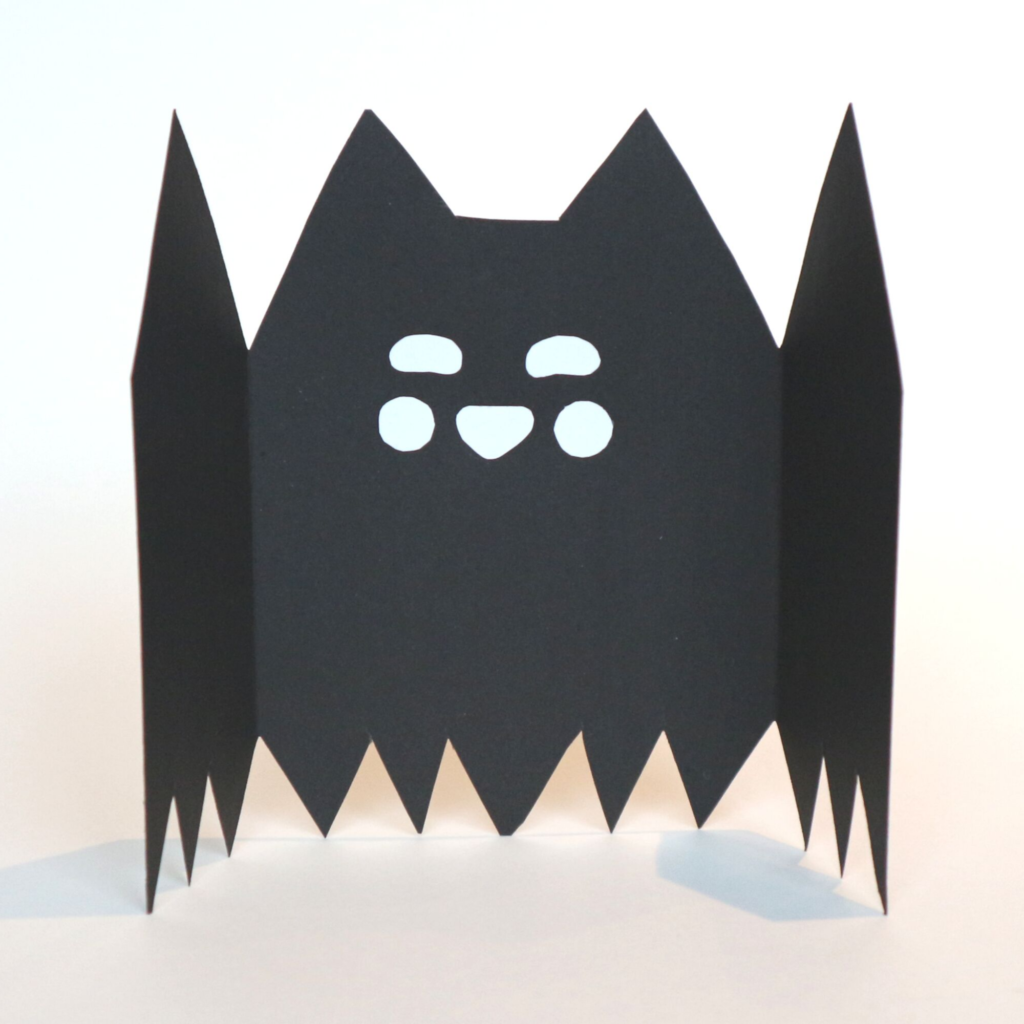
Design 3: Folding Halloween Bat Card

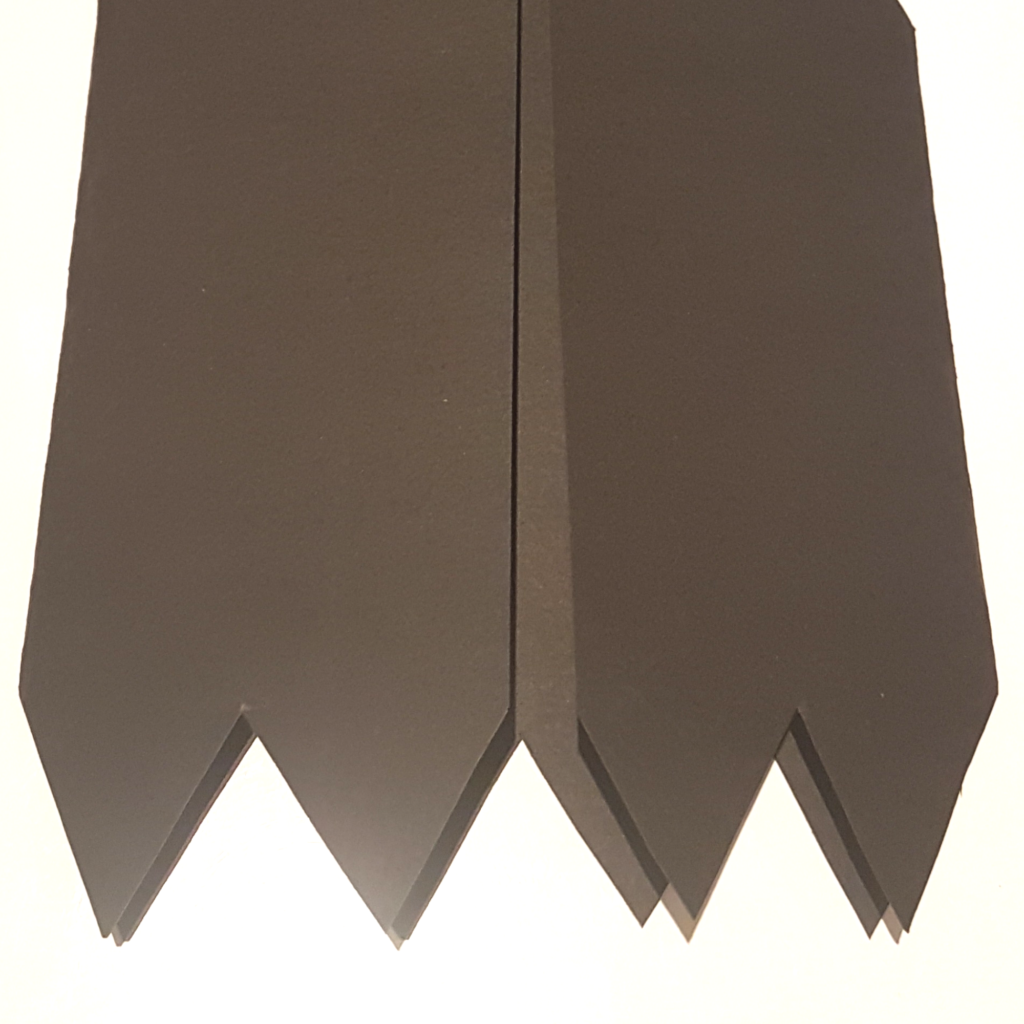
1. Fold the card in 3 parts so that the edges meet in the middle of the front of the card.
2. Cut out a couple of triangles in the bottom of the card to create the bottom of your bat.
3. Remove the outside corners on the top of the card.
4. Open the card and cut the outside corner to a triangle to finish the shape of the bat-wings.
5. Cut out the shape for the bat’s ears.

6. Add a face to your bat, I cut mine out of paper but you can make yours from whatever you want. Maybe you prefer to draw a face or add stickers.
If you are interested in more paper crafts check out these blog posts!
Reflections:
I love making DIY holiday cards! It’s so much fun and it just really gets me into the right mood. The only thing I’m not happy about is that I couldn’t find the time to make even more designs, I will do more next year! I also think the 3D design would look amazing for an ornament Christmas Card. Let me know if you like it!
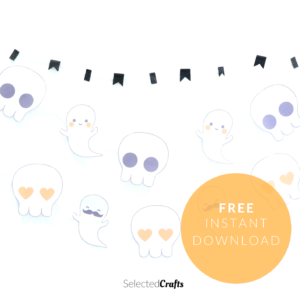
Interested FREE printable Halloween Garland? Get your Garland here!

Quality content is the key to invite the users to visit the website,
that’s what this web page is providing.
Thank you so much! I want to provide as much value and quality as I can and I will keep practicing! 🙂
Fantastic beat ! I wish to apprentice even as you amend your
web site, how can i subscribe for a weblog site?
The account helped me a acceptable deal. I have been tiny bit acquainted of this
your broadcast offered brilliant transparent idea
Hello, thank you so much for your support! Here is the link to my newsletter:
https://selectedcrafts.ck.page/4a23d331d5
Have a great day!