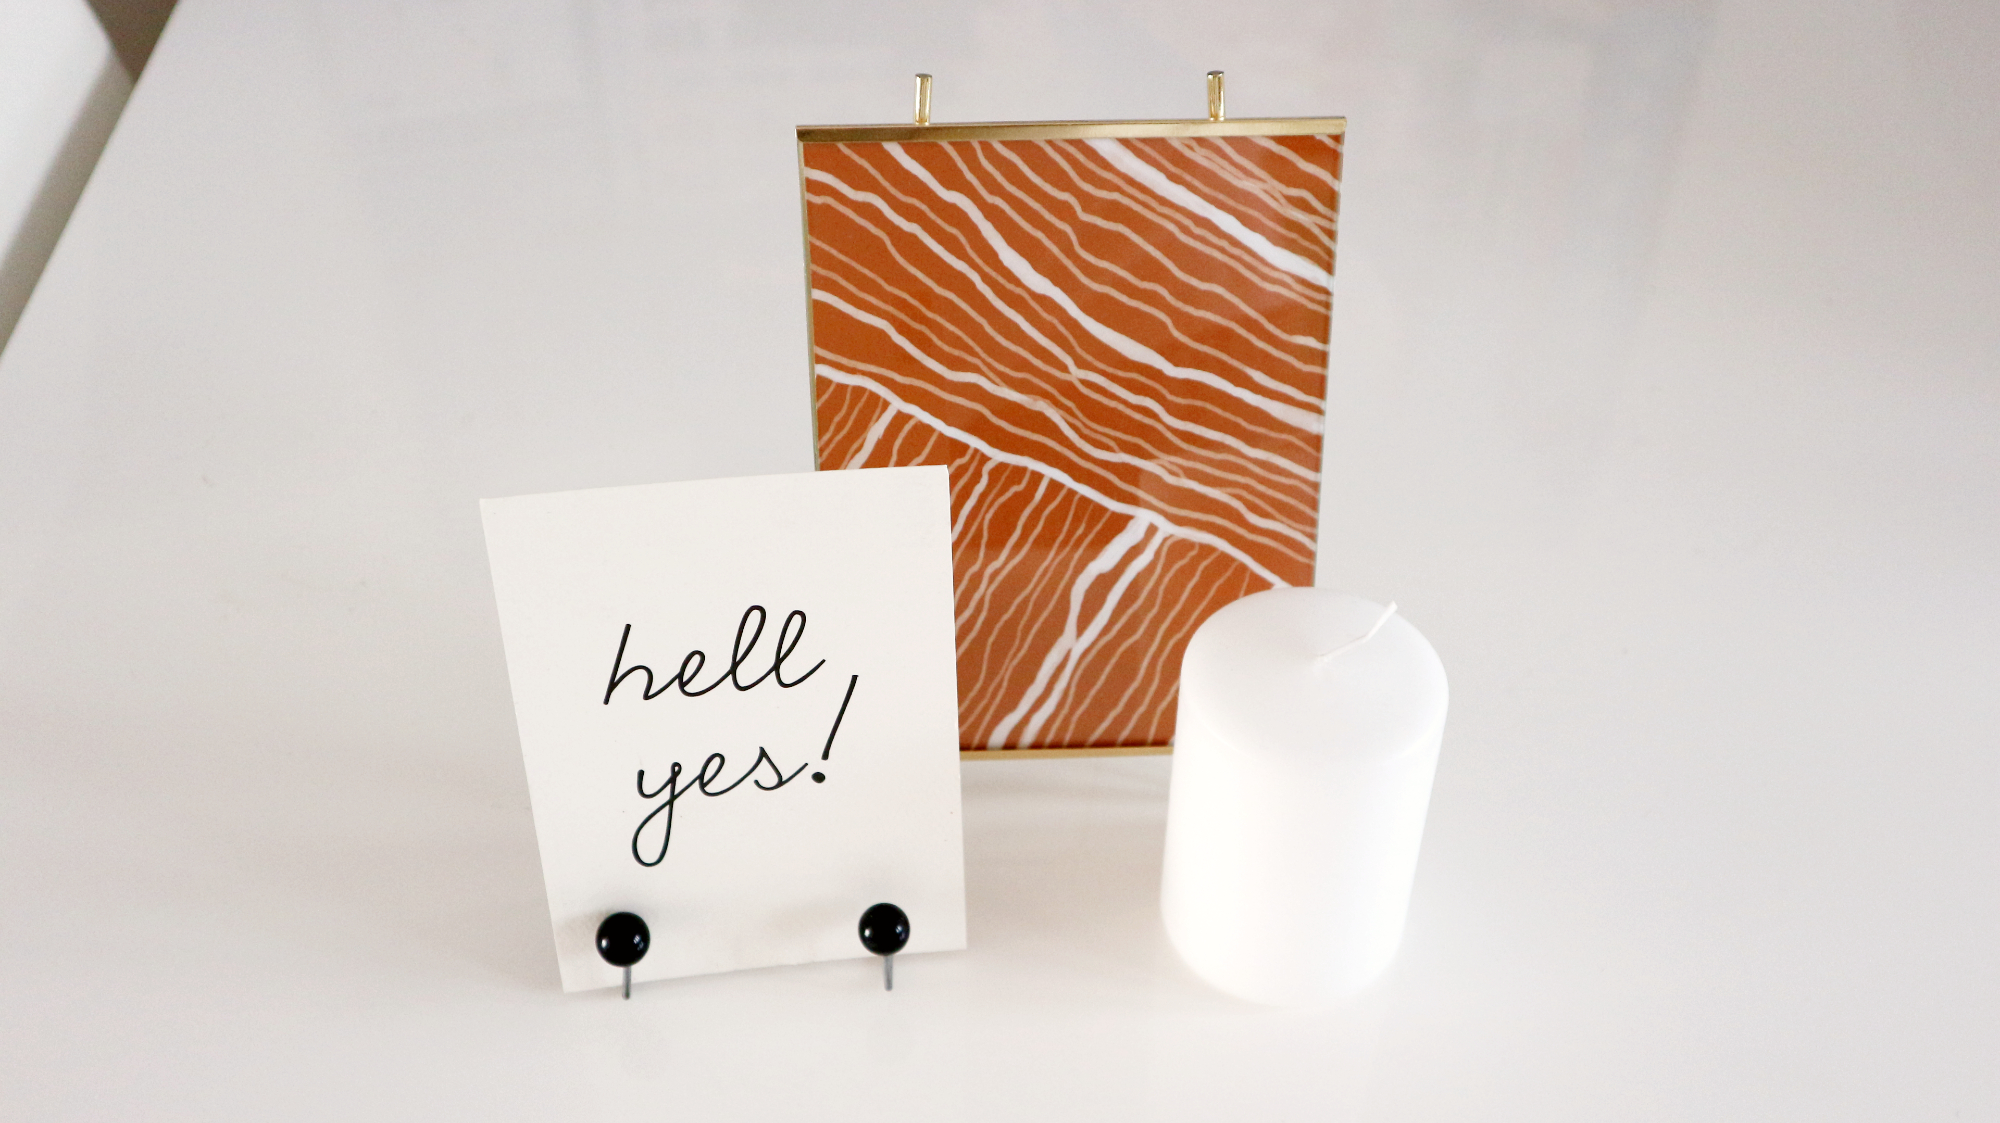
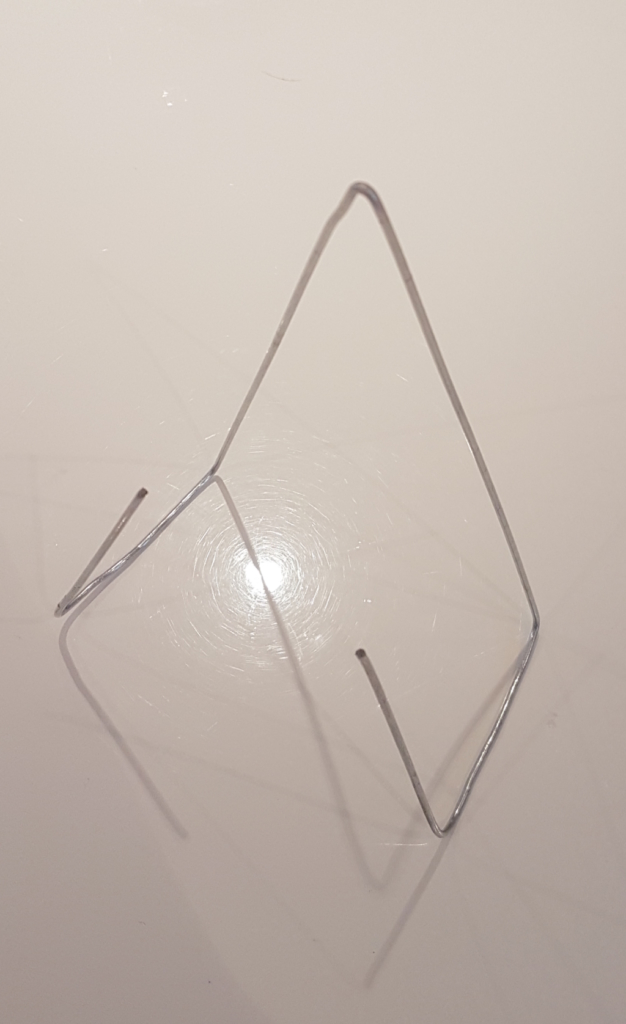
In this blog post, I want to show you a very simple way to display small artworks and cards. Having alternative ways of displaying your art adds character and dimension to your home decor. I will walk you through how to make this cute mini wire easel DIY.
Supplies:
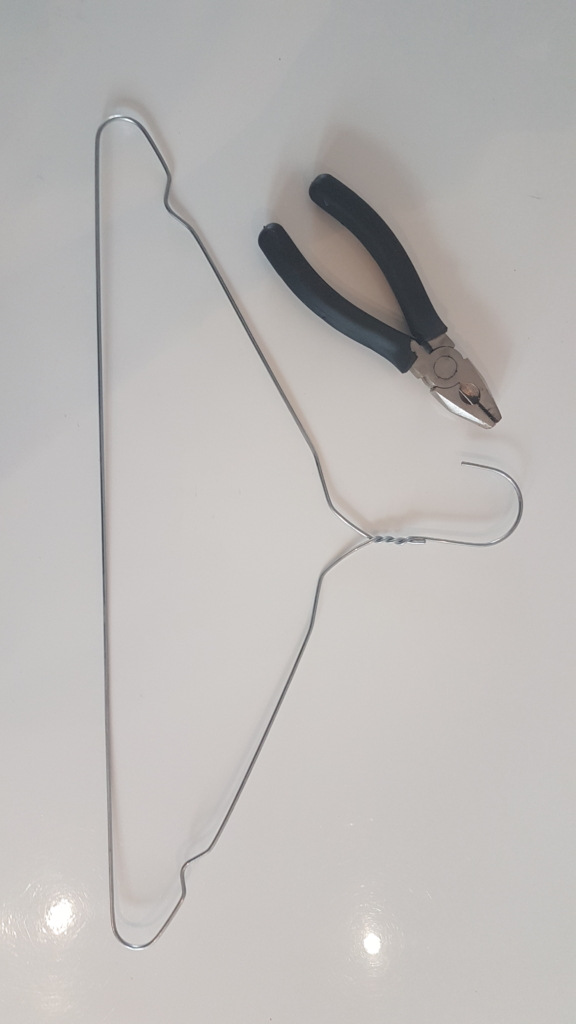
- Old wire hanger
- Large plastic or wooden beads
- Marker
Tools:
- Wirecutter
- Ruler or Measuring tape
Instructions:
- Take your wire-cutter and cut out the straight bottom part of the hanger.
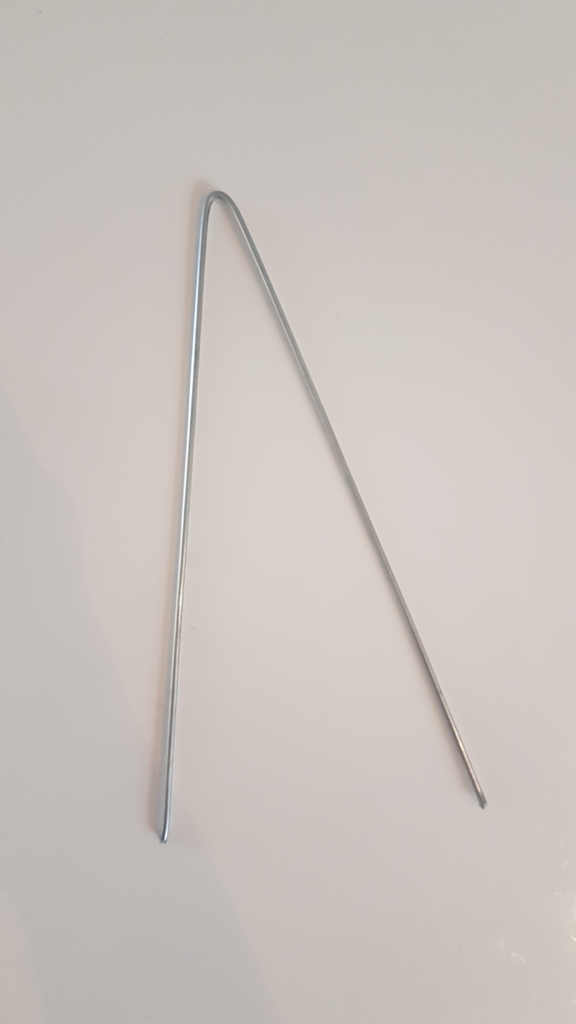
- Mark out the middle of the wire cut out and fold it in half gently.
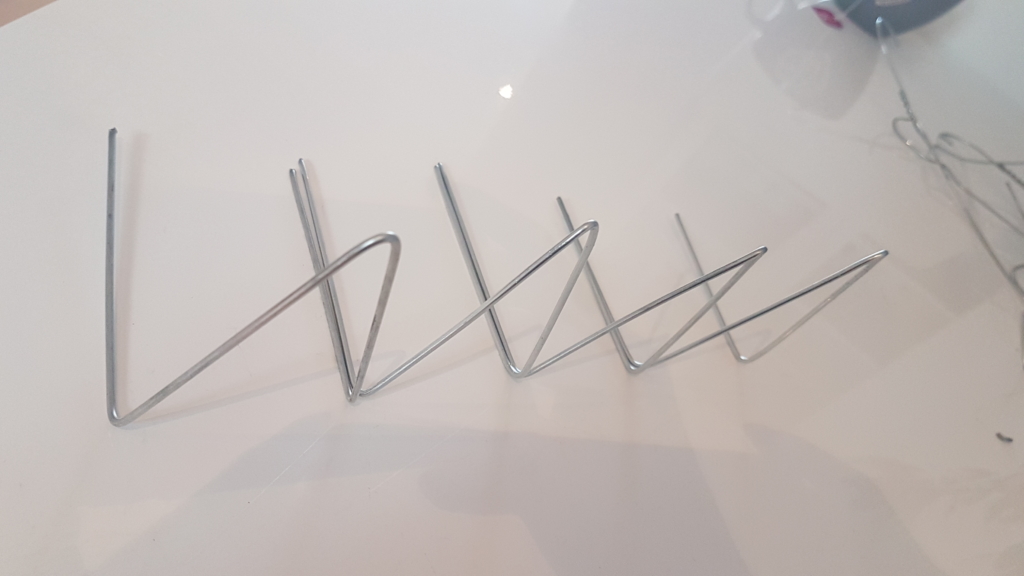
- Mark out 2 spots on each side with your marker. First where you want the fold to be to create the bottom the easel. Make sure to make this part quite wide, it might be hard for the easel to balance properly if this section too short. Place the other marking where the fold to bend the wire upwards should be. This fold will keep the artwork in place. In total, you will have four markings and fold the wire in 4 places.
- Decorate the edges of the wire with plastic or wooden beads.
And voila, now you have a mini wire easel! This is a super simple way to properly display your art without having to spend a lot of time or money. These small easels look really good on a dresser or in a bookshelf. I have made a few of these in different sizes and one here and there around my home.
I hope you liked this DIY! This blog post is shorter than my usual posts but sometimes a short and sweet post is the best option. Make sure to let me know in the comments if you decide to make some mini easels of your own!
If you are looking for more inspiration on how to display art, make sure to check out this blog post on how to frame art. Don’t forget to join my newsletter so you can keep updated when I post more awesome content like this!

