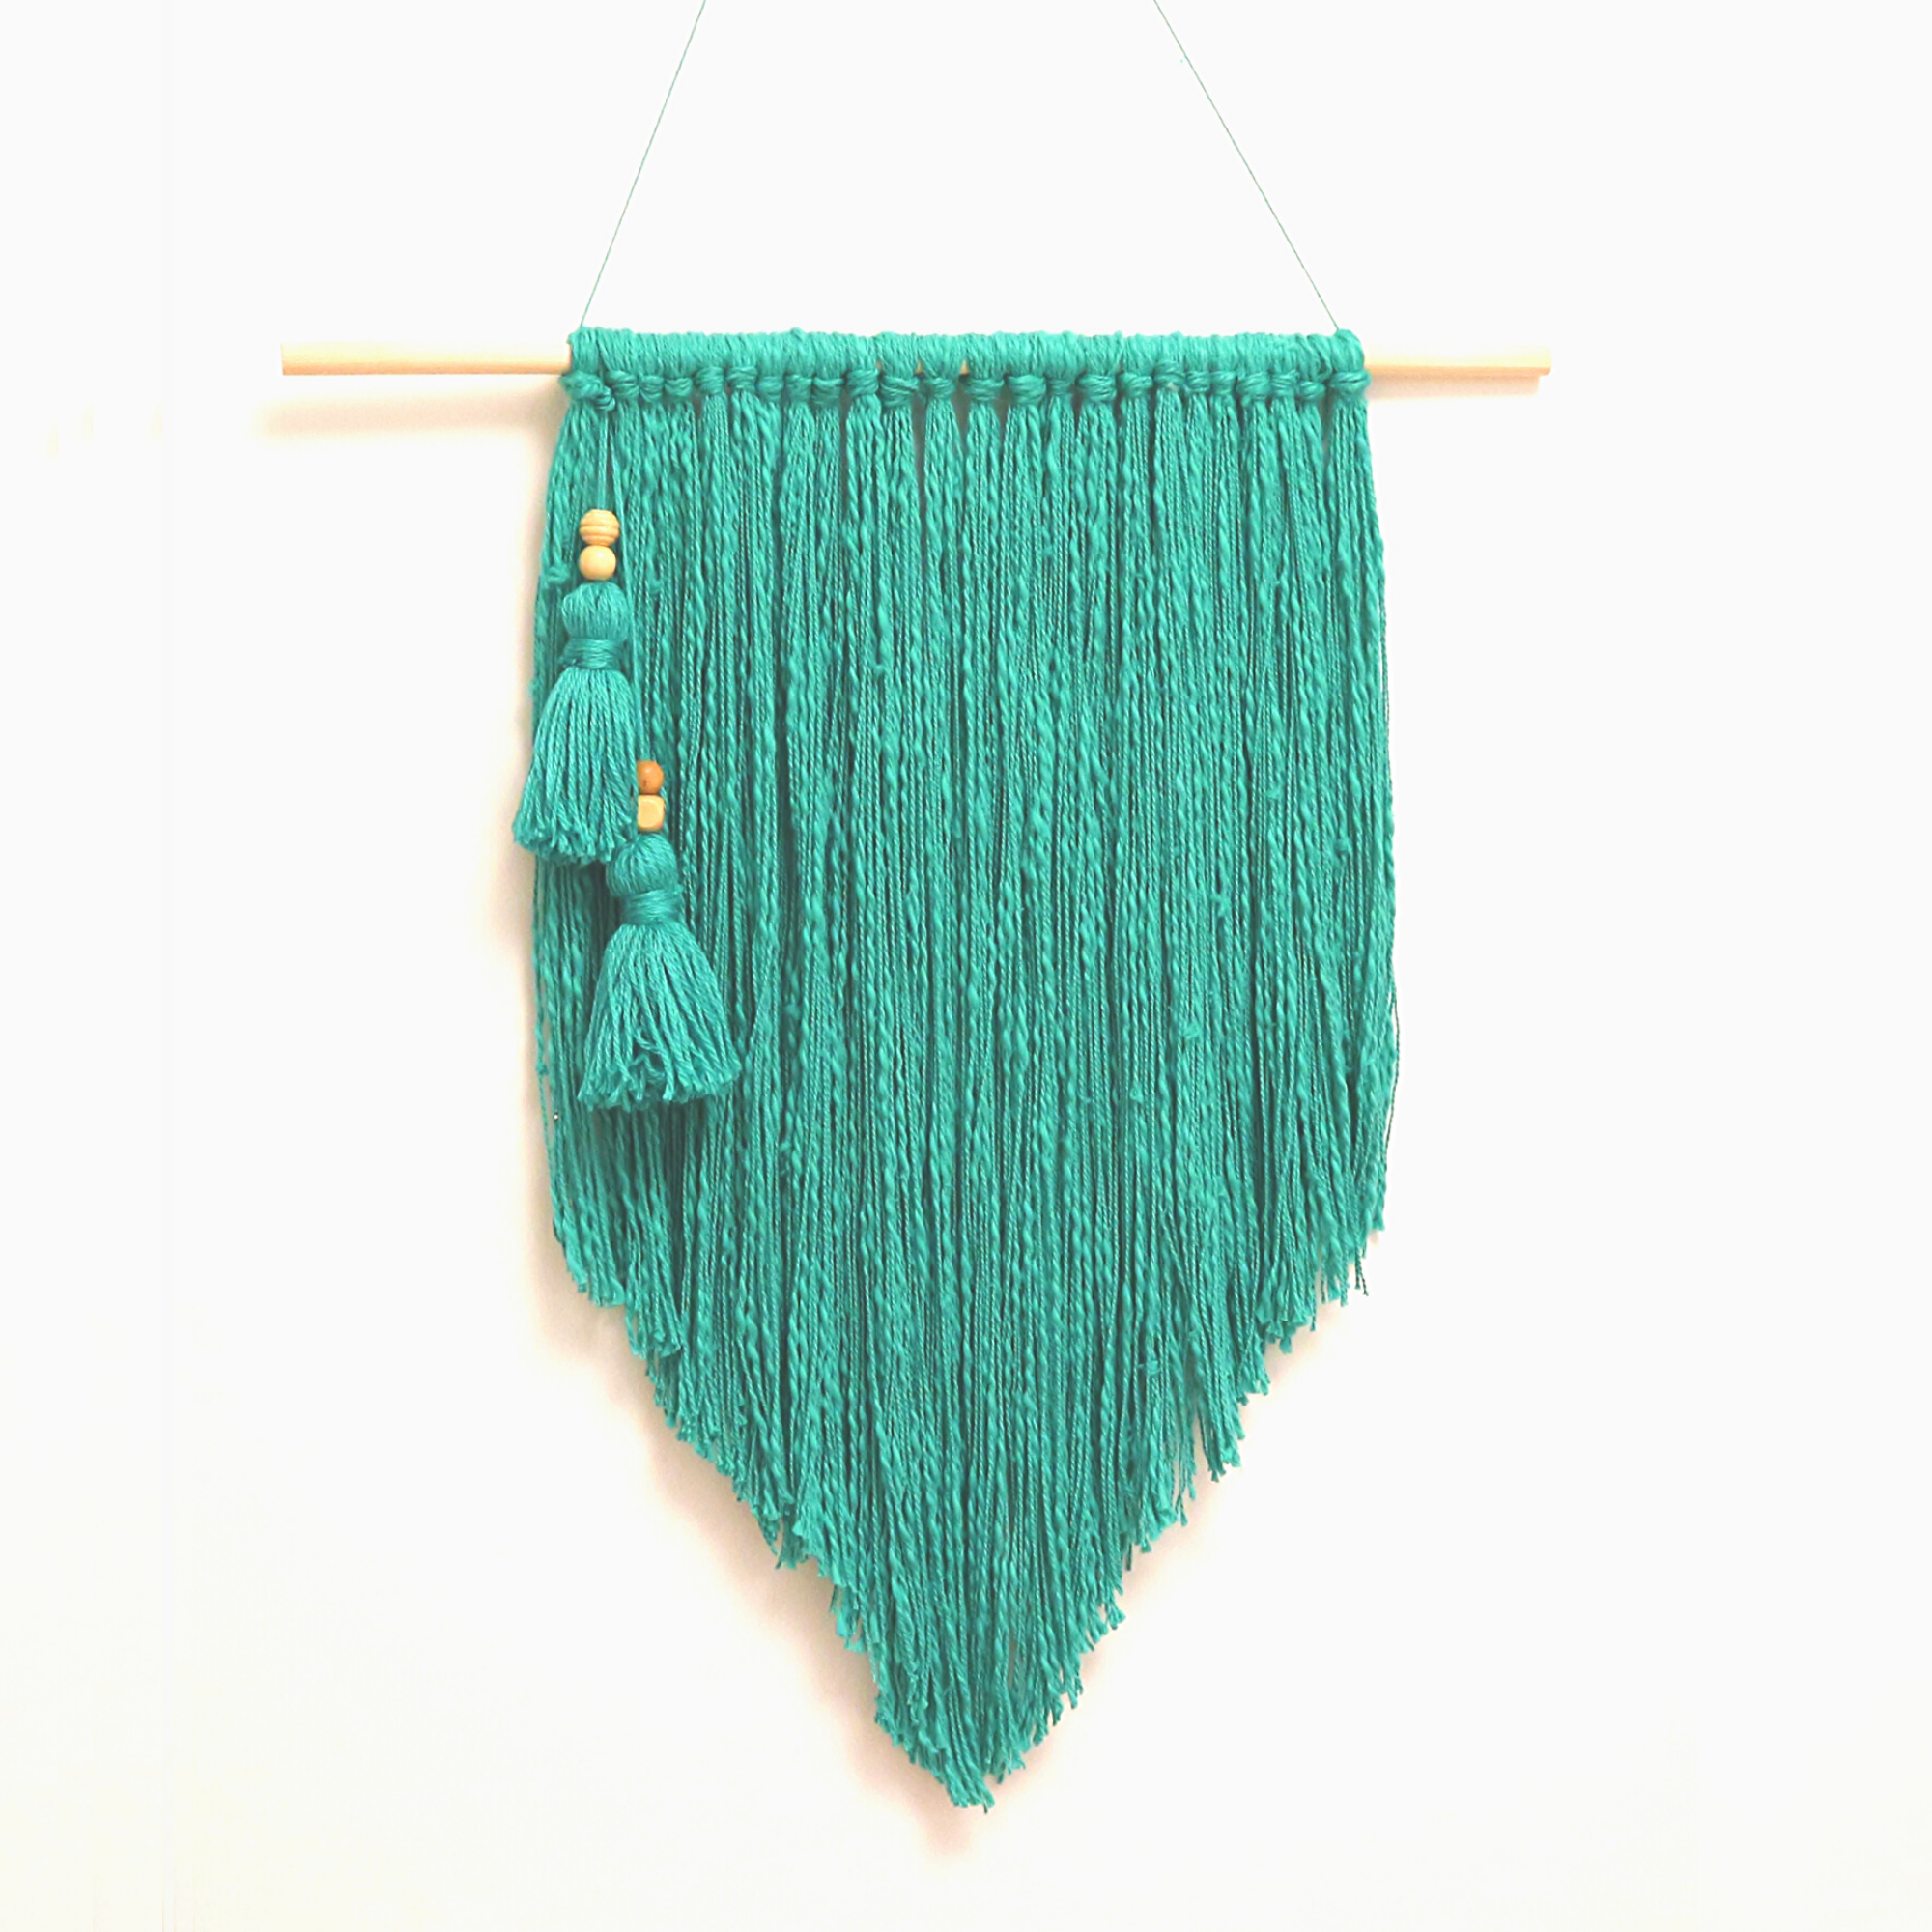
In this blog post, I will show you how to make this very simple DIY yarn wall hanger. Wall hangers are the perfect way to add some personality to your space. They are really affordable to make and the options for color and design are limitless. In this tutorial, I will show you how to make a very simple yarn wall hanger that instantly makes over a space.
Tools:
– Scissors
– Measuring-tape
Supplies:
– 1 wood-dowel, I used size 13x500mm
– Yarn, preferably above 50g and at least 300m (1000inch)
– Wooden beads


Instructions:
- Start by measuring out 10, 1-m strands of yarn (or 40 inches).
- Put the 10 strands of yarn together in a bundle and fold them in half. Fold the yarn over the wooden dowel to form a loop, and put the ends through the loop to tie it onto the wooden dowel. Repeat this process until you have 10 bundles of yarn.
- Then you want to create 15 bundles of, 1.5 m (or 60 inches) and add to the middle of your wall hanger. I made two different lengths to save yarn because I wanted my wall hanger to have a triangular shape. If you want a straight edge, you can make 25 bundles, 1-m (or 40 inches) instead.


4. Once you have attached all bundles to the wooden dowel, it is time to trim the edges. Gently comb the yarn and put it flat against the floor or a table, trim the edges using very sharp scissors.
If you are looking for really good fabric scissors I strongly recommend this one.
This can be a little tedious but make sure you take your time, the more time you spend on trimming the better the end result will be. I decided I wanted a kind of organic look, so not all to symmetrical.


5. I didn’t want my wall hanger to look too plain, so I wanted to add some tassels. To do this I started by looping a lot of yarn around a piece of cardboard. Once I had reached the desired thickness. I put one piece of yarn through the loop and tied a knot at the top as hard as the yarn allowed then I gently pulled the loop of the cardboard. I used some additional yarn to create the top of the tassel, once again I tied the knot very firmly.
Then all that’s left is to cut the loops in the bottom of the tassel and trim off any excess. I attached some wood beads for extra personality and tied the tassels to the wall hanger.
This DIY really adds color pop and makes a big difference in my Scandinavian and minimal home decor. I am definitely going to do more wall hangers in the future.
Let me know what you think and let me know if you like this blog post, please make sure to let me know if you make any wall hangers for yourselfs, I would love to see the result!
If you are looking for other home decor diys check out some of my other blog posts here. Make sure you don’t miss out on any new DIYs that I make, then join my newsletter here!
Until next time superstars!
