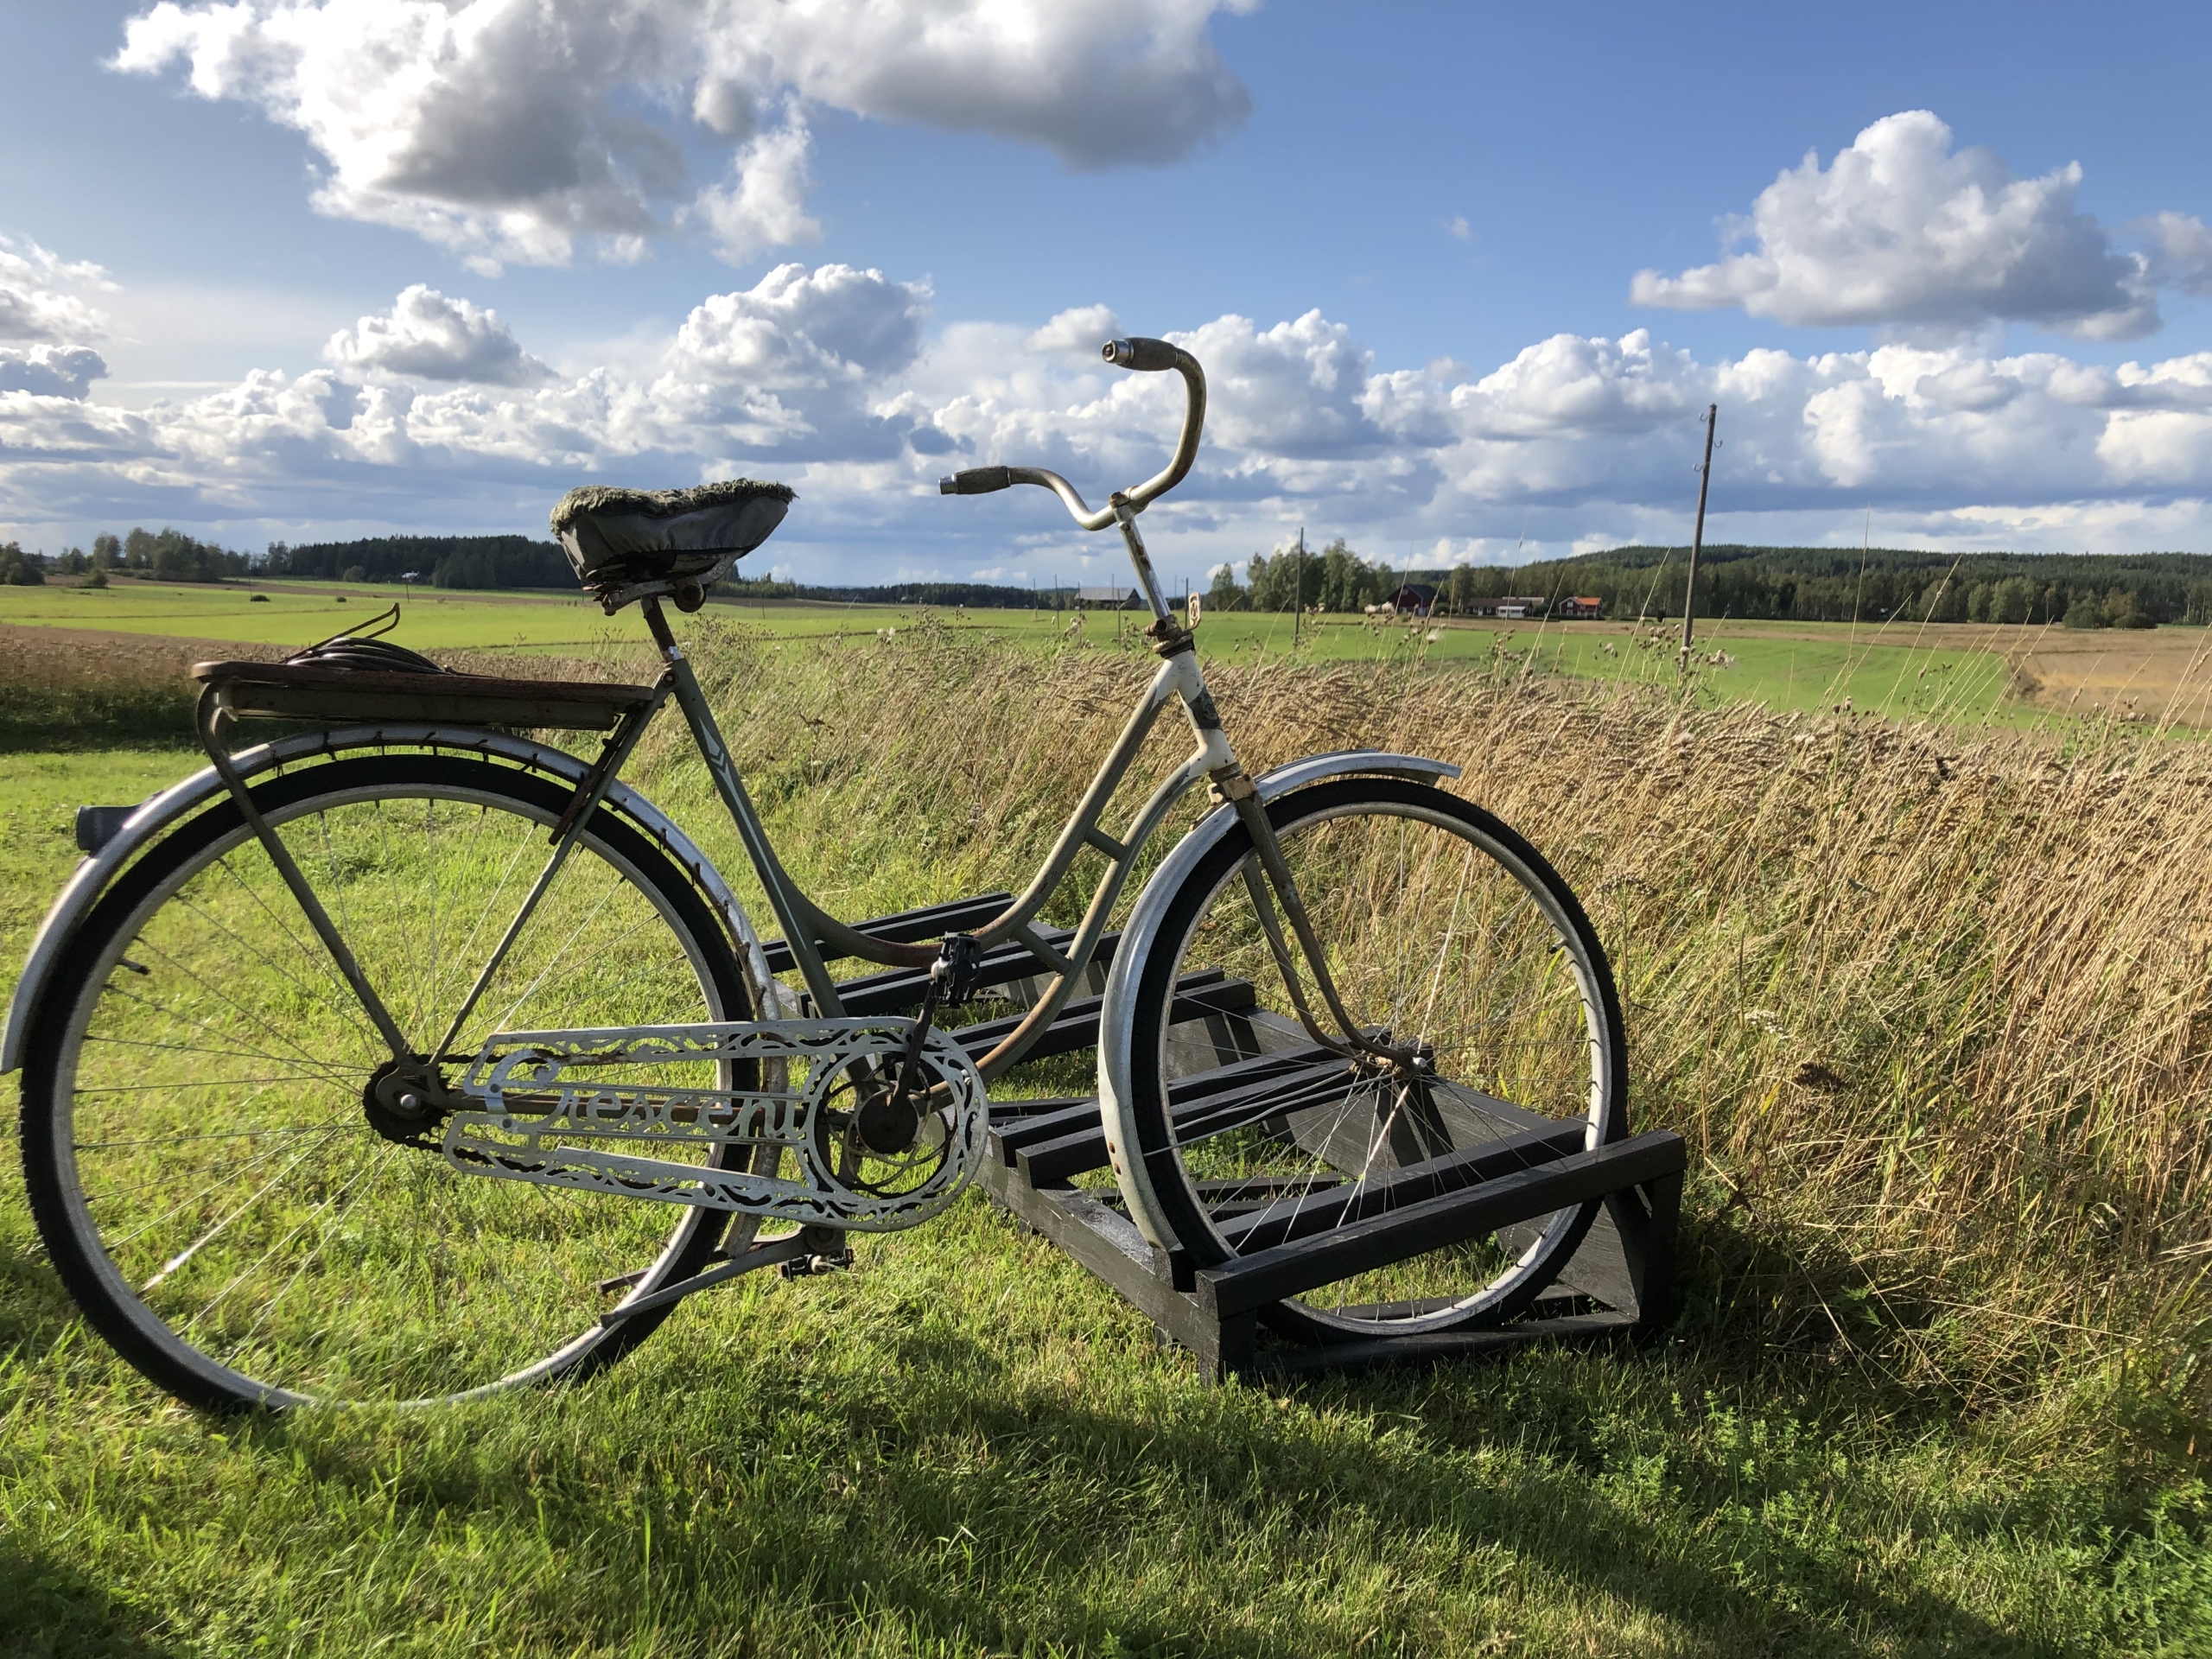
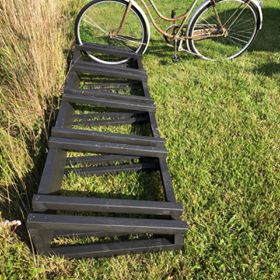
Need an affordable way to store all of those bikes? Then you’re in luck! Because I have made instructions for this easy to build, super stylish bike-stand. In this blog post, I will take you through how to build a simple bike stand for your garden step-by-step.
Before you start building your bike stand
Gather all the tools and supplies needed as listed below and make sure to print out or download the blueprint for the bike stand.
I have specified all measurements to the best of my ability but please keep in mind that I use the metric system, please doublecheck measurements in Inches.
Supplies:
- 10pc, 6500mm, 45x45mm (US: 25,5 inch, 2×2)
- 10pc 6800mm 45x45mm (US: 26,7 inch, 2×2)
- 1pc 2,35 meter 45x70mm, (US 92 inches, 2×3)
- 1pc 2,35 meter 45×200mm (US 92 inches, 2×8)
- 1 bucket of oil-based paint for outdoor purposes
- Screws size 45×70 mm
Tools:
- Saw (preferably a gear-saw or circle-saw)
- Screwdriver
- Wood drill
- 2 wood clamps
Note: Be careful while using power-tools and consider asking a friend or family member to help you out. Always put your safety first, consider using a pair of gloves and glasses for protection. Gloves also save you from getting paint everywhere.
All measurements in inches or us sizes will be displayed in (xxx) format.
Instructions:
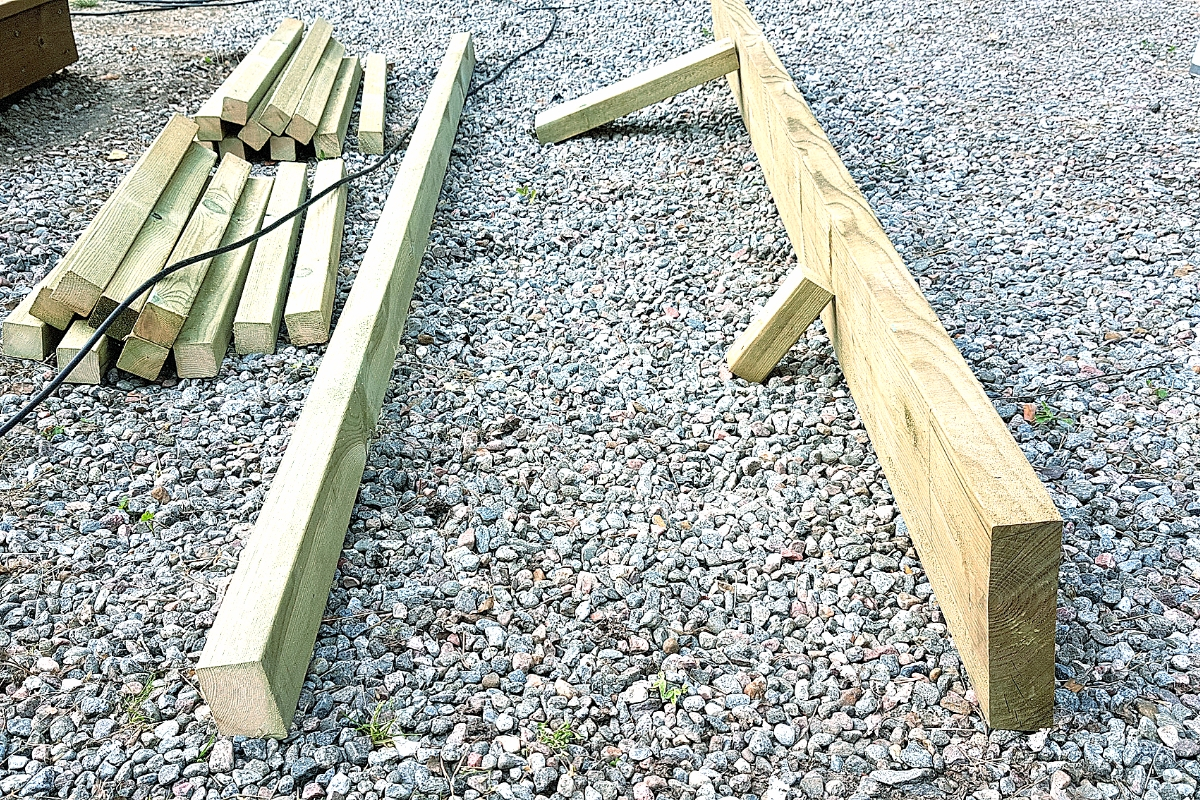
1. Start by measuring out and cutting all the wood pieces to size. I borrowed a gear-saw for this project, but a regular saw will work just fine.
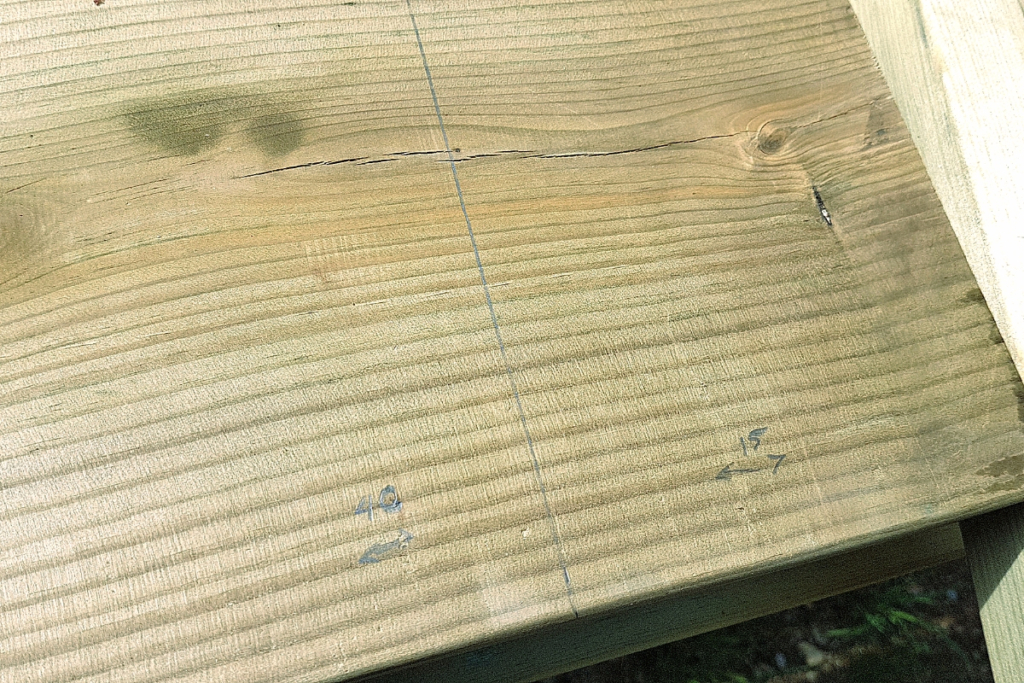
- Mark out the lines on the 45x70mm (2×3) and 45x200mm (2×8) pc, for were for the 45x45mm (2×2) will go straight away. This way you will make sure you got the measurements right from the start and it will save you time later. As my father-in-law always says “Measure twice cut only once”.
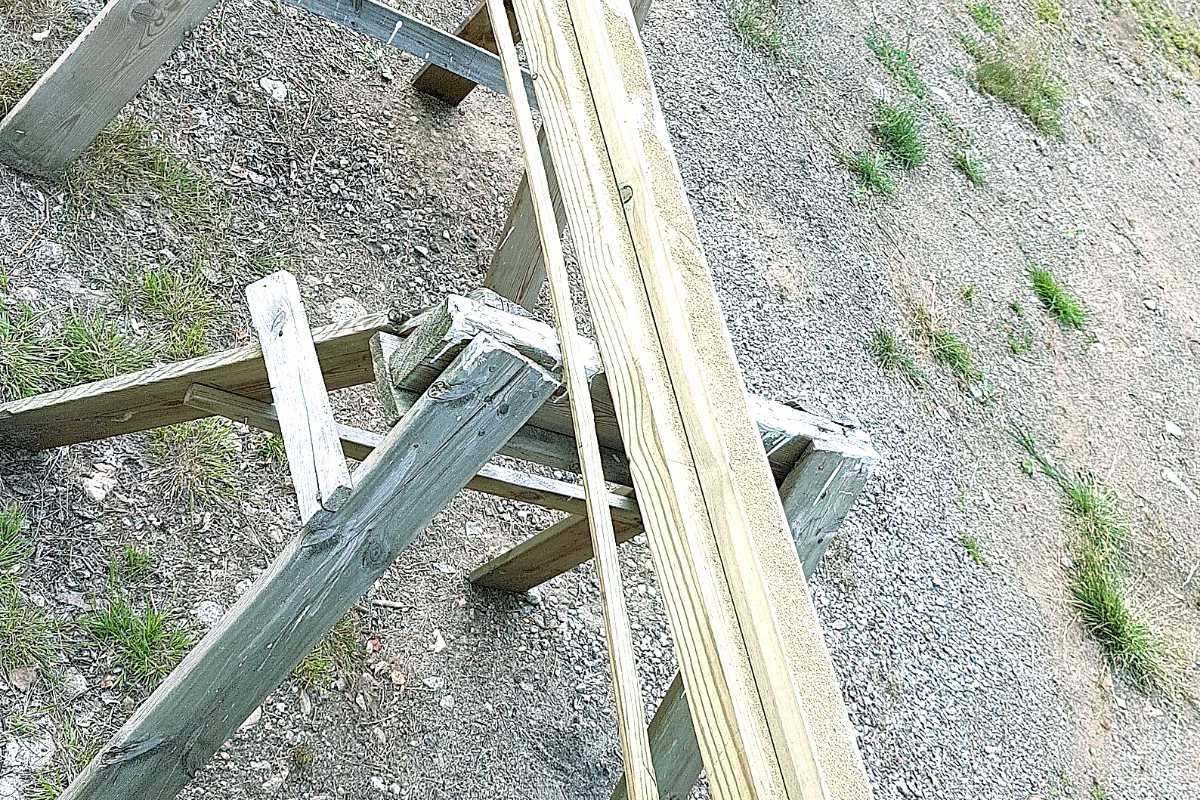
2. If you have a gear-saw available, use it to cut a 15° angel on one side of the 45x200mm (2×8) and the 45x70mm (2×3) wood pieces. This will add some extra stability to the bike-stand. Whilst cutting one, use the other as your reference by pinning them together with two wood clamps. This way you will make sure to get a straight cut.
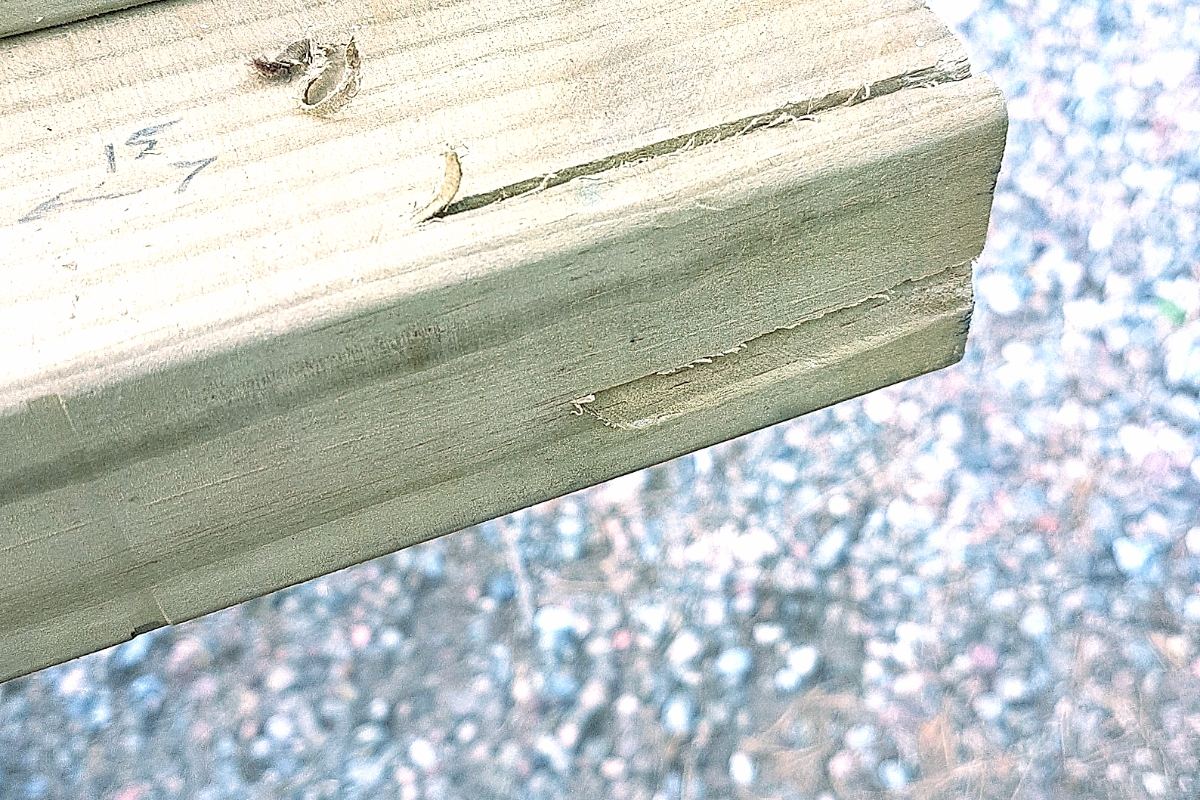
3. To do this set your circle-saw to 15° and make a test cut to see if it working correctly. You want the cut to be right on the corner of the wood. As you can see in this image I failed my first attempt, the cut was much too high and missed the corner. So I did an additional adjustment and then it worked perfectly.
Time to put everything together!
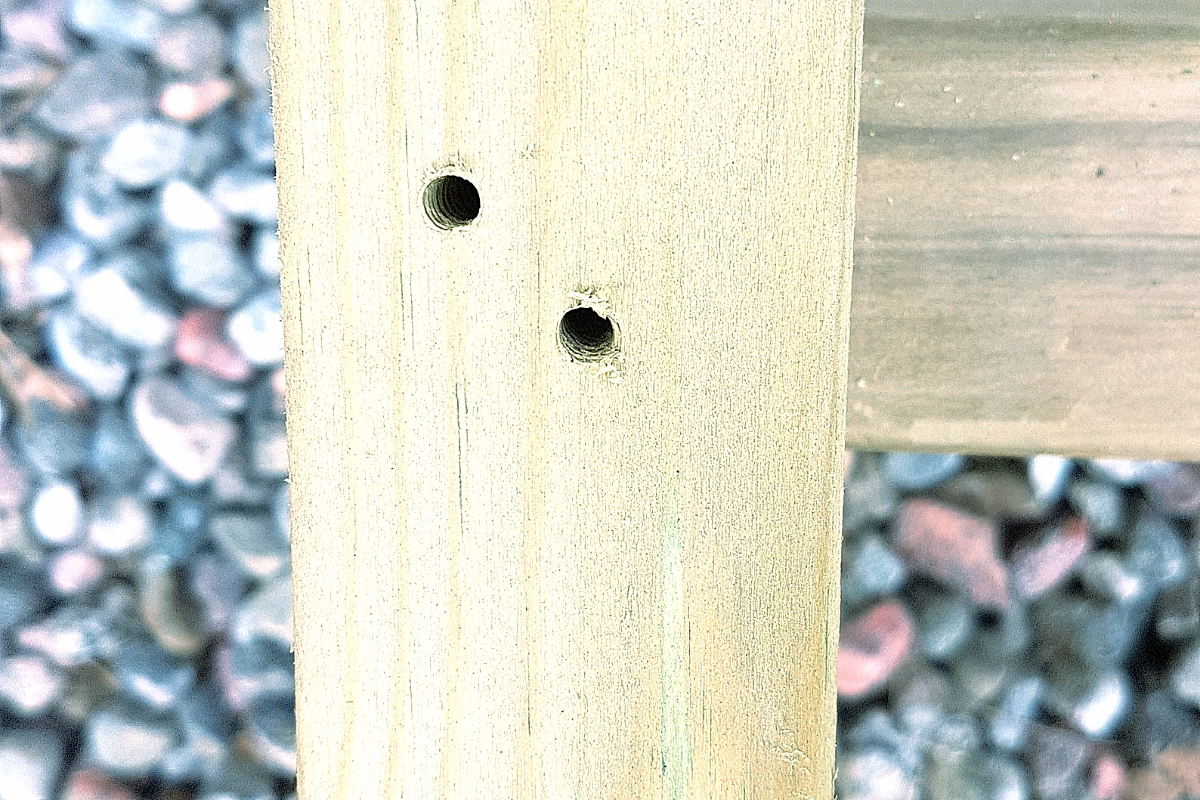
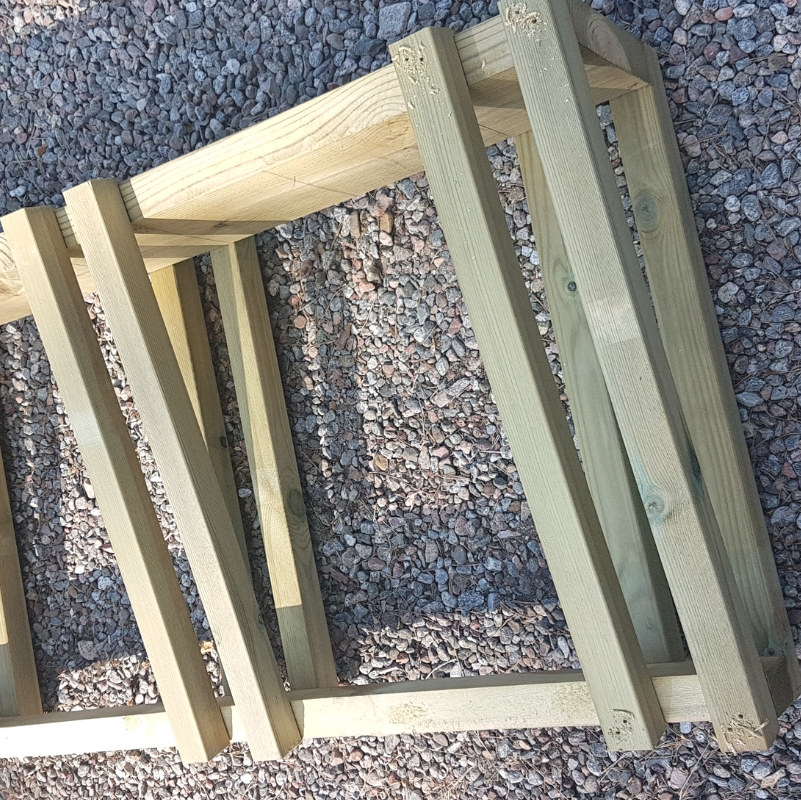
4. Pre-drill the bottom and top edge of all the 20, 45x45mm (2×2) pc. Use a screwdriver and a wood drill in the same size as your screws. Make sure to not make the holes more than 45mm (1.5inch) from the edge, so the screws actually have something to grip. I just did two diagonal holes on each side of all pieces. This will allow screws to get a much better grip and will make the overall structure steadier.
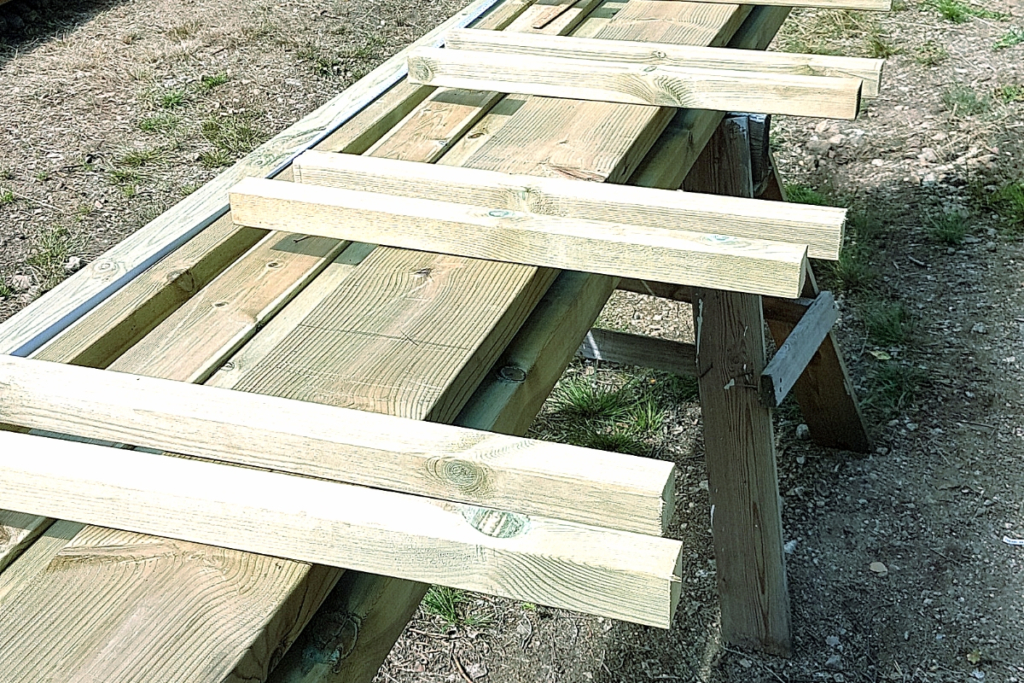
4. Attach the 6500mm (25,5) pc to the back (the side without an angle) of the 45x200mm (2×8) and 45x70mm (2×3) pc. This will form the bottom of the bike-stand. The 6500mm (25,5) pcs should have a 65mm (2,5) space between them, this will accommodate most bike tire sizes. Also, make sure that both the angles on the 45×200 (2×8) and 45x70mm (2×3) are facing the same direction before you start screwing it together.
I had some trouble getting things to stay still until I had attached my first pieces, so consider garbing a friend or family member to help you out.
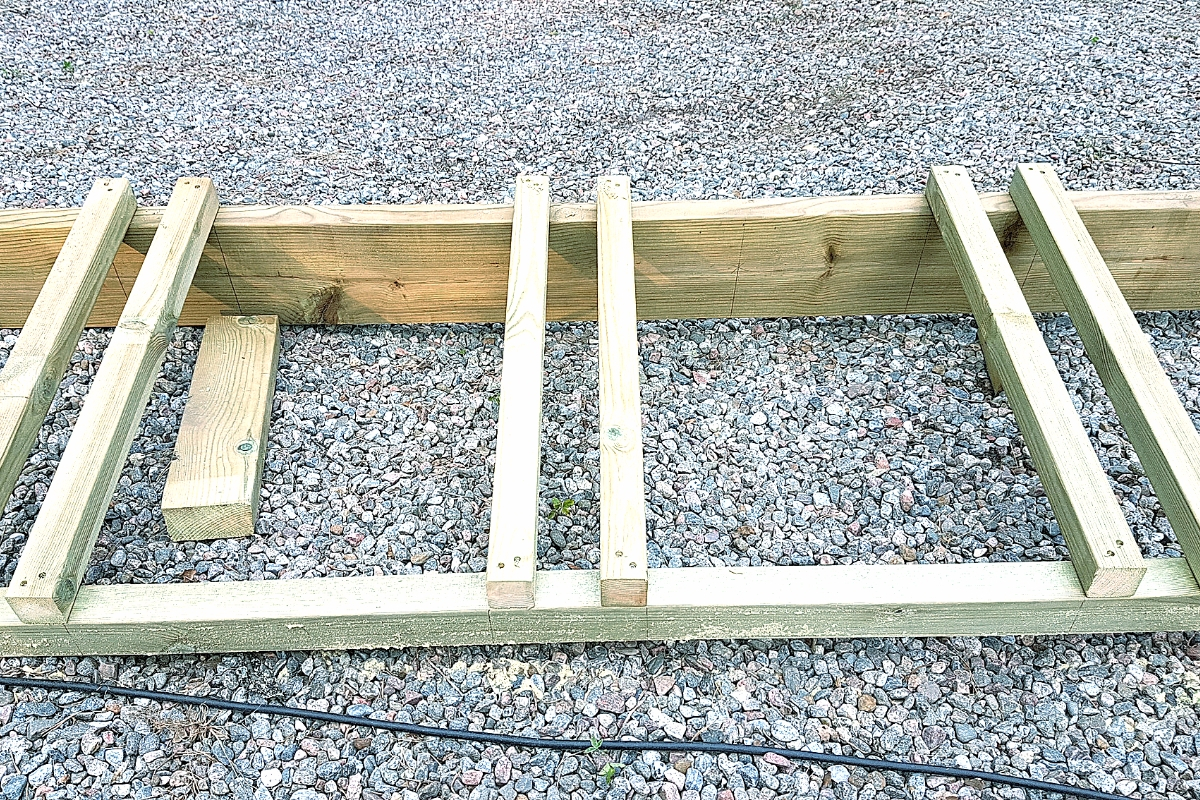
This is how the bottom should look like once all the 6500mm (25,5) pc are screwed into place.
5. Flip everything over and attach the 6800mm (26,7) pc to the front (the side with angle) of the 45x200mm (2×8) and 45x70mm (2×3) pc. This is the top of the bike-stand. The 6800mm (26,7) pcs should have roughly a 50mm (0.2inch) overlap, on both the top and bottom edge of the 45x200mm (2×8) and 45x70mm (2×3).
Voila! Now you have a bike-stand.
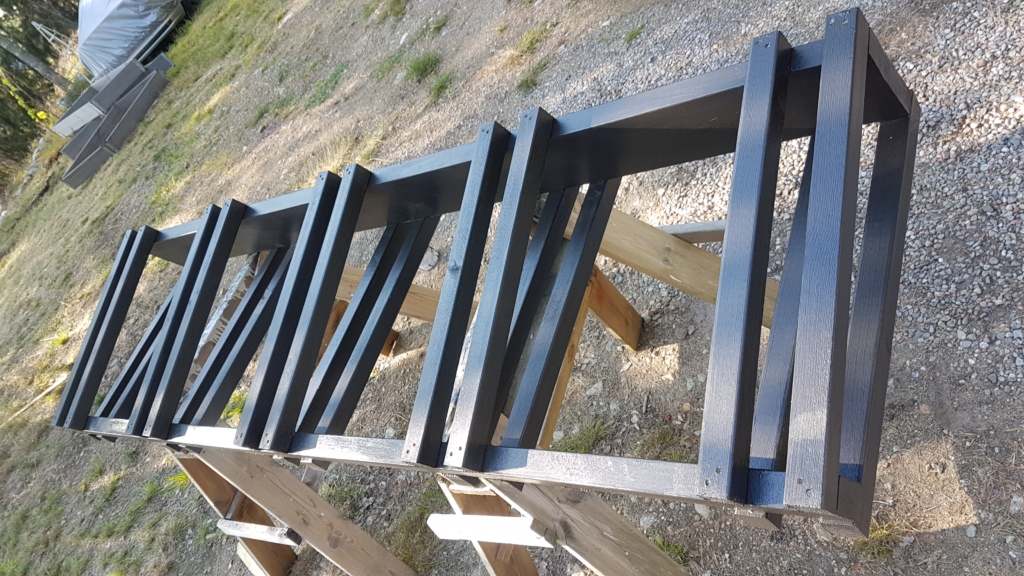
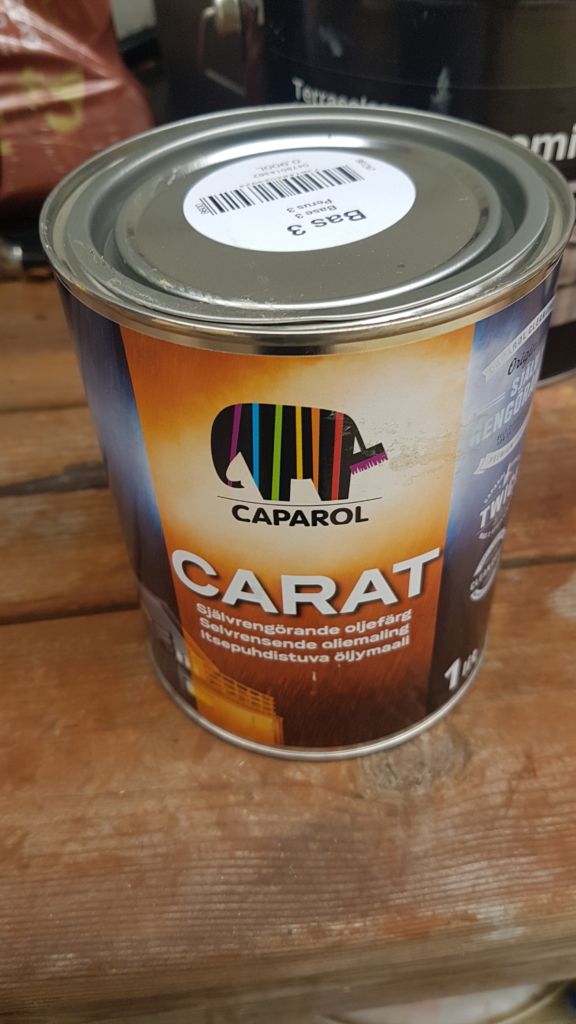
6. Now its time for painting, I did two coats of an oil-based outdoor paint from Caparol. The color is called natural black and I am SUPER HAPPY with both the shade and the overall result. I strongly recommend it!
About Paint!
If you should spend money on anything, spend it on paint that is mold-resistant and will make your build able to survive outdoors for many years.
I also really recommend talking to your local paint shop to get advice. Usually, they have a lot of discounts so the price usually competes very well with larger brands AND you get the benefit of expert advice.
Once the paint is completely dry, in my case after 10 hours, you have a stunning-looking super-useful bike-stand. Enjoy!
Reflections
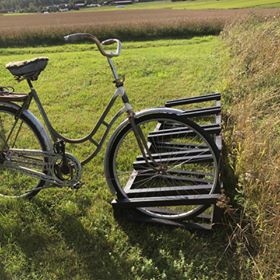
LOVE my new bike-stand! I think my family does as well, it means the bikes no longer rust away in the grass in the garden. There’s definitely a good chance that I will make another one like this in the future.
The garden looks tidy, the bike-stand looks professional AND it saved me tons of money. I expect the total cost ended up around 50 euros/dollars but most of that is for paint. I definitely think you can press the total price even more, especially if you do your research and shop for paint when there is a sale or offer. For me, it is no brainer to choose quality paint so that the build survives a couple of years.
Get the FREE plans for this bike-stand here!
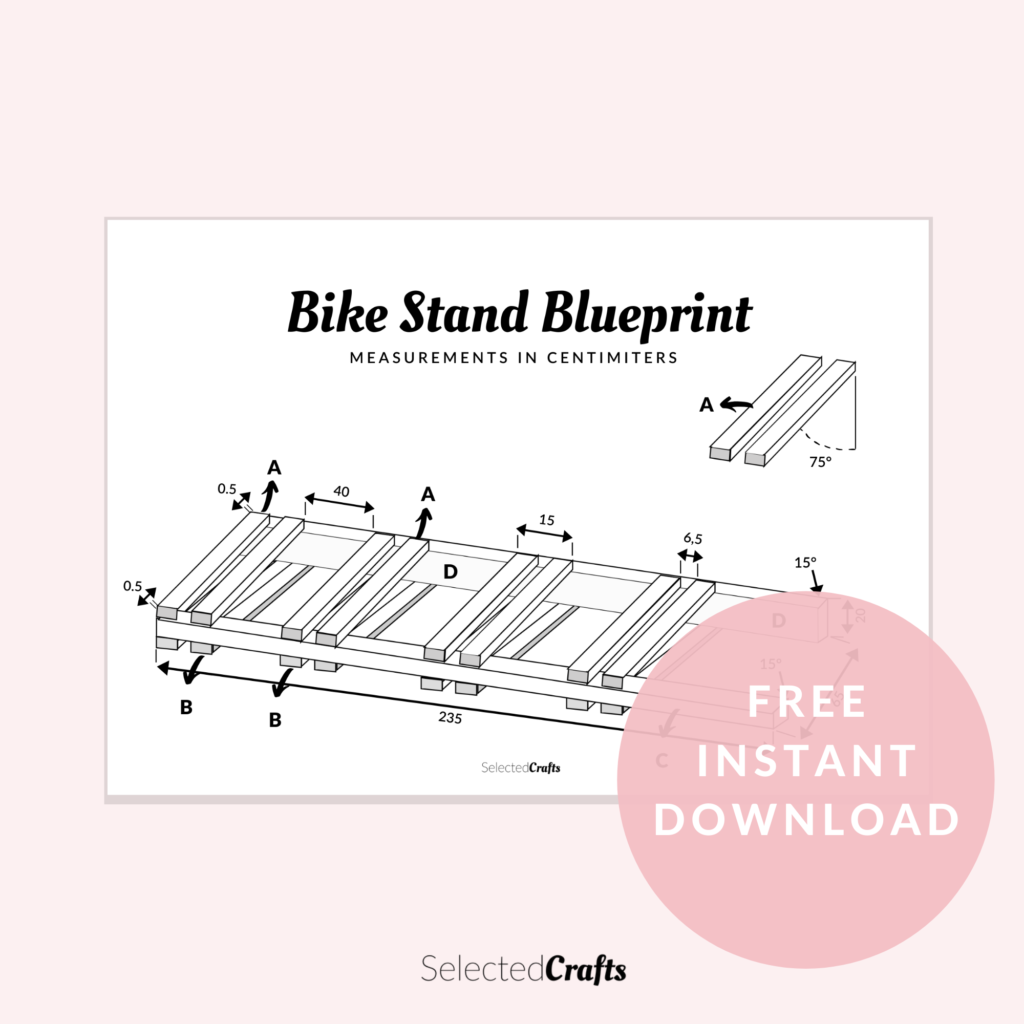
The best part? I give away these plans for this amazing bike-stand for FREE! Download the plans right HERE!
Let me know if you have any questions. If you go on and decide to build a bike-stand of your own, I would LOVE to see the result!
Check out more builds like this one here!
Have a great day superstar!

Like!! Great article post.Really thank you! Really Cool.
I am so happy you liked it! Thanks for letting me know, it really helps me when planning which type of content I should make going forward!